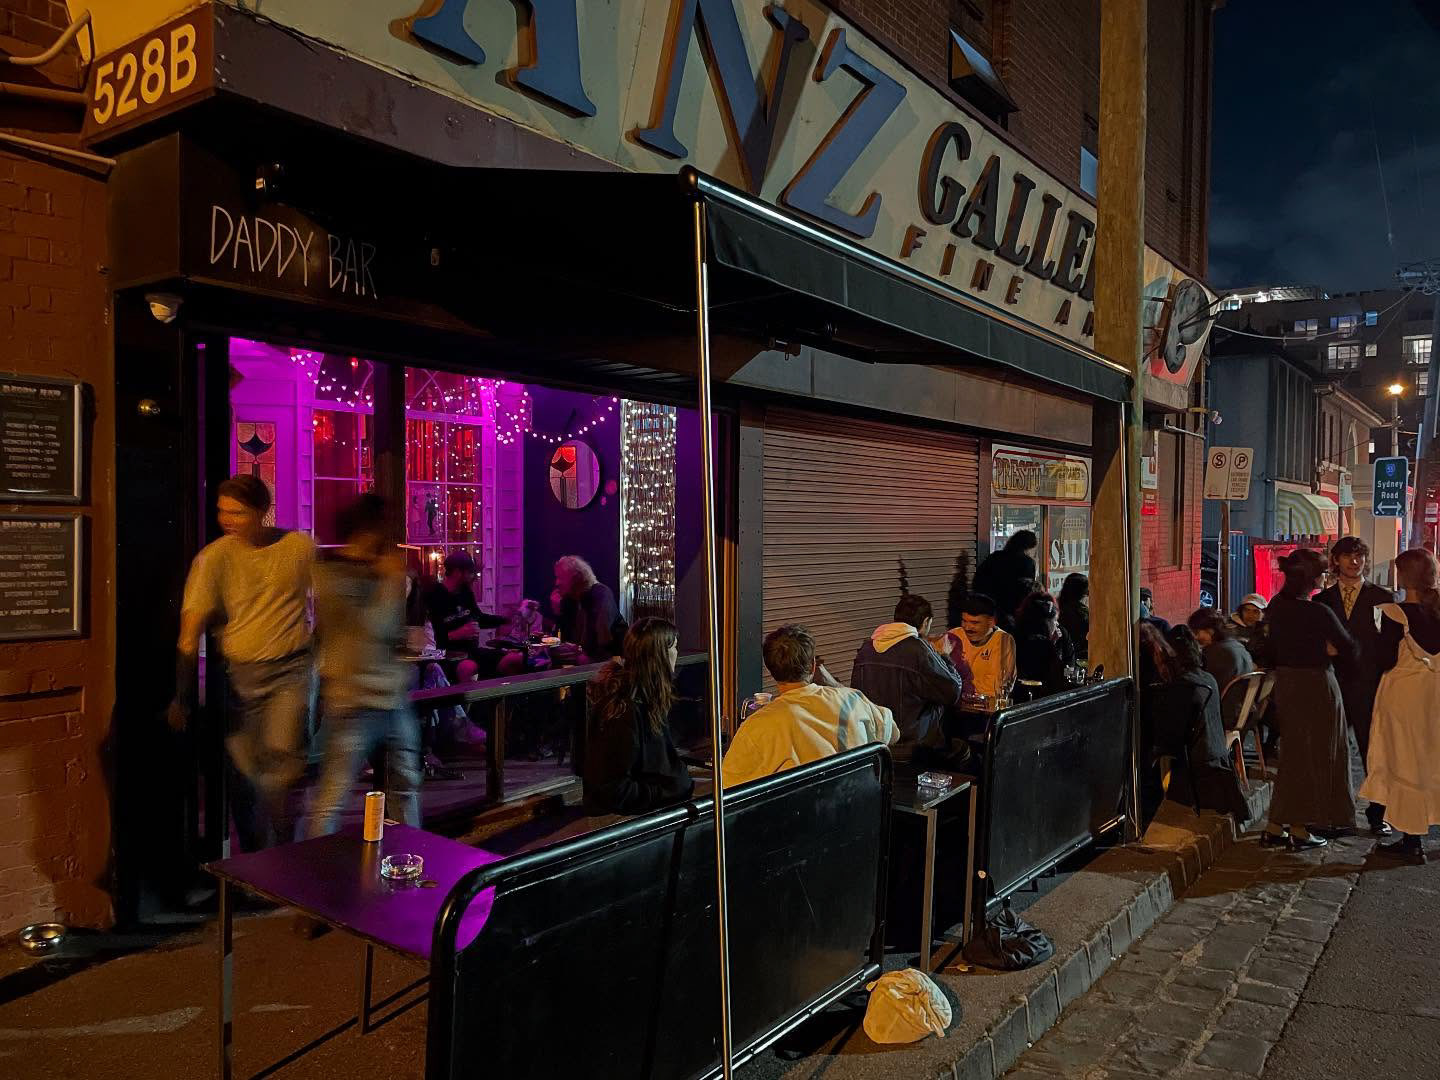
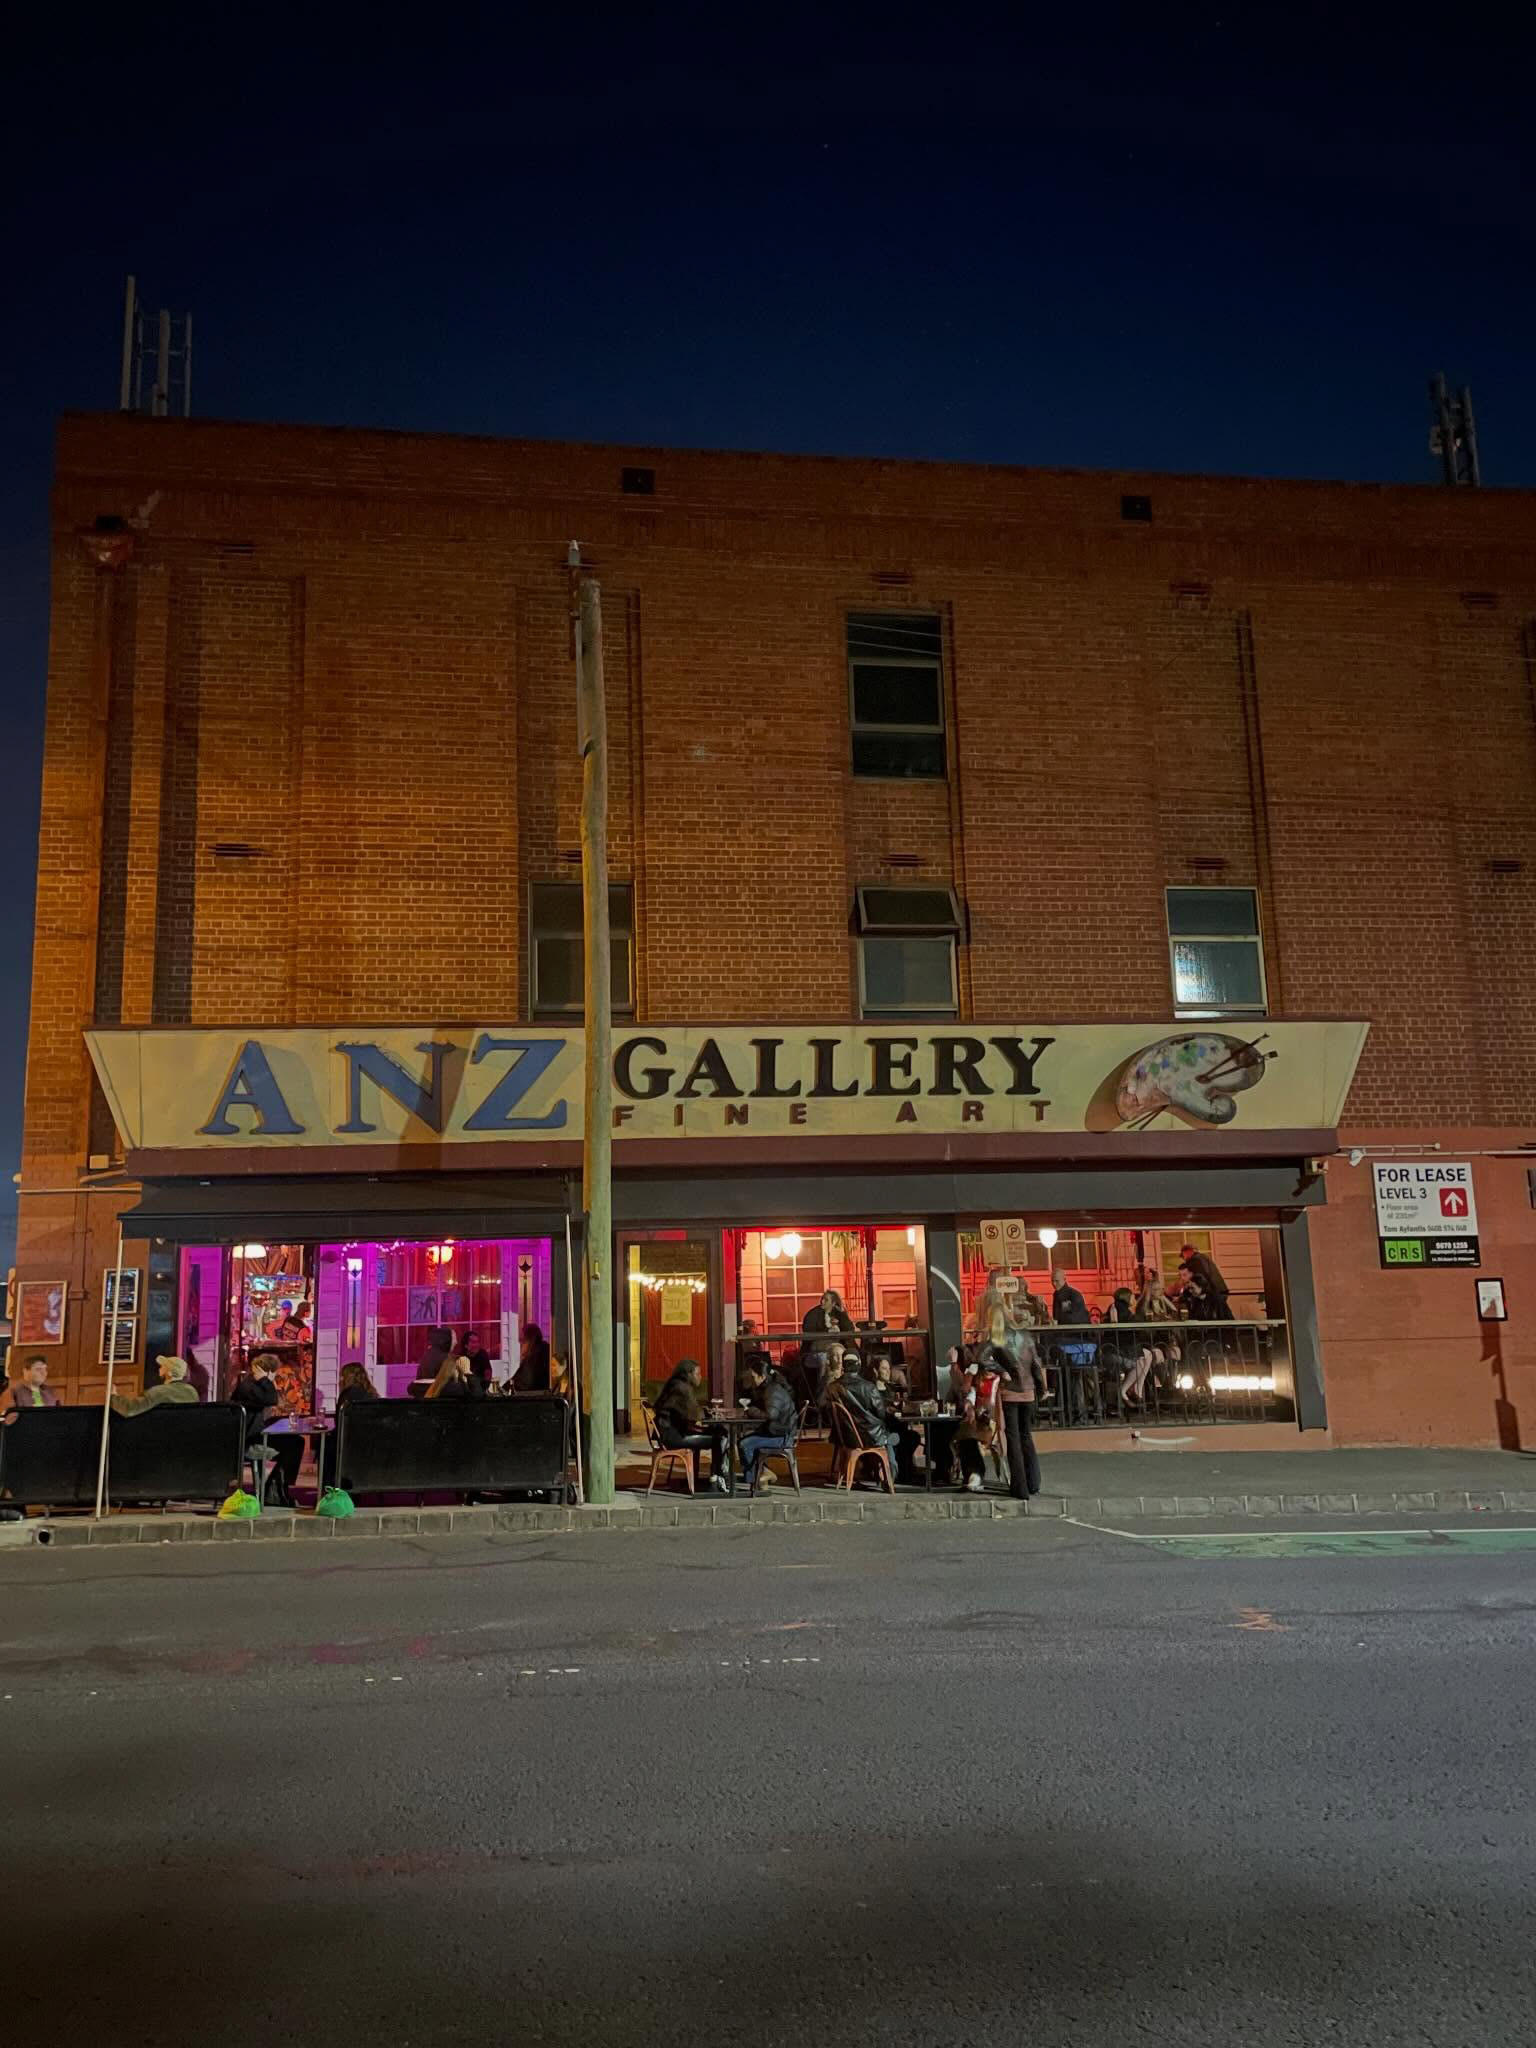
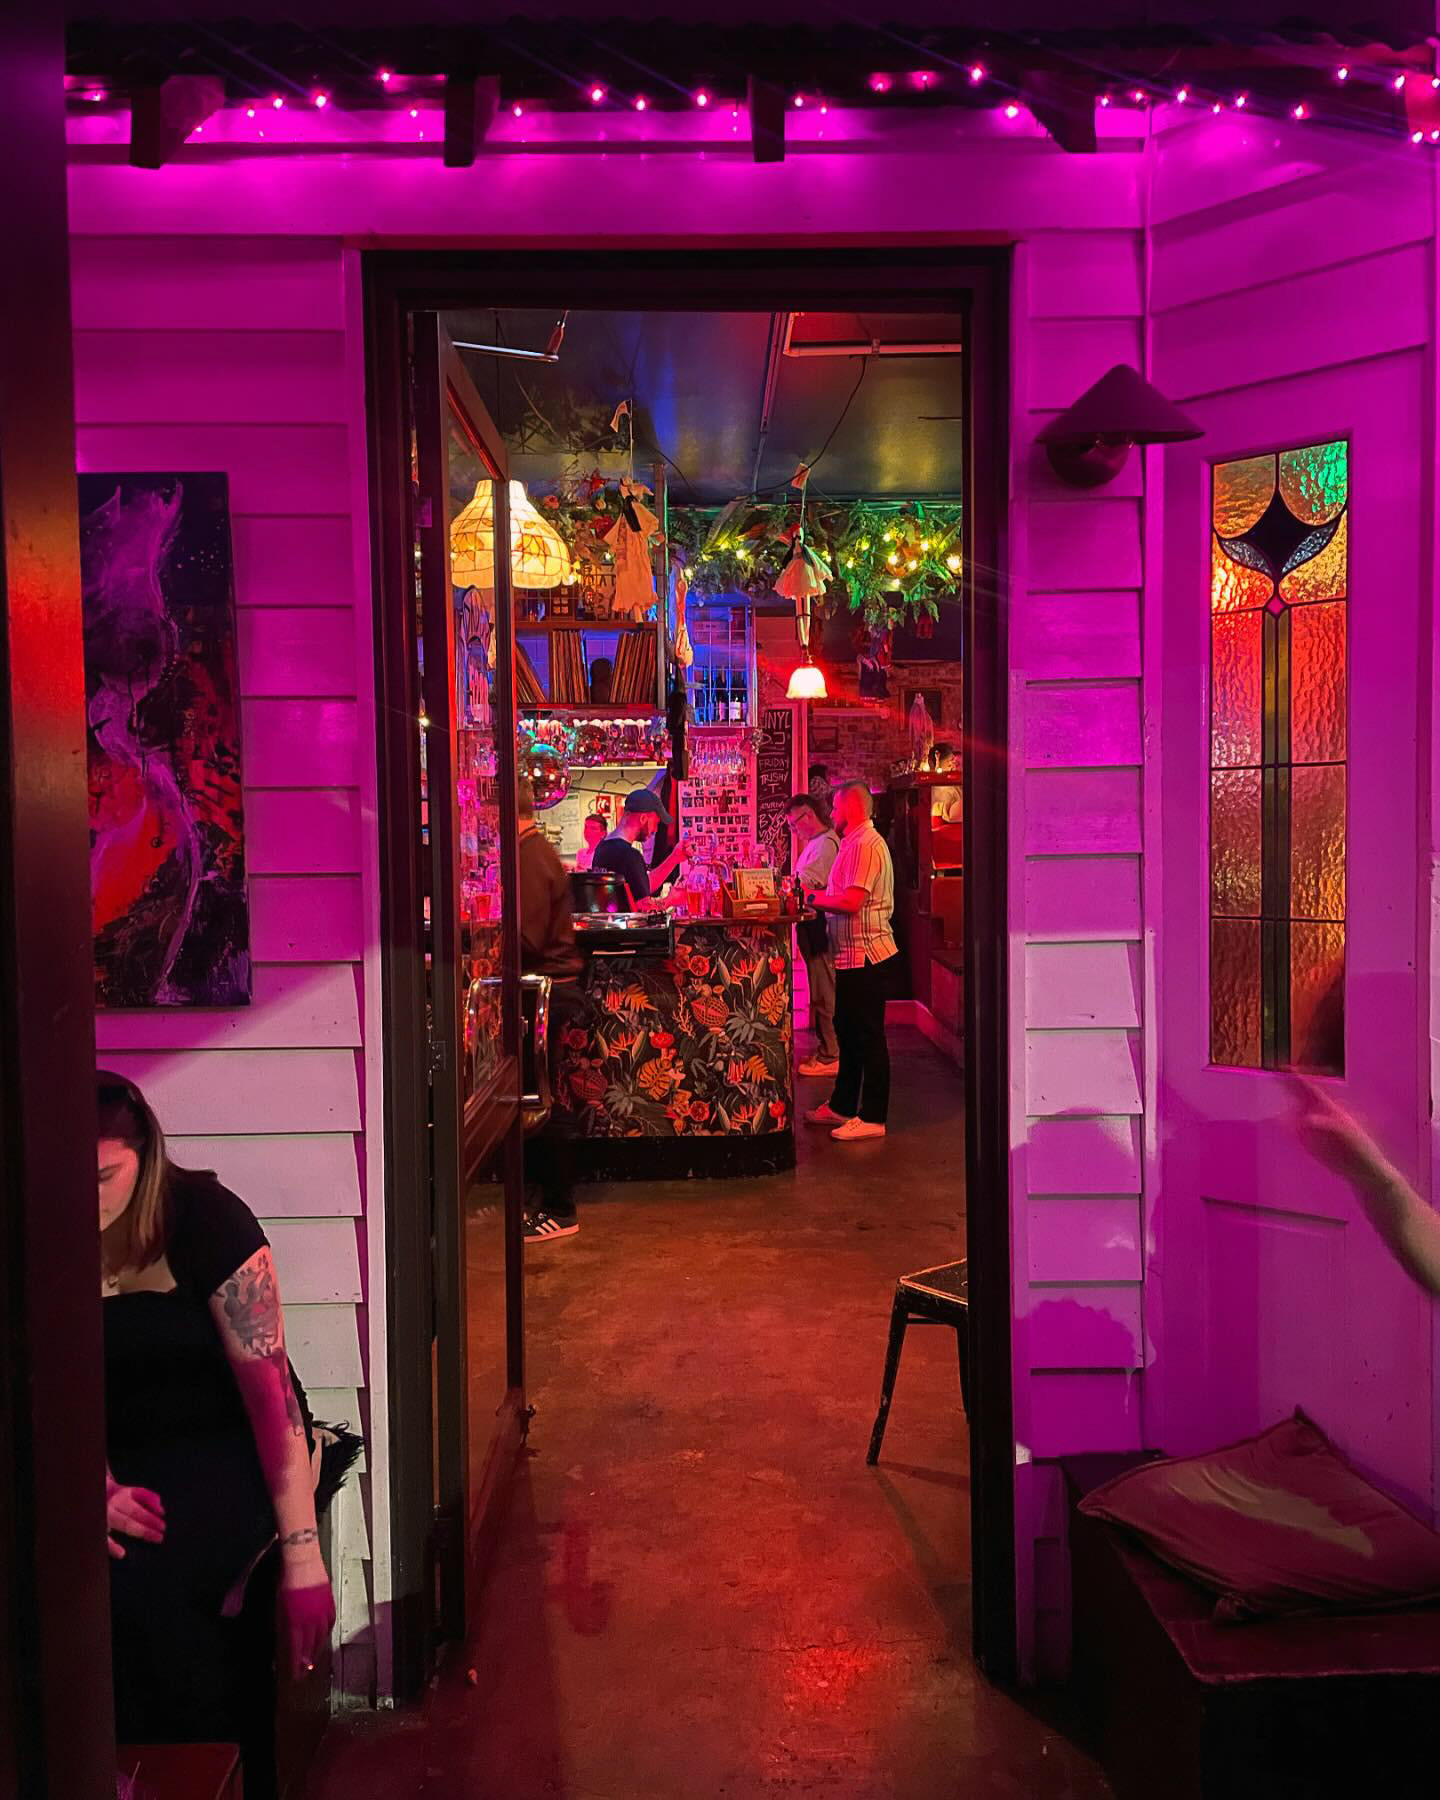
About the venue
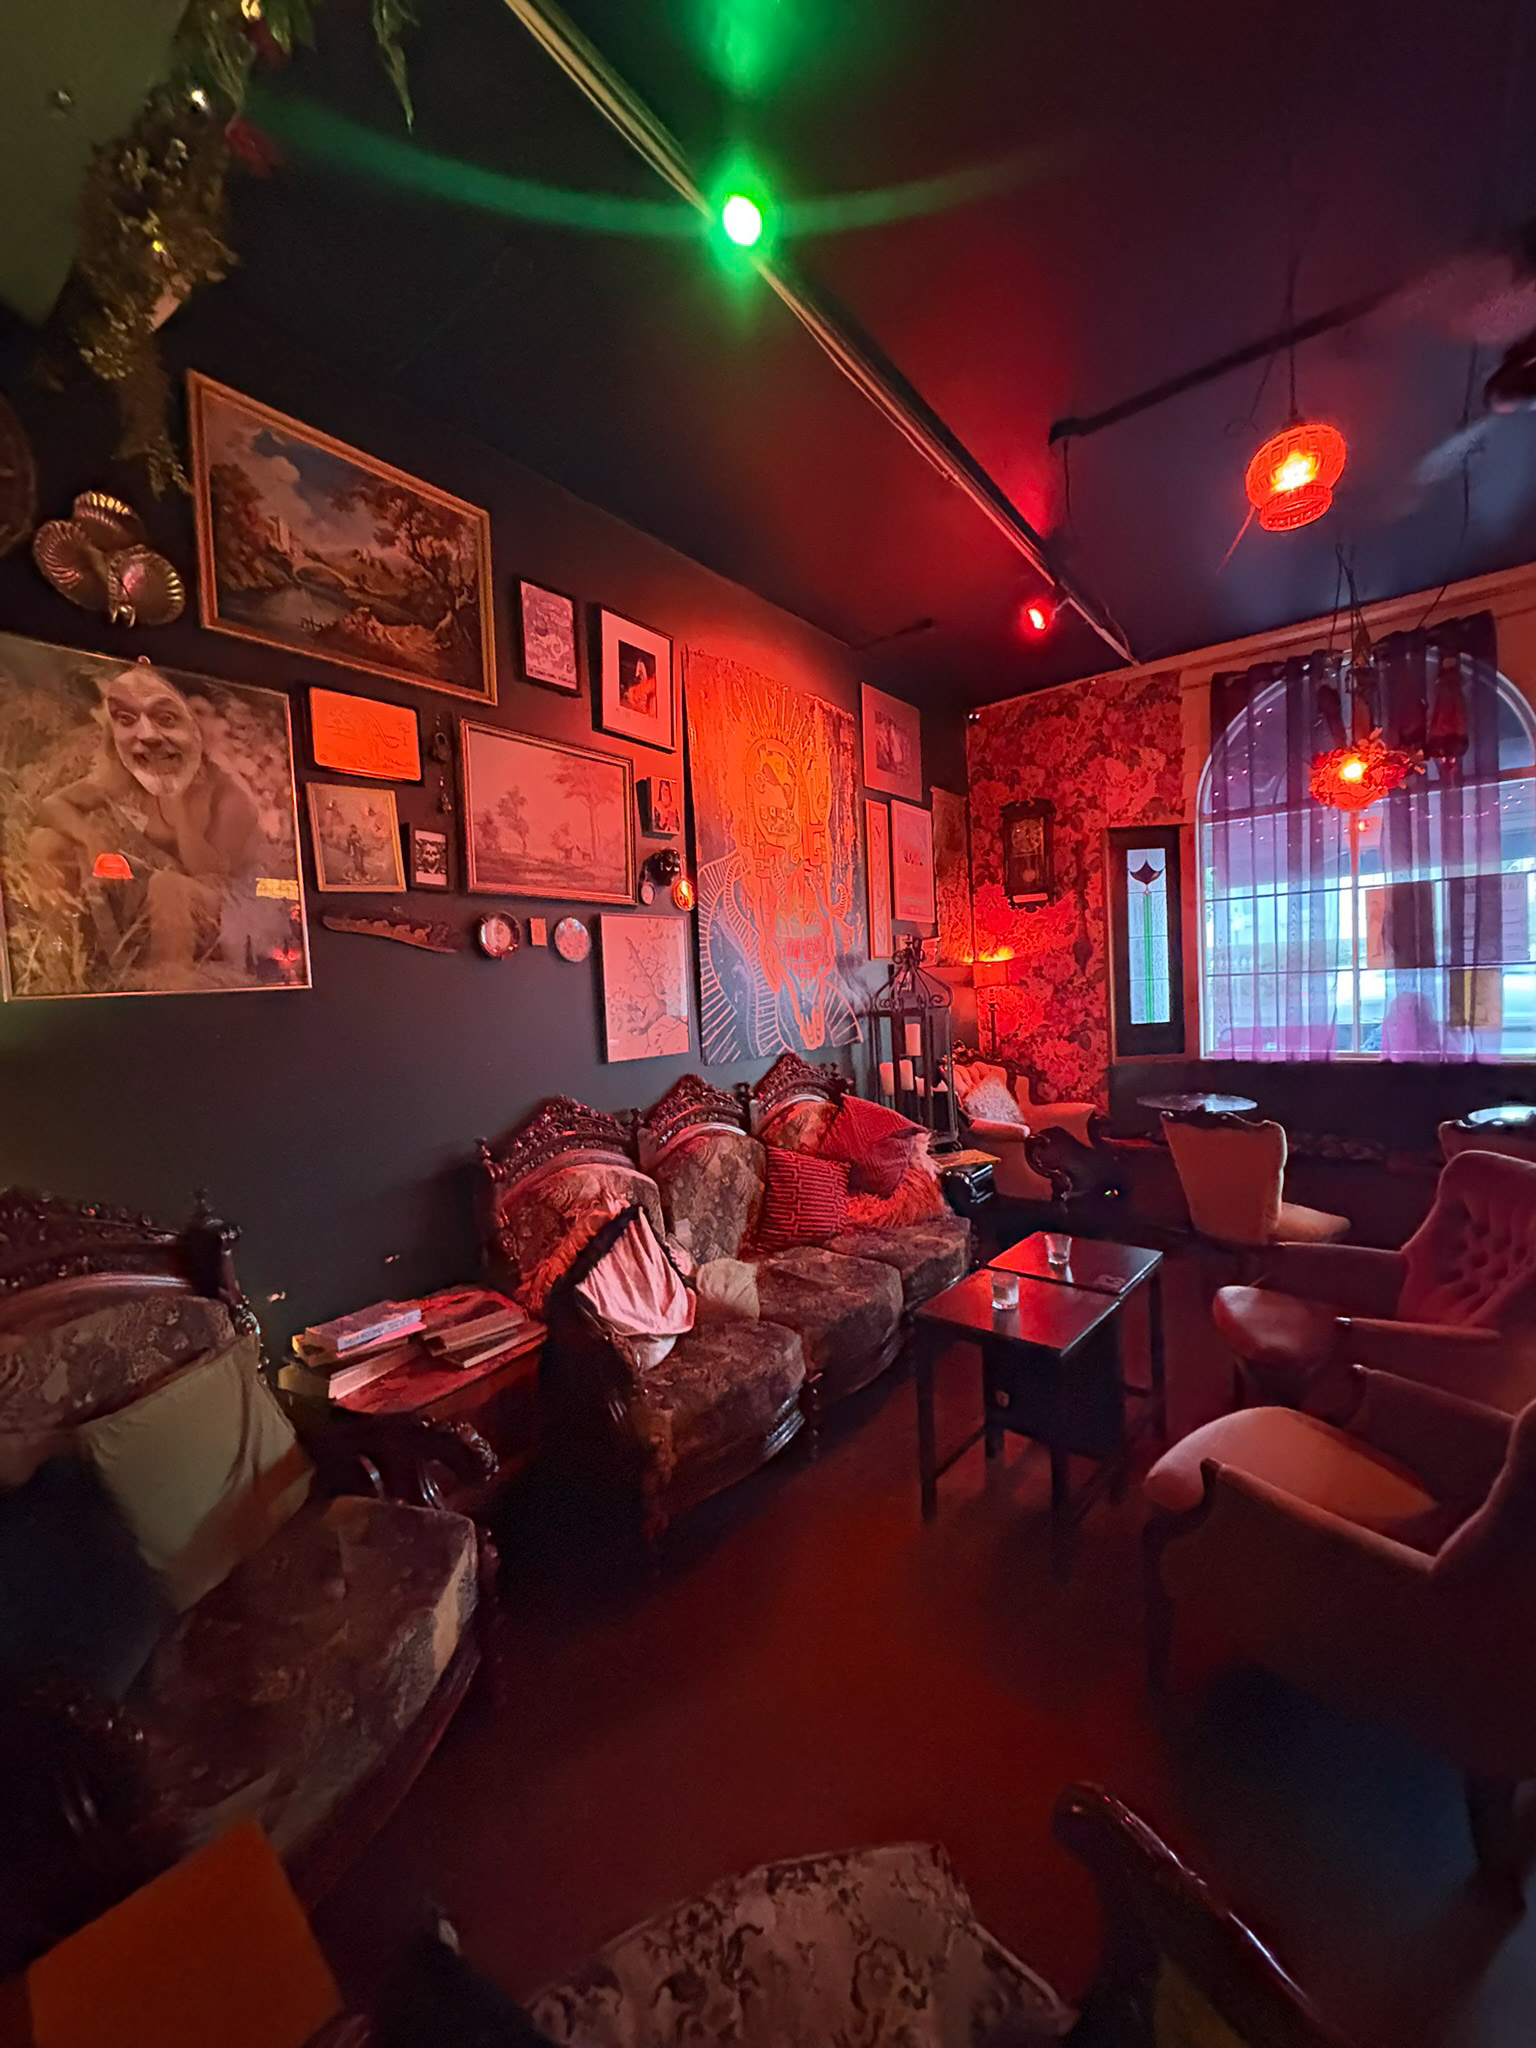
Daddy Bar is a cozy cocktail bar built inside an old bank vault turned Fine Art gallery at the intersection of Sydney Road and Blyth Street. It features gallery walls covered with artwork and paintings, fairy lights and boutique lamps everywhere, and heaps of comfortable couches and cushions to sit and chat. Daddy Bar is owned by Nick and Shellie who I have been in contact with throughout the entire venture of this project, the two owners originally reached out to me in July of 2026 to have a chat about the future of the audio setup of the venue space. The property next door to the venue (seen beside) was purchased to be turned into a much larger live music venue with a focus on vinyl DJ's and a small dance floor.

Pre-Production
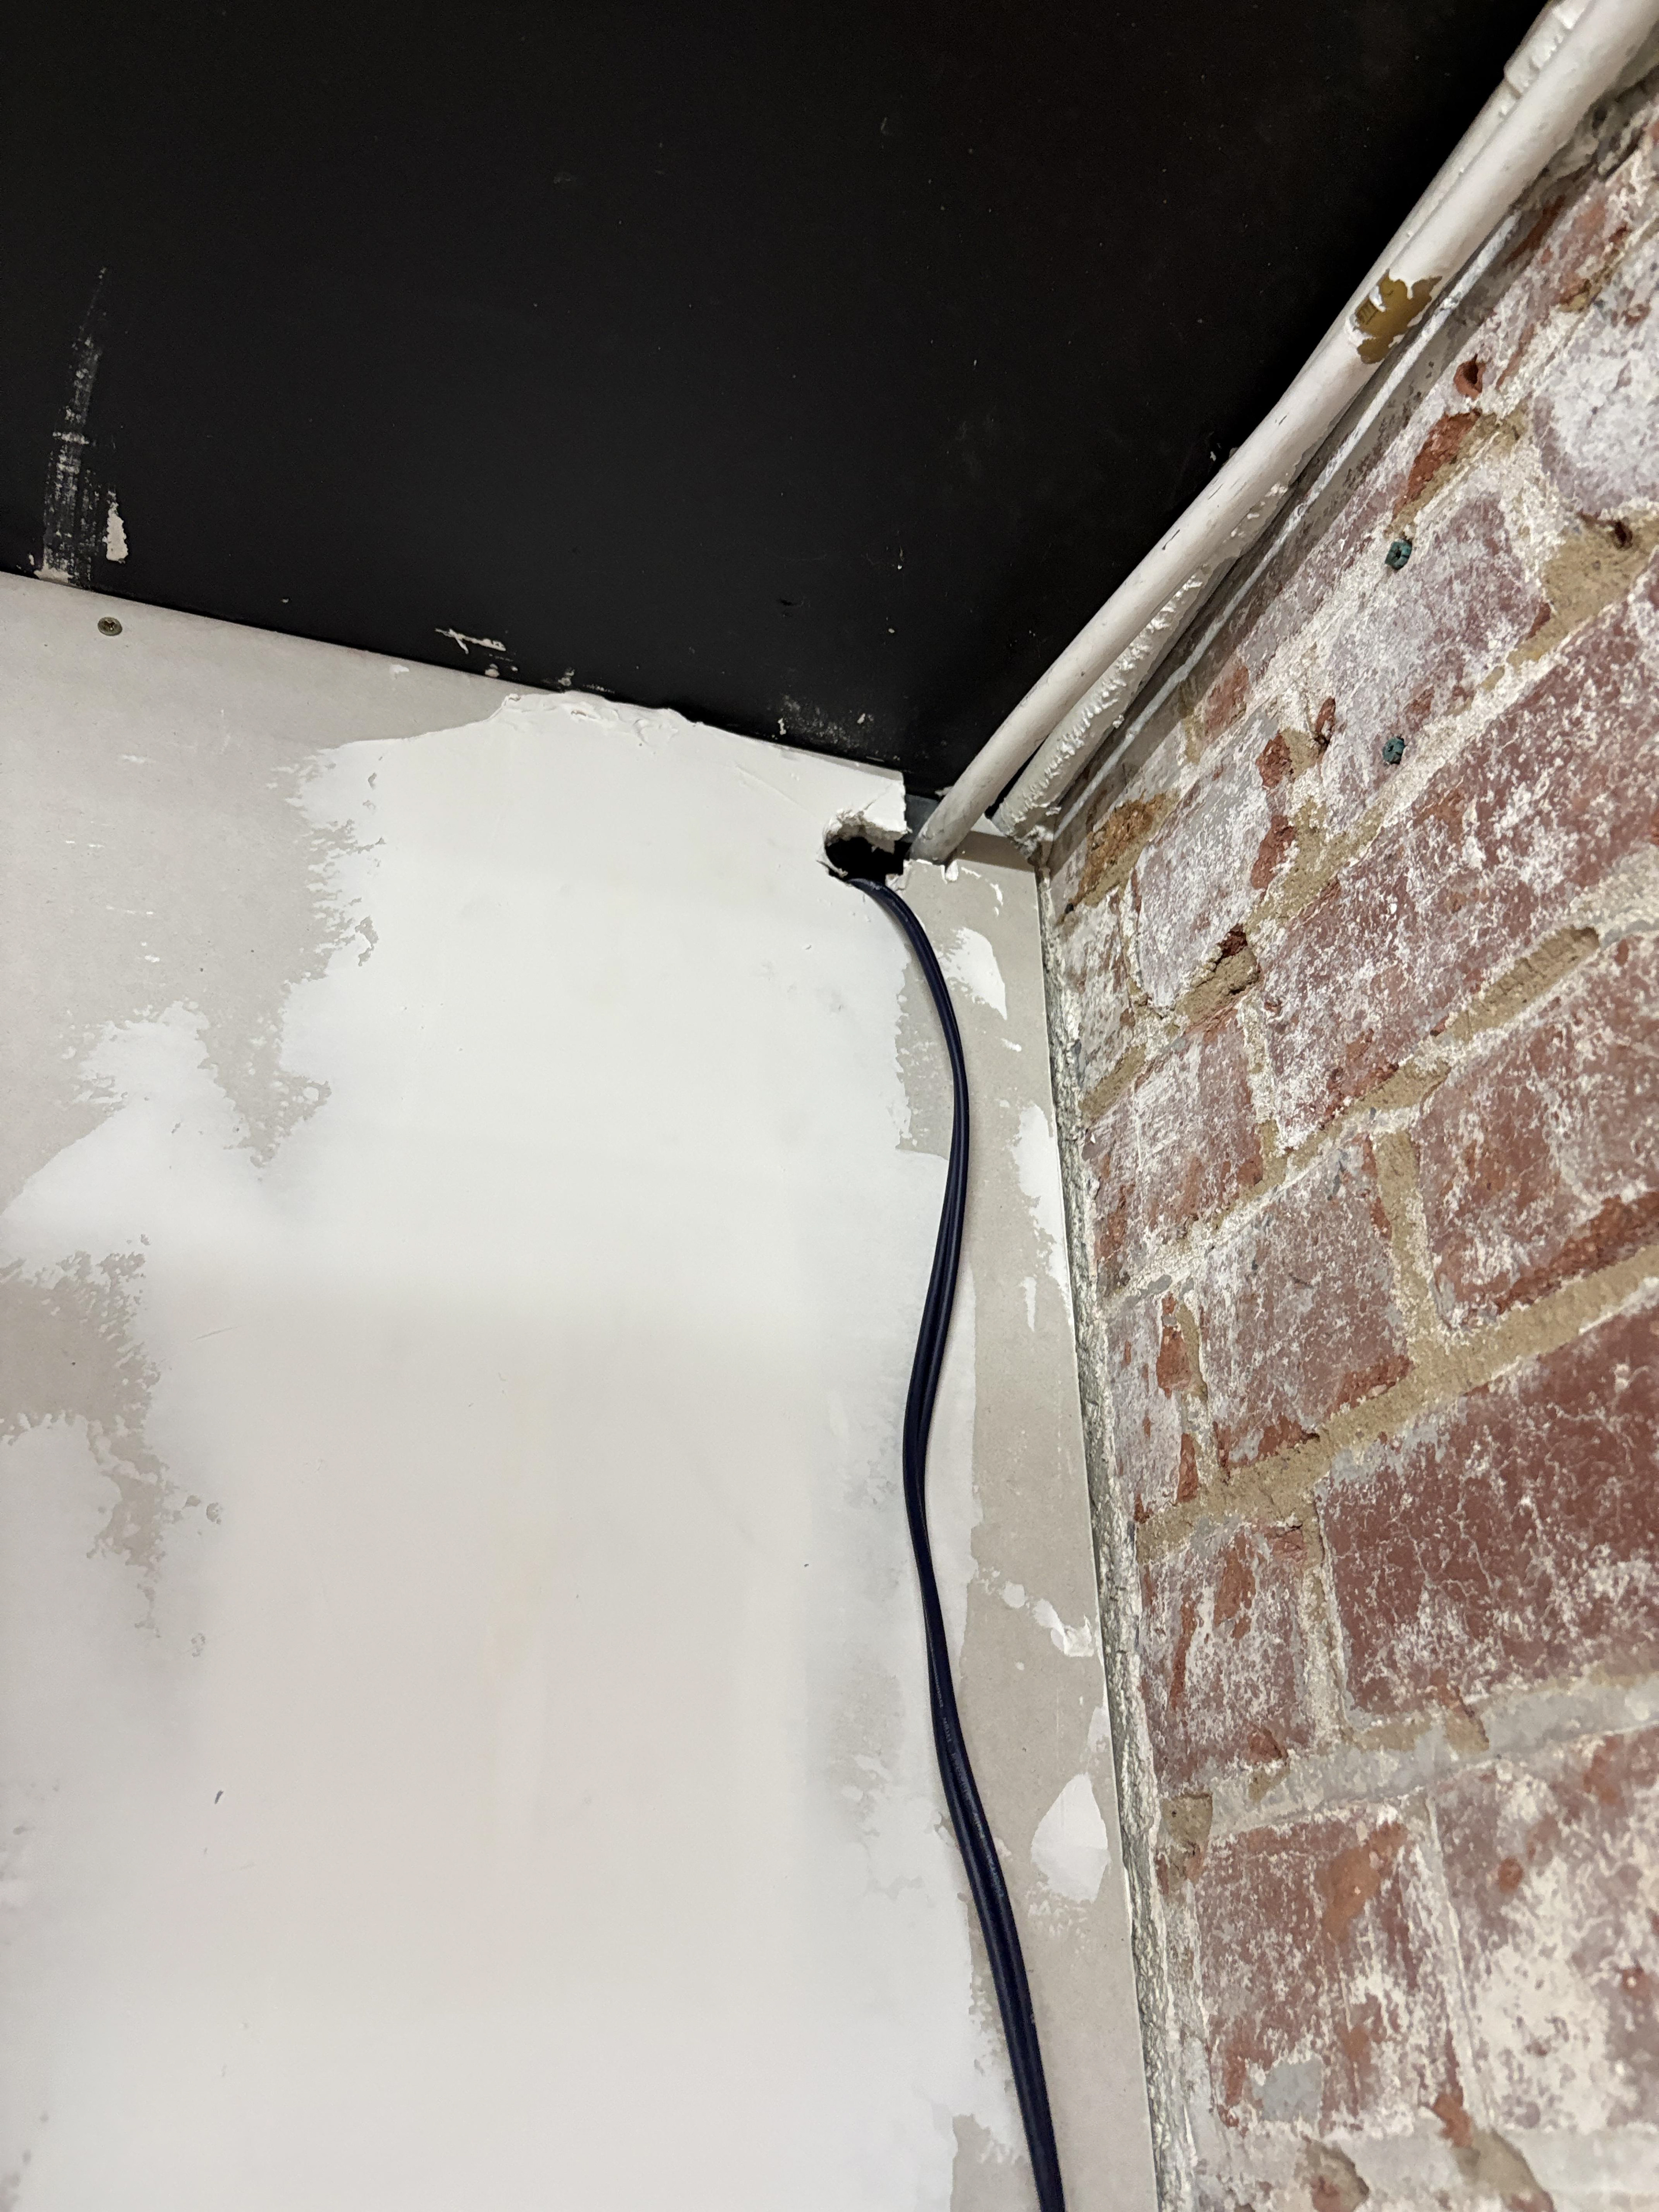
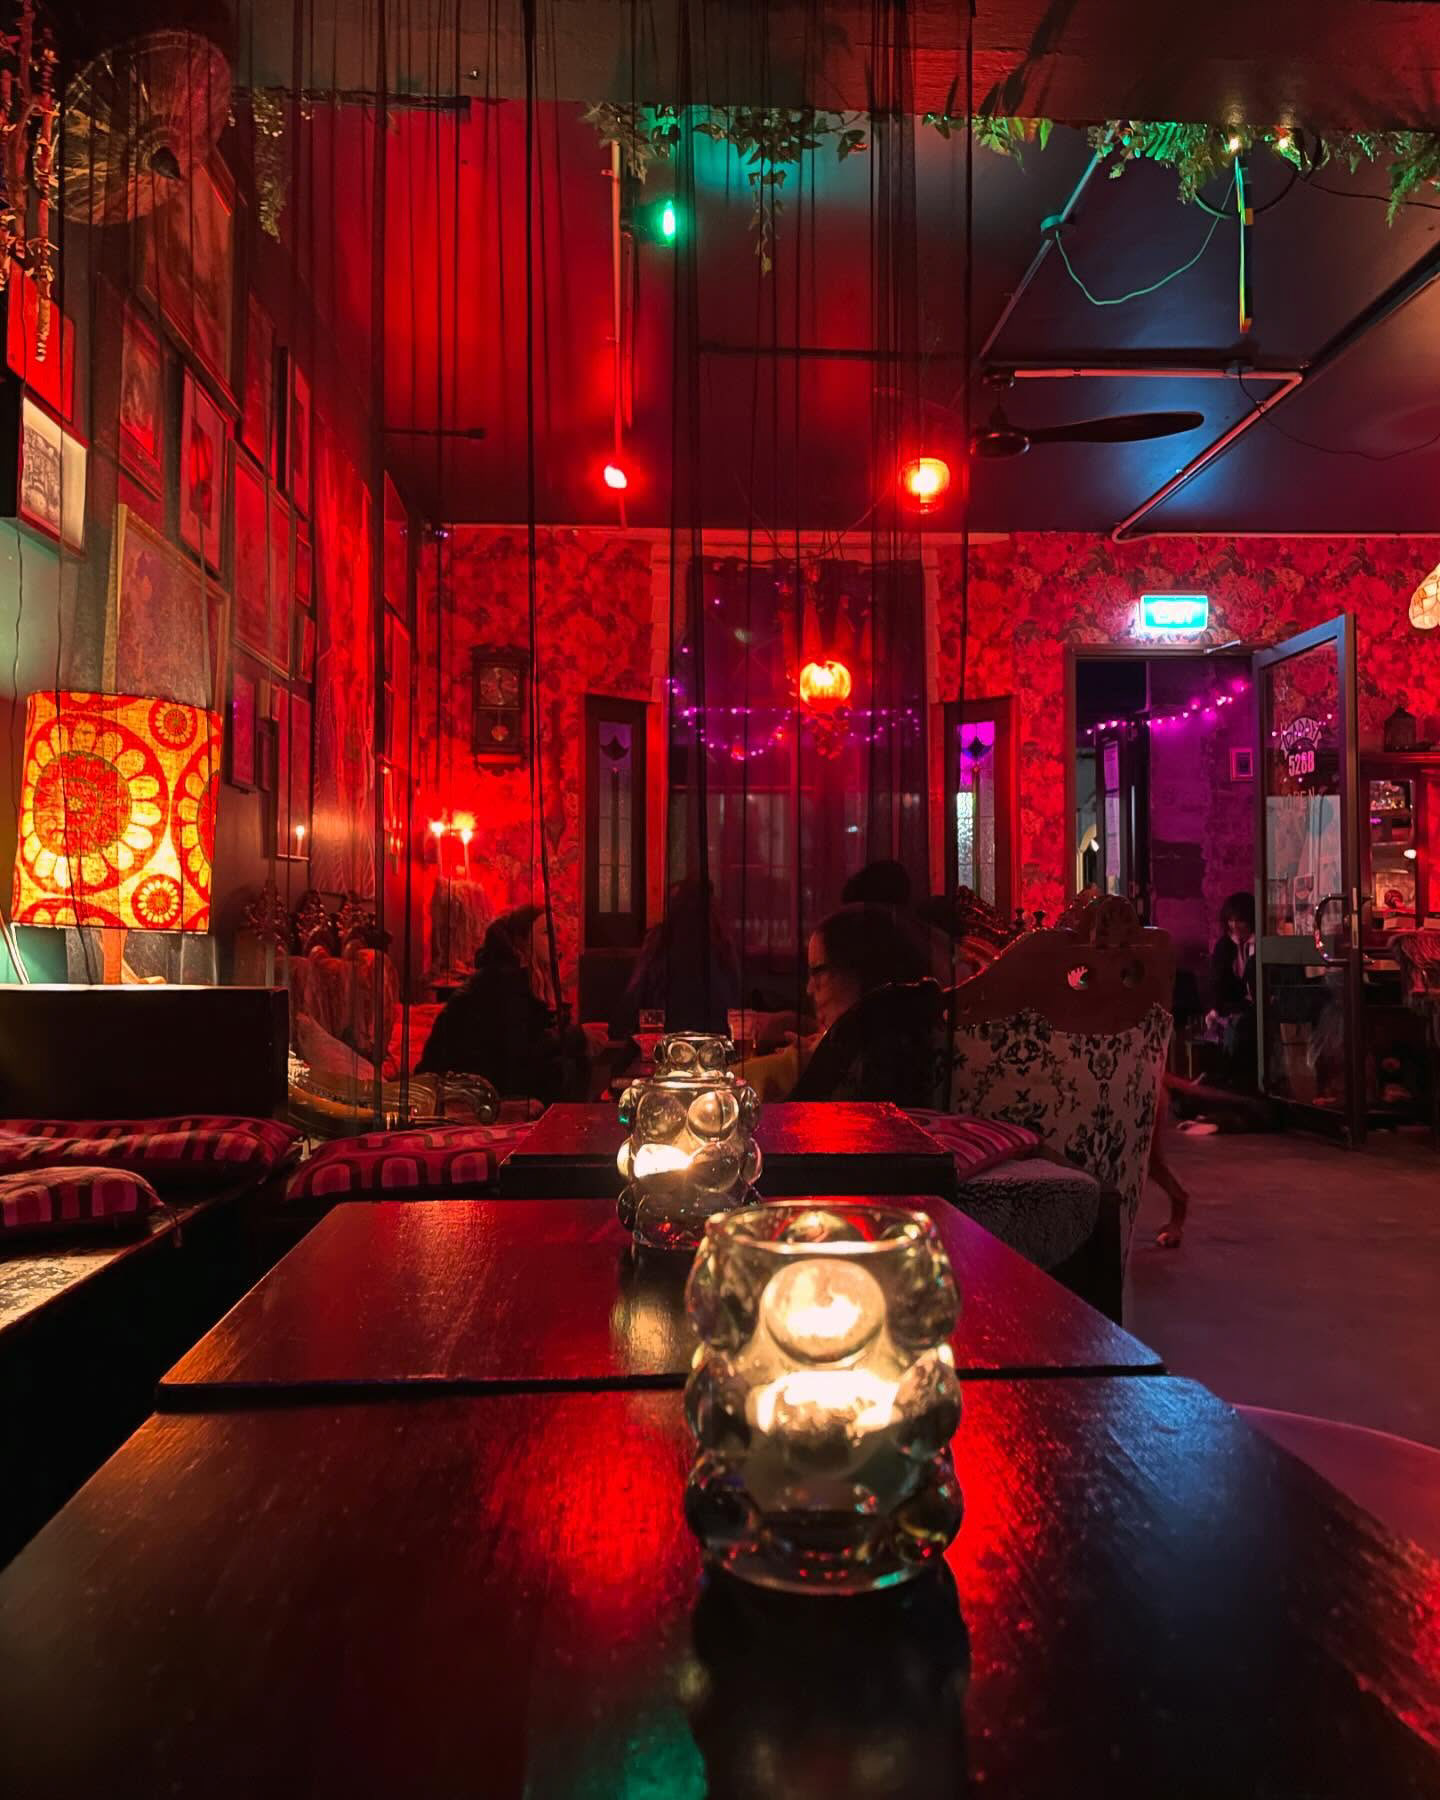
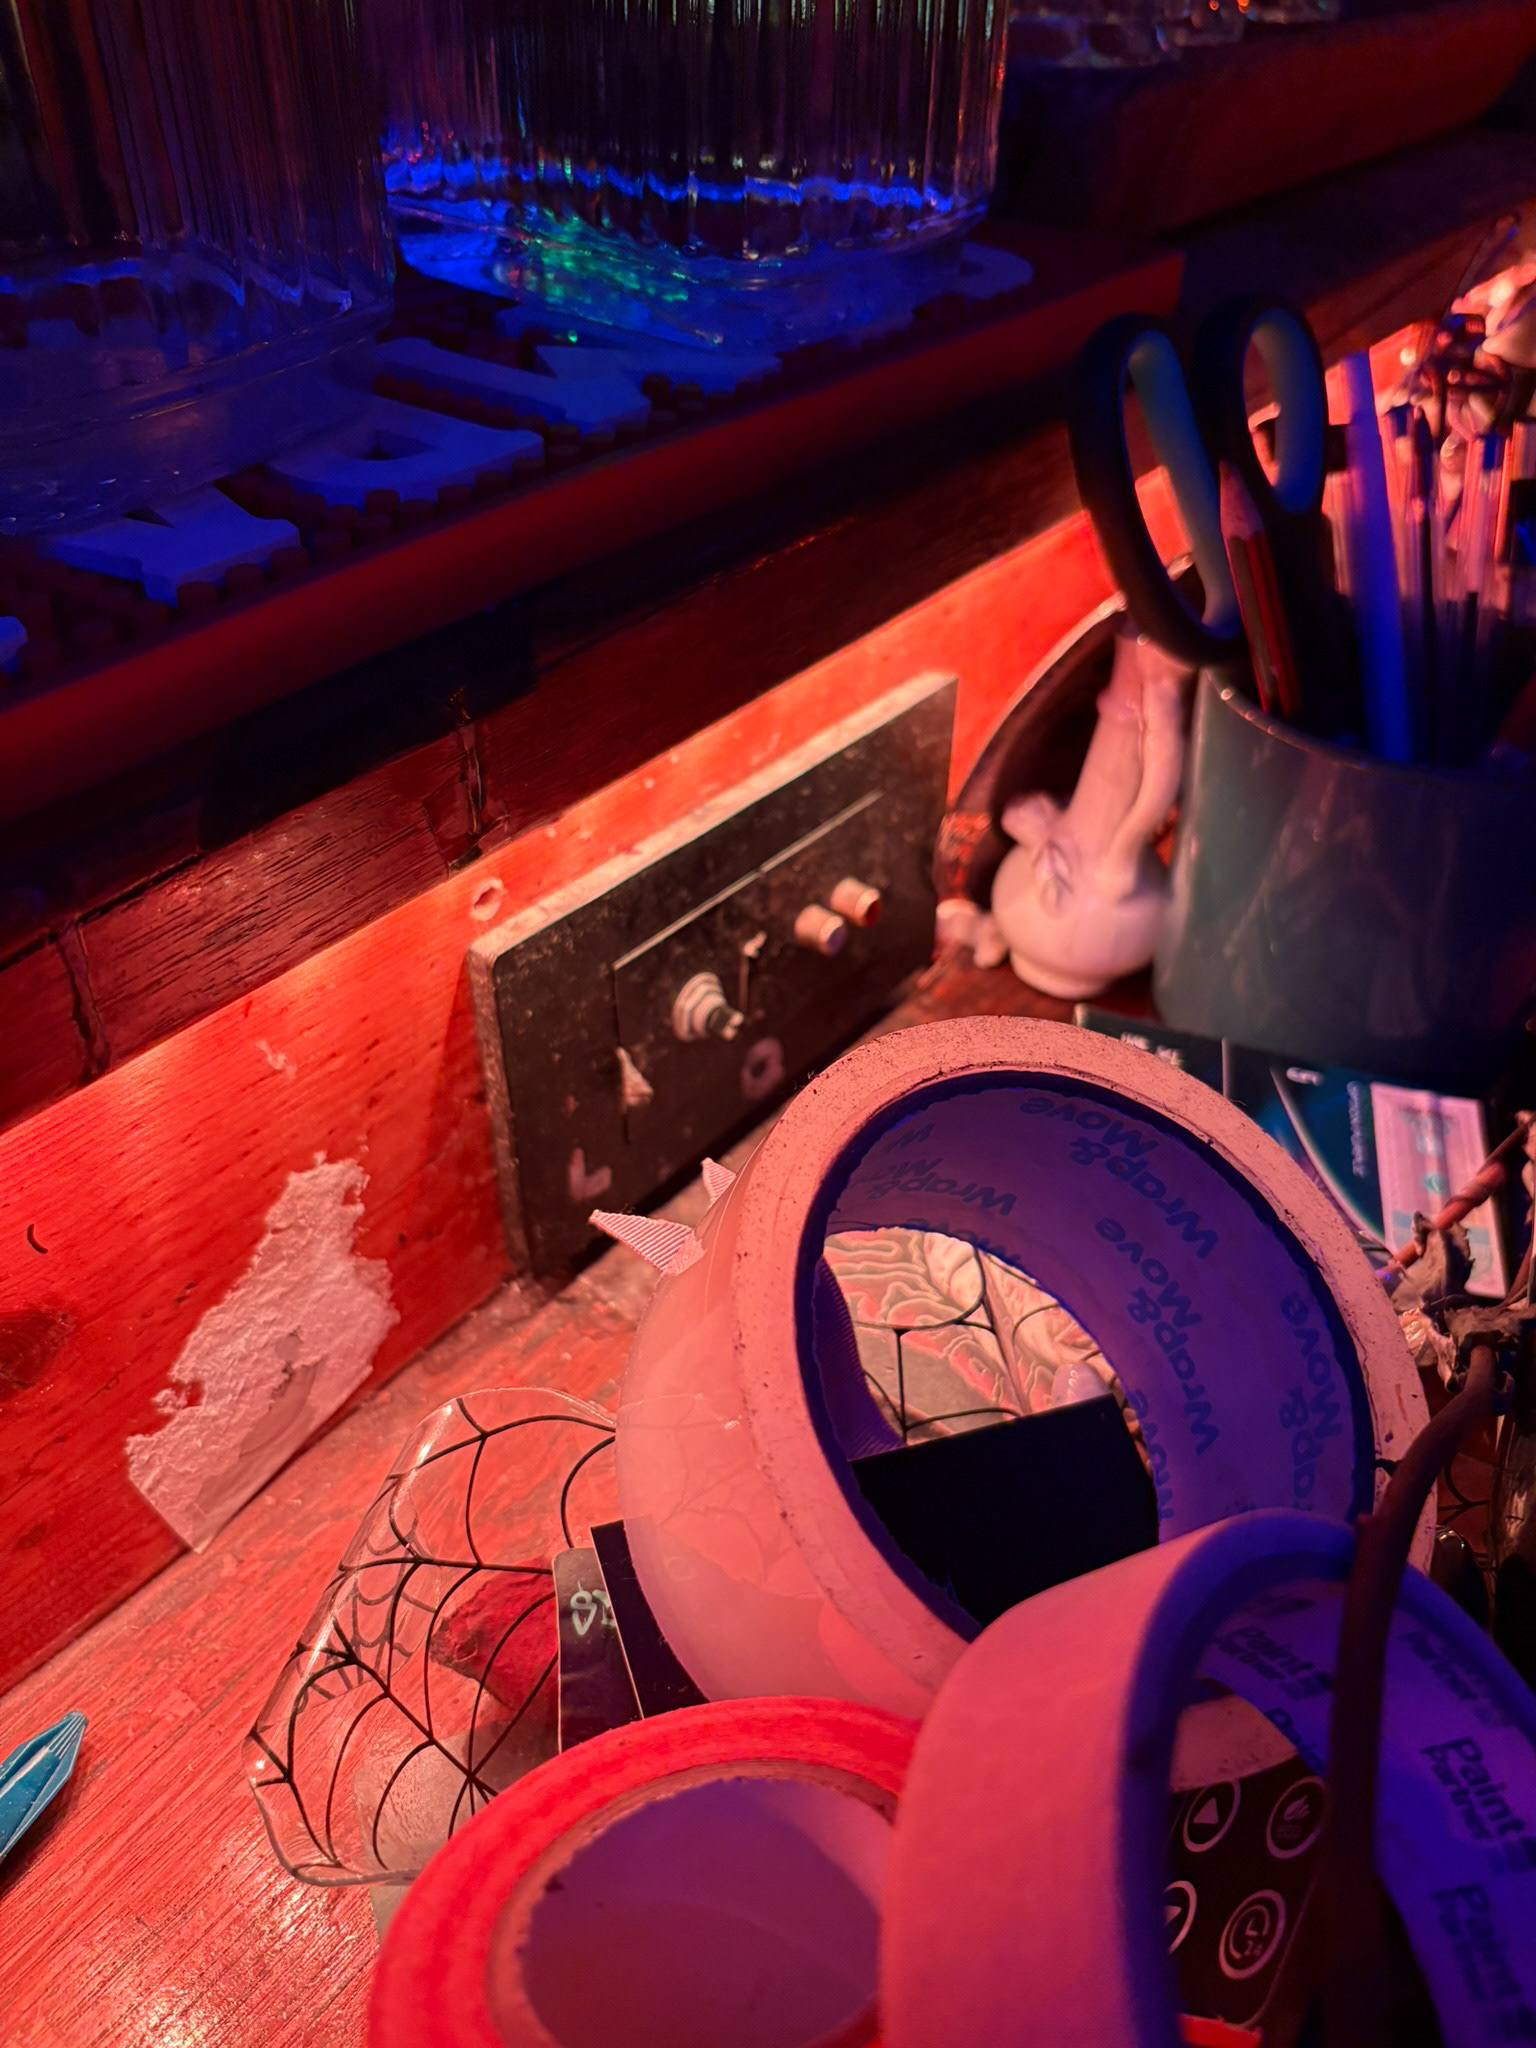
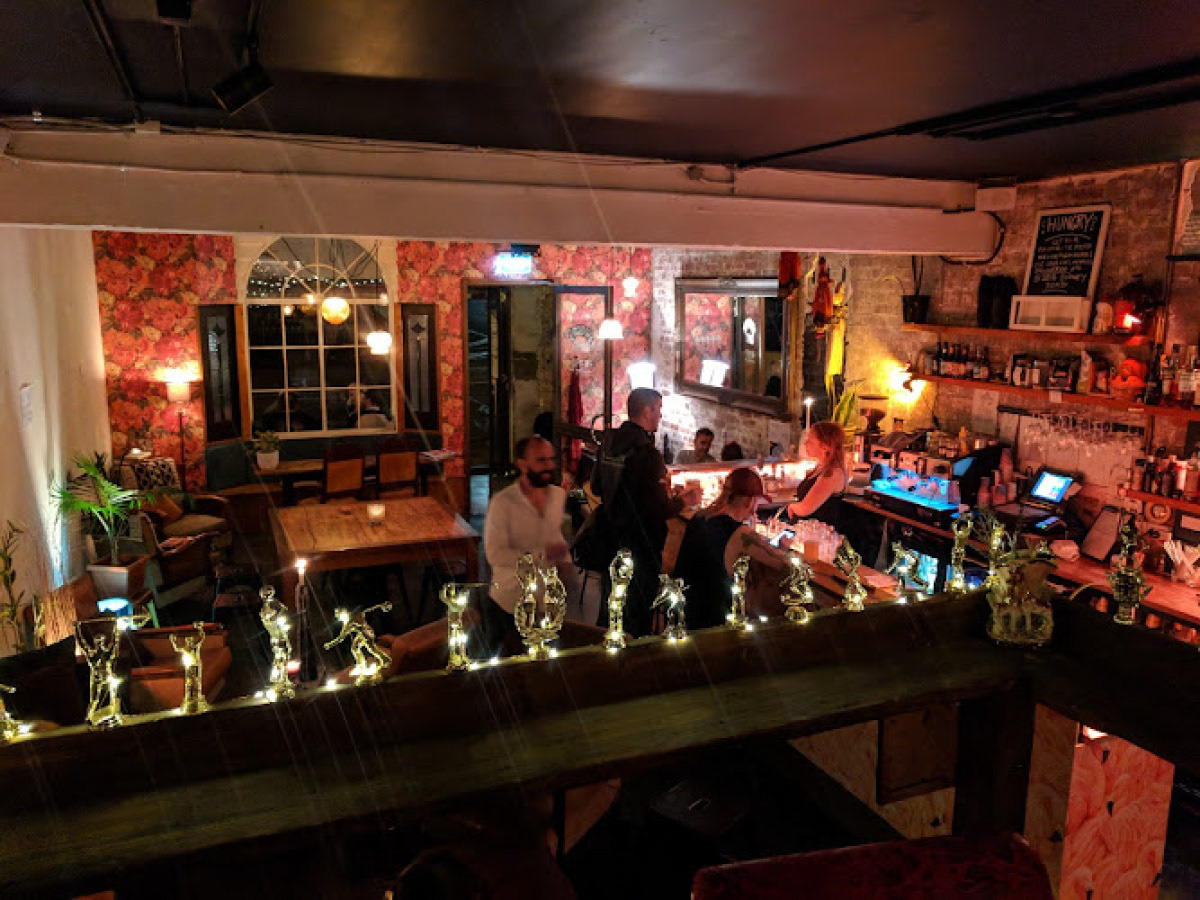
After having discussions with an electrician and the builder, we began planning out how we would install all of the new equipment and what we needed. Nick and Shellie told me about what they were looking for regarding the layout and vibe of the new room. The inside of the old bar (pictured middle above) is what they wanted the new installation to look similar to; they also wanted to prioritise a focus on high-quality audio rather than an extremely powerful PA system, as the majority of the music being played would be more low-key and designed to be less of a focus than other venues such as clubs or raves. They also explained that they would want the new room and old bar to have music synced up so even if you didn't get tickets to see the DJ, you could still hear their set from the old bar. I decided running an extra output signal through a small hole in the wall would be best, as they already had a stereo RCA input (pictured middle right) behind the bar, which the staff used to play the house music from a phone.
Building
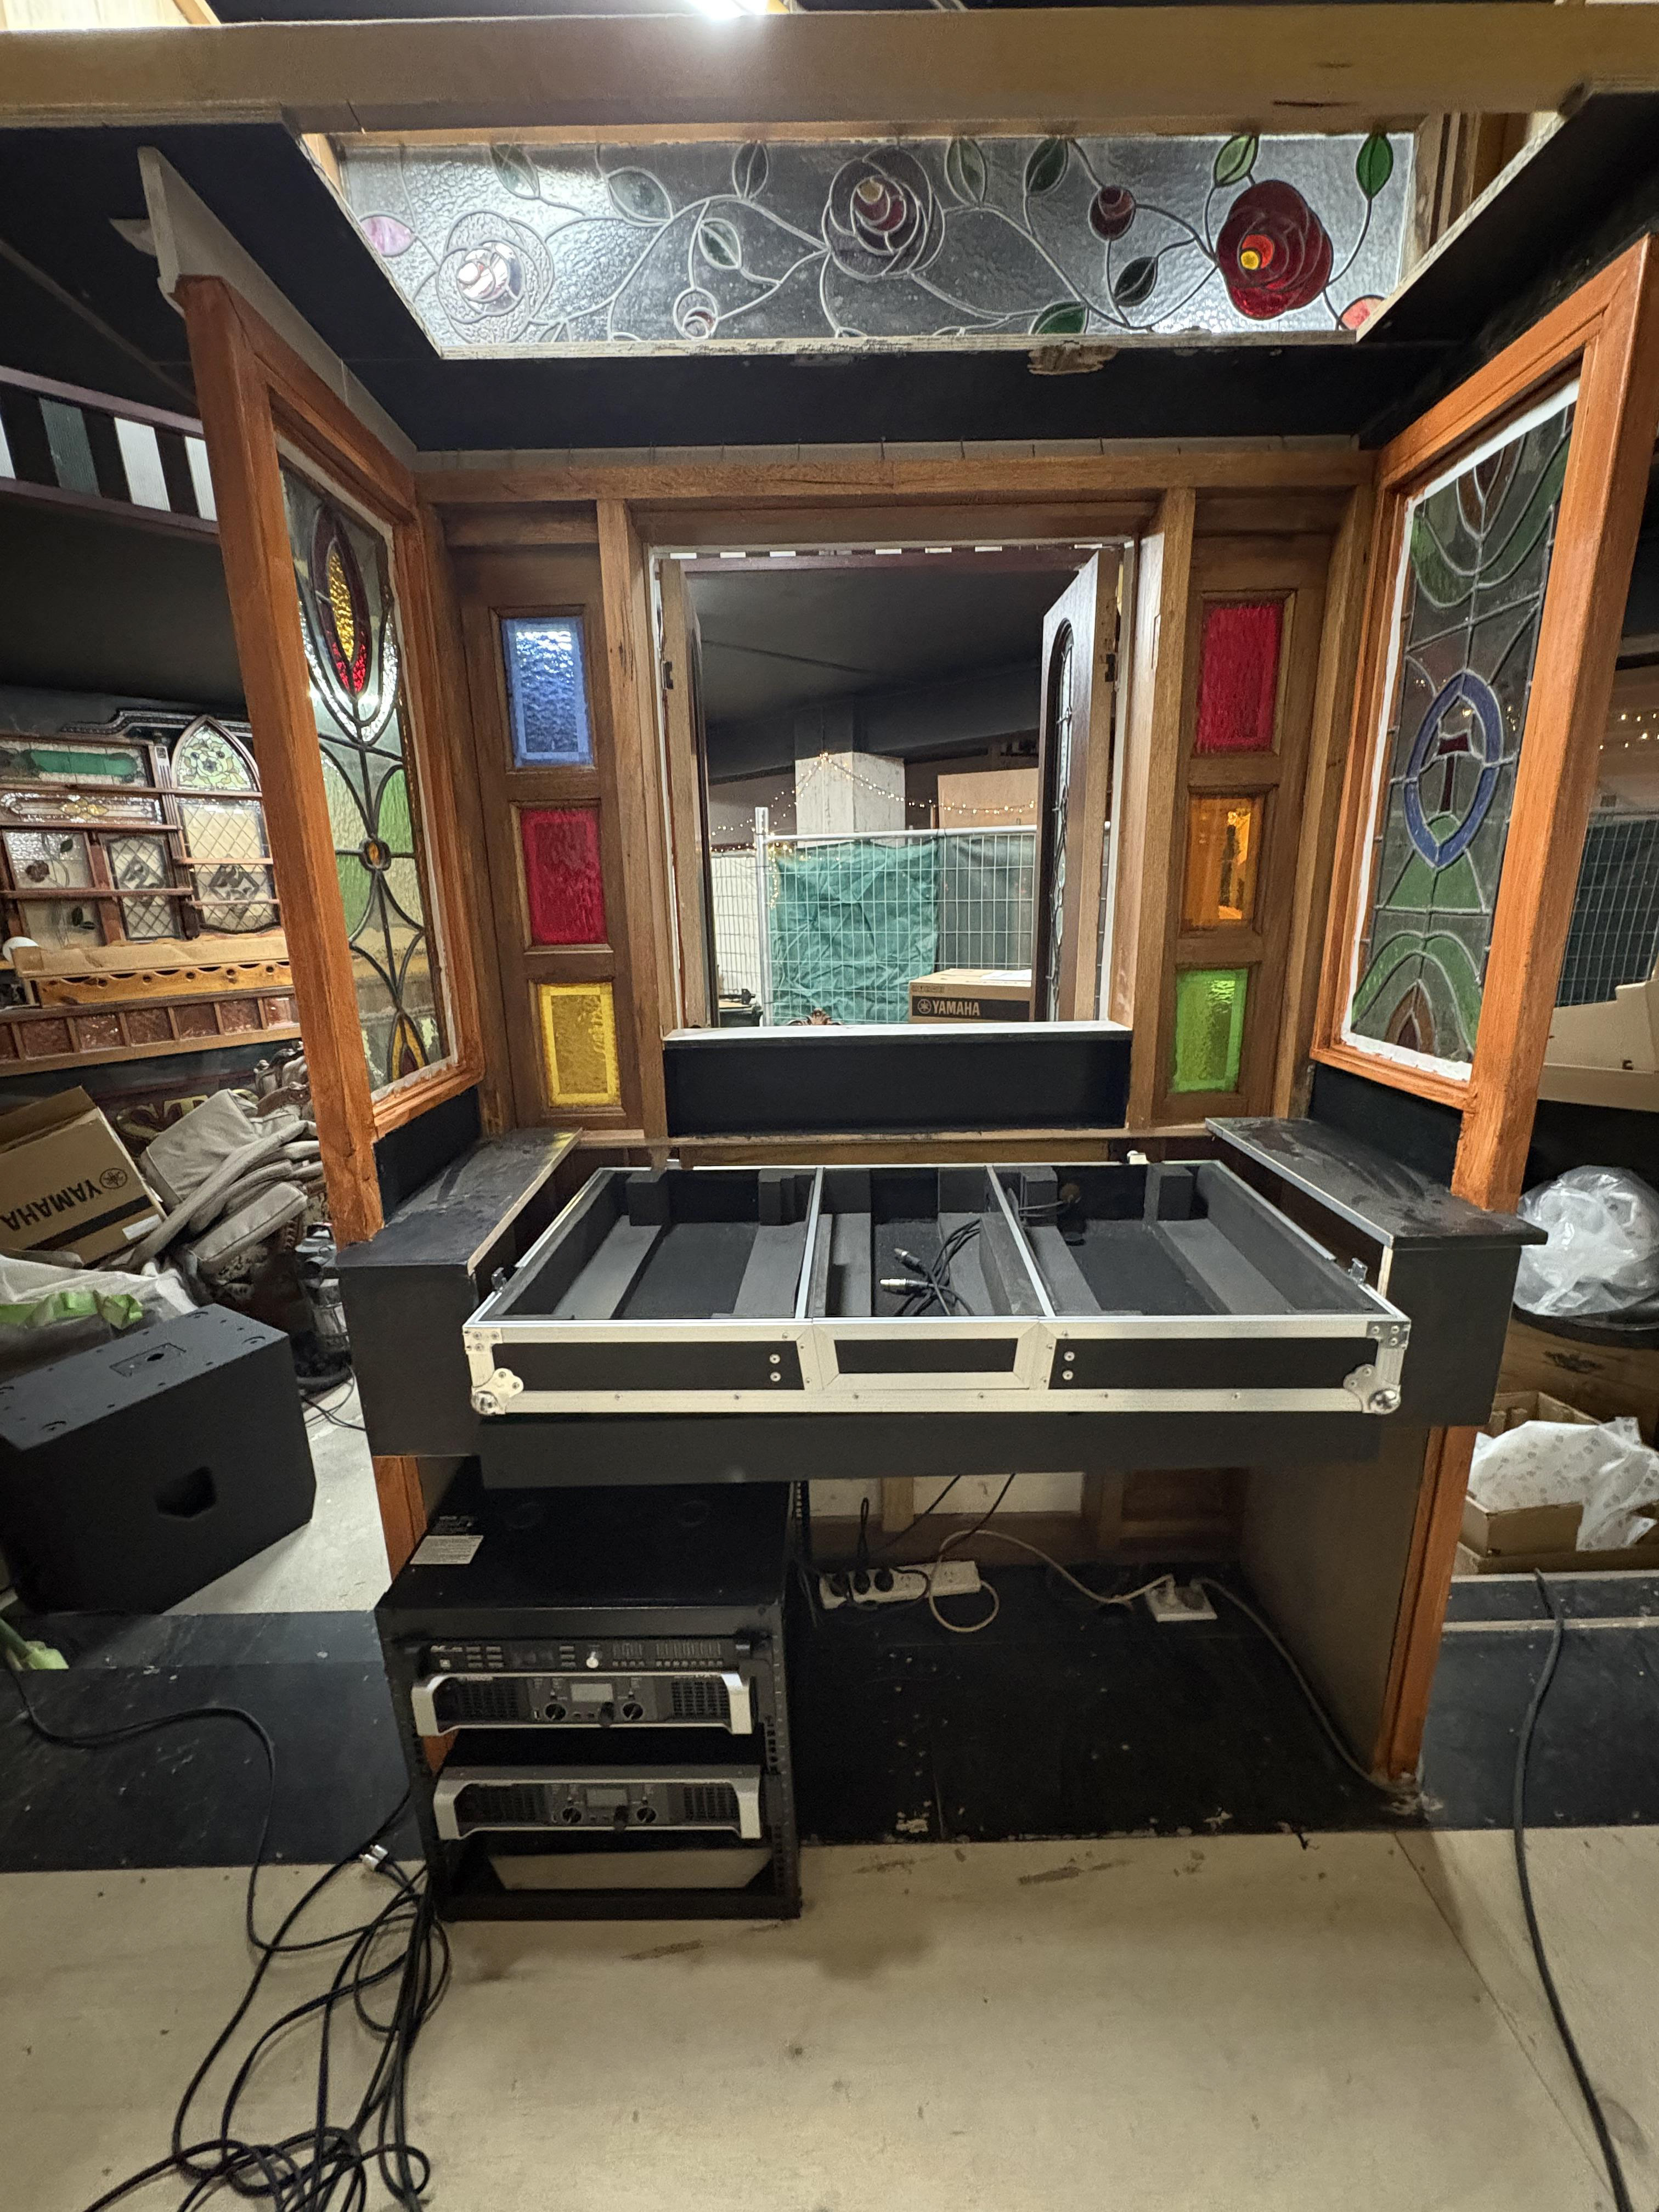
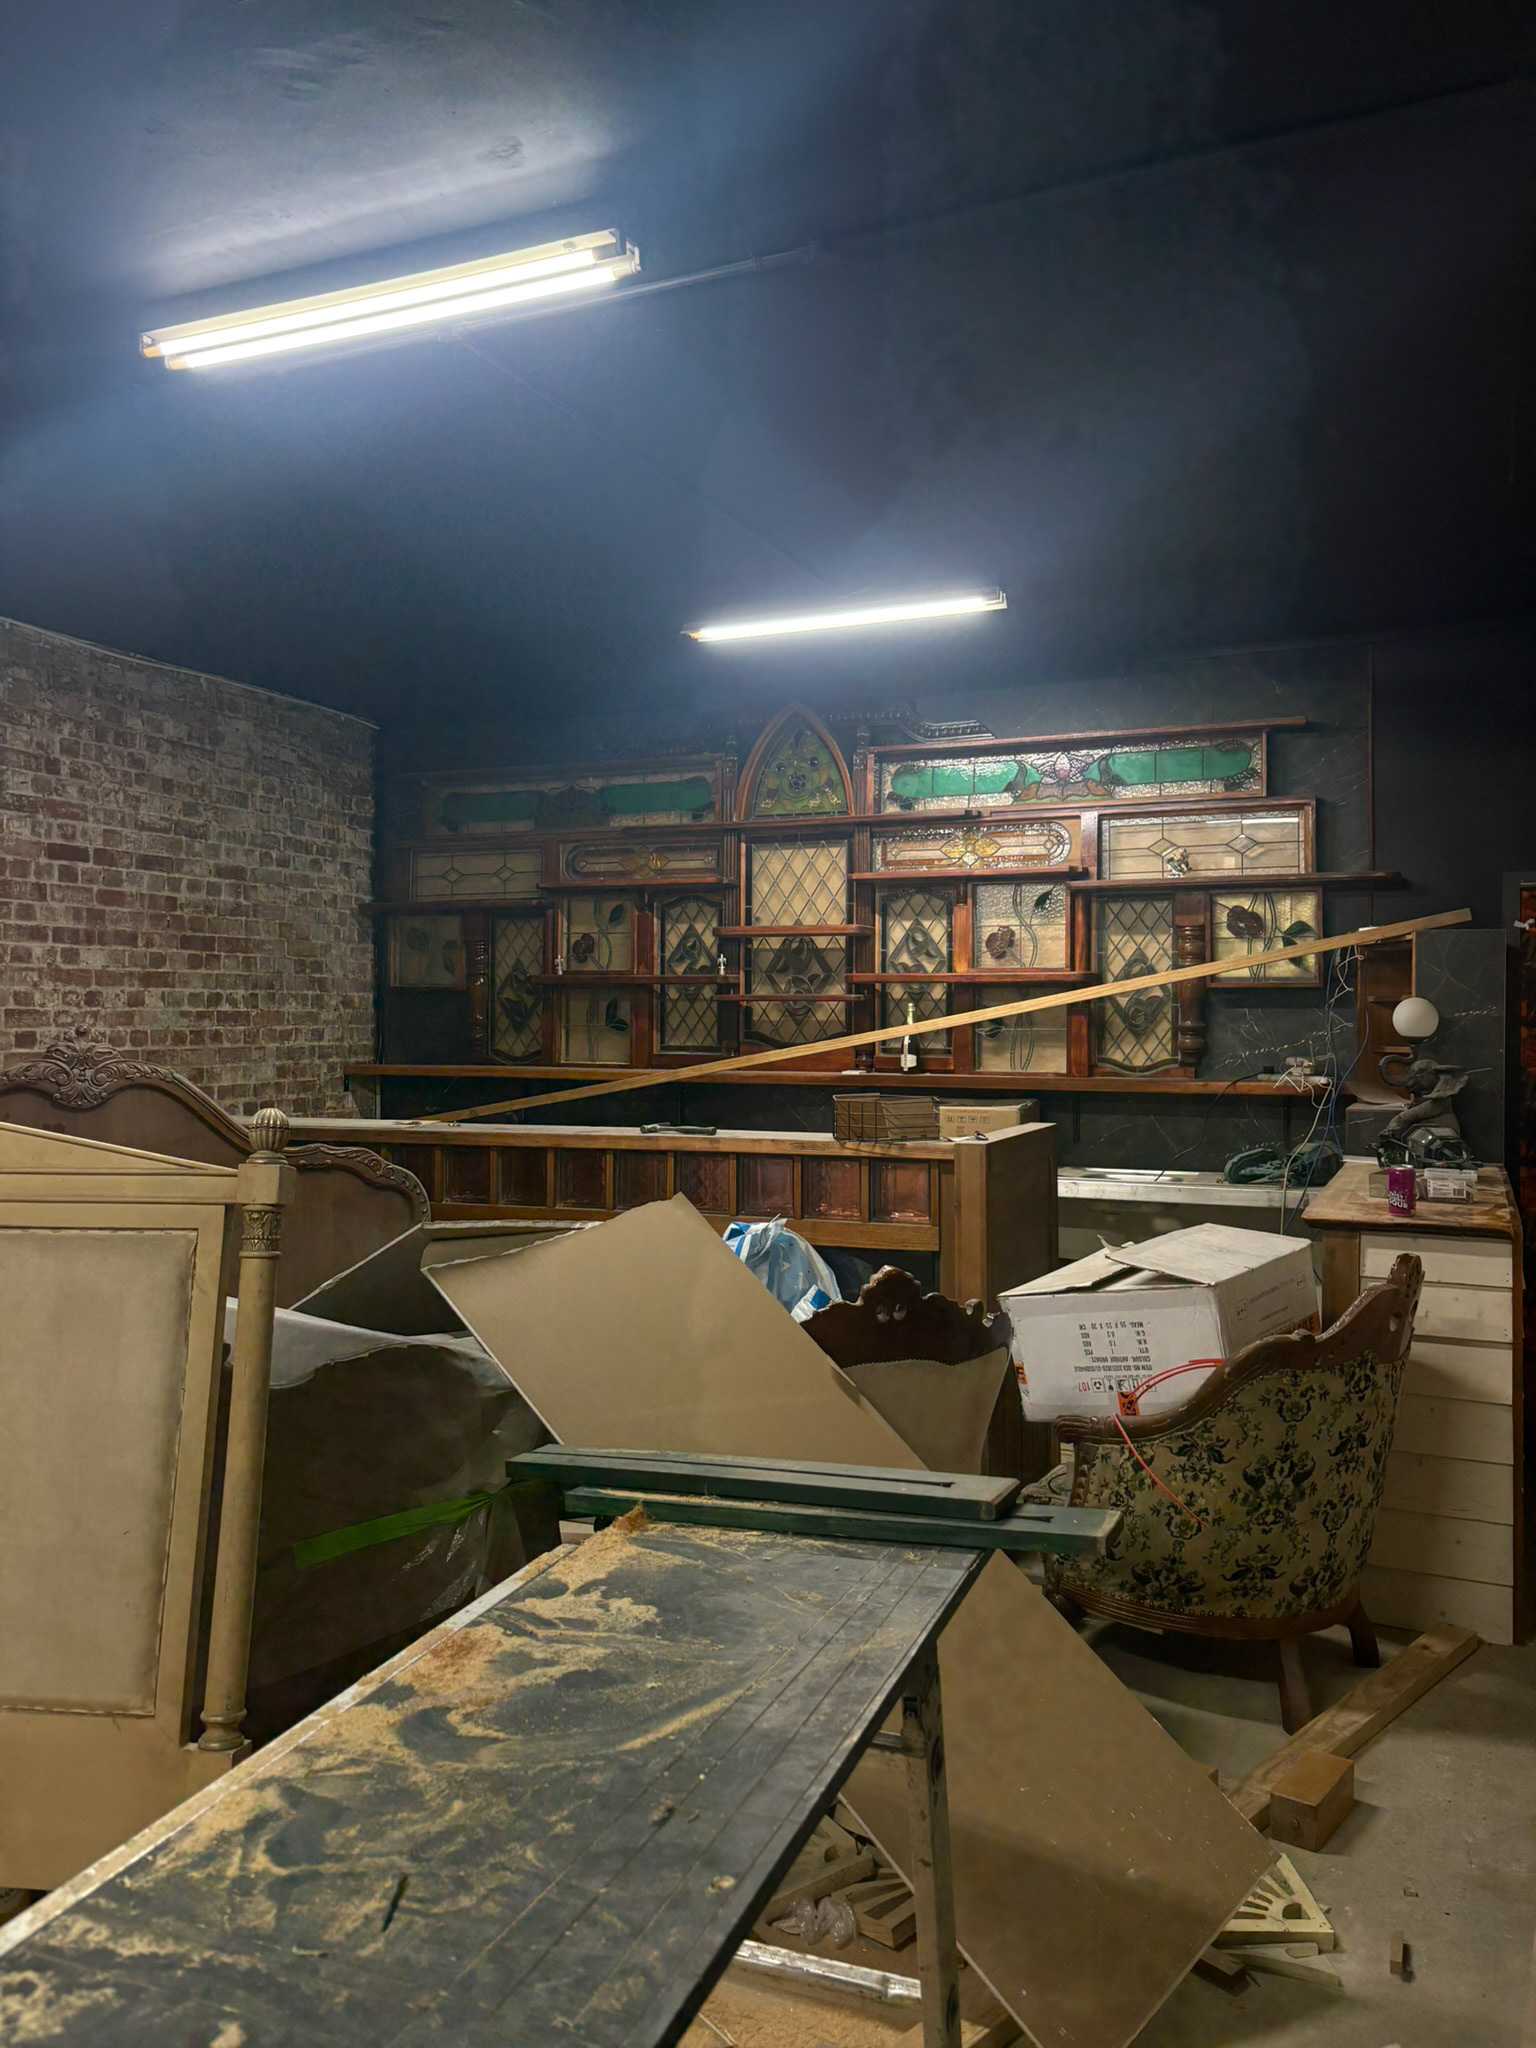
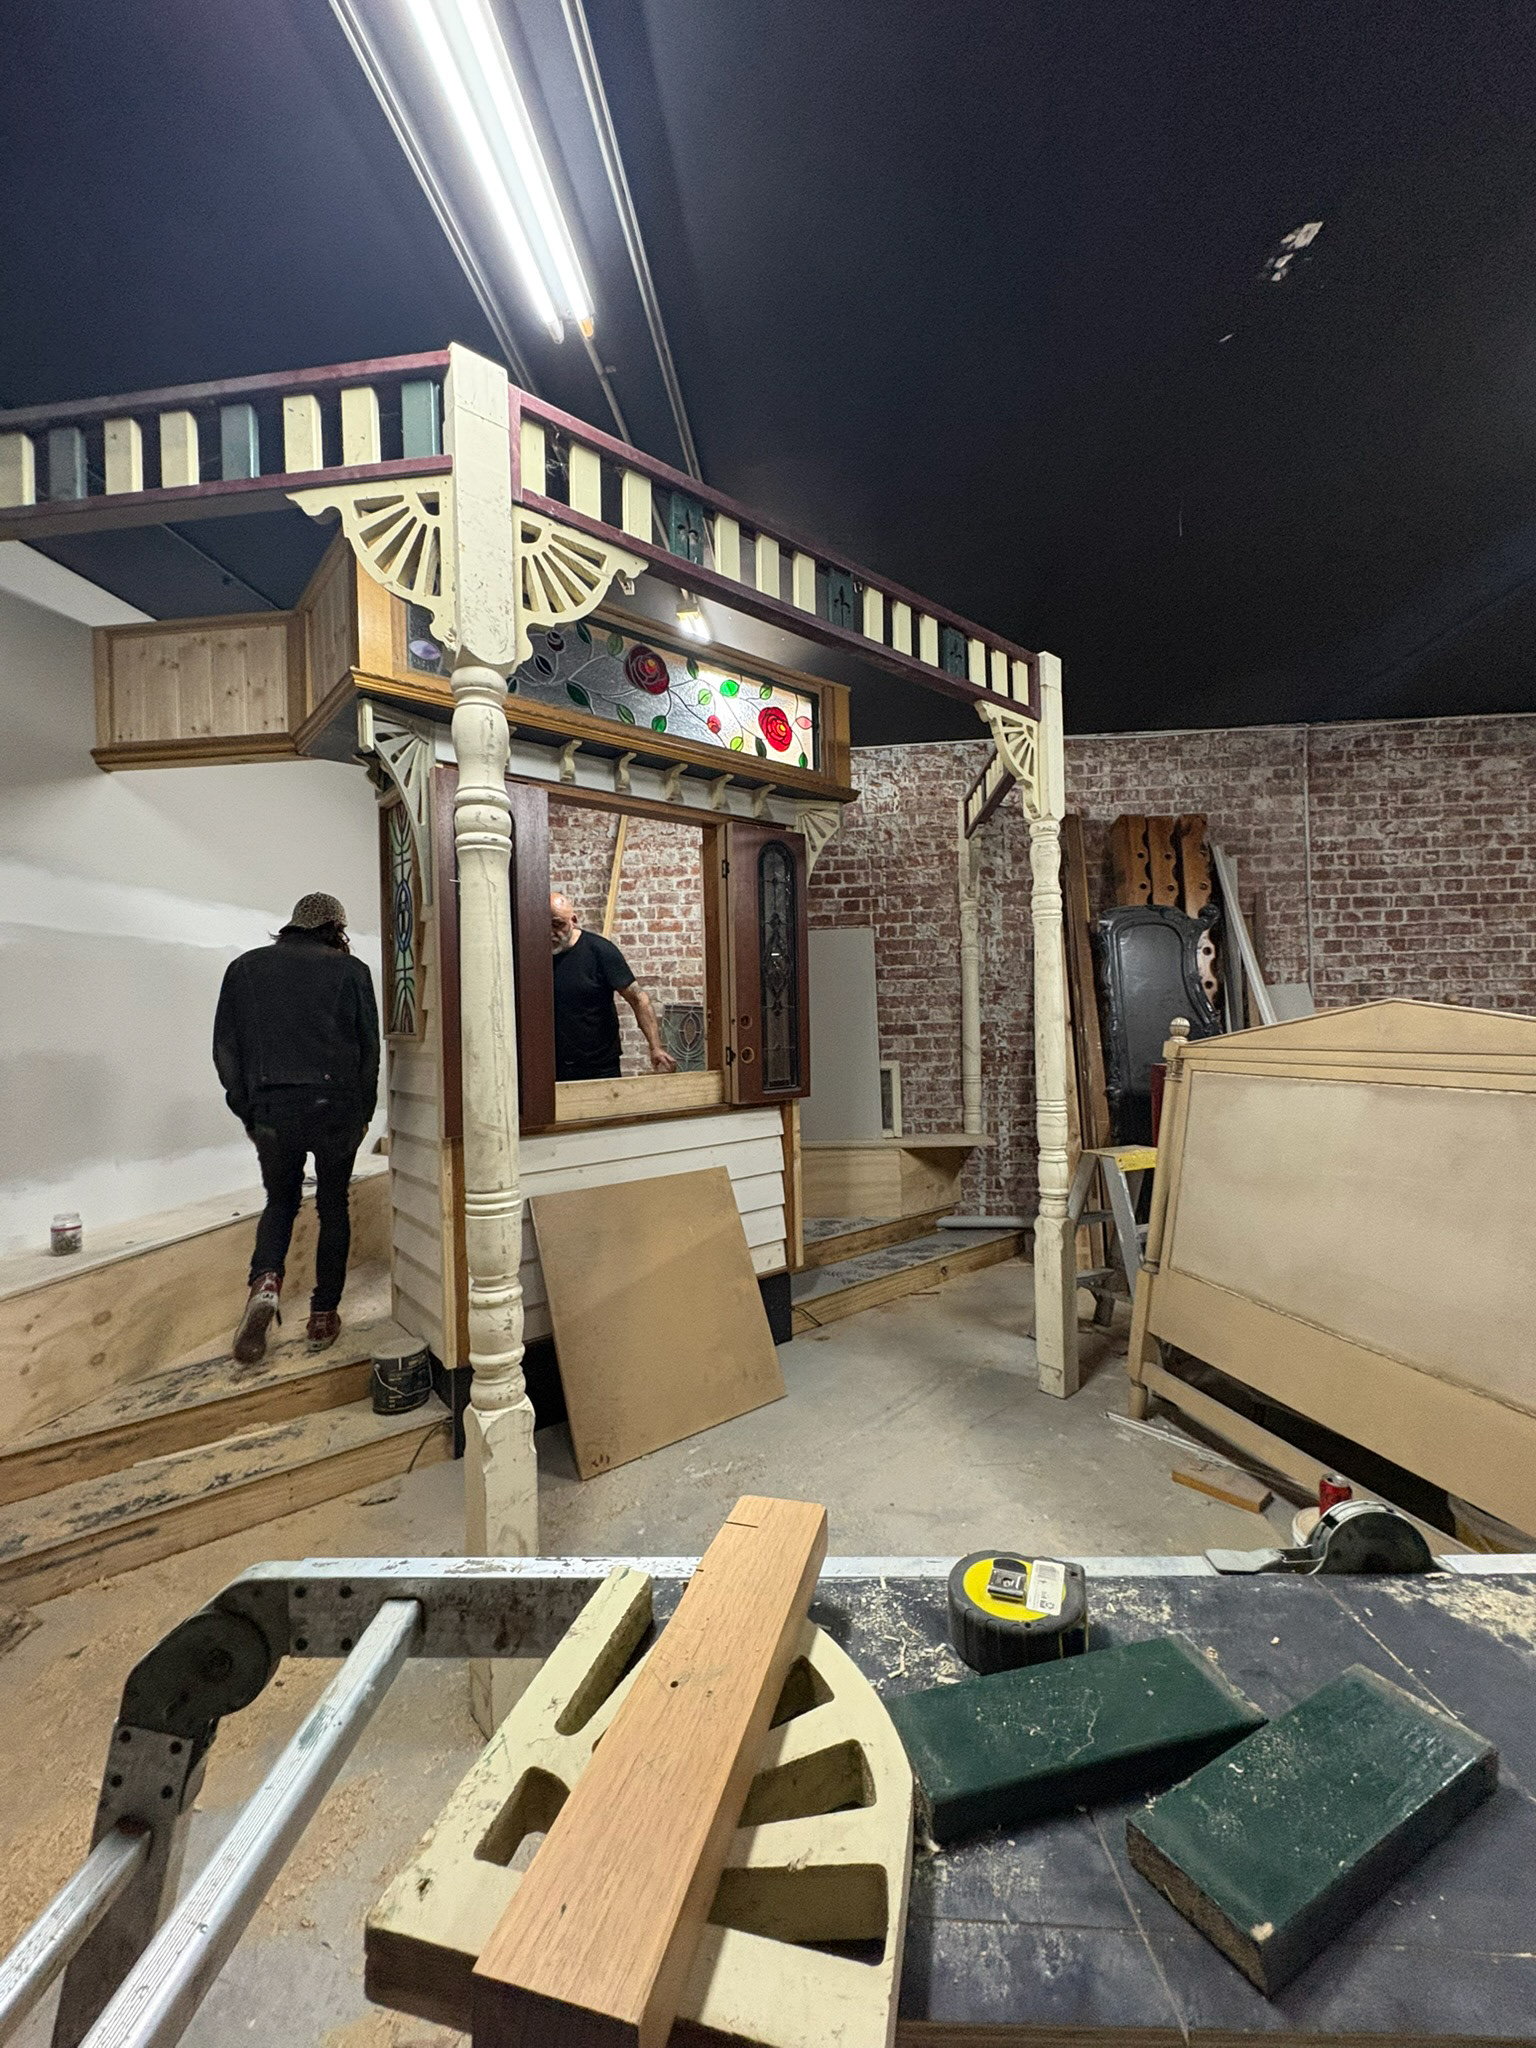
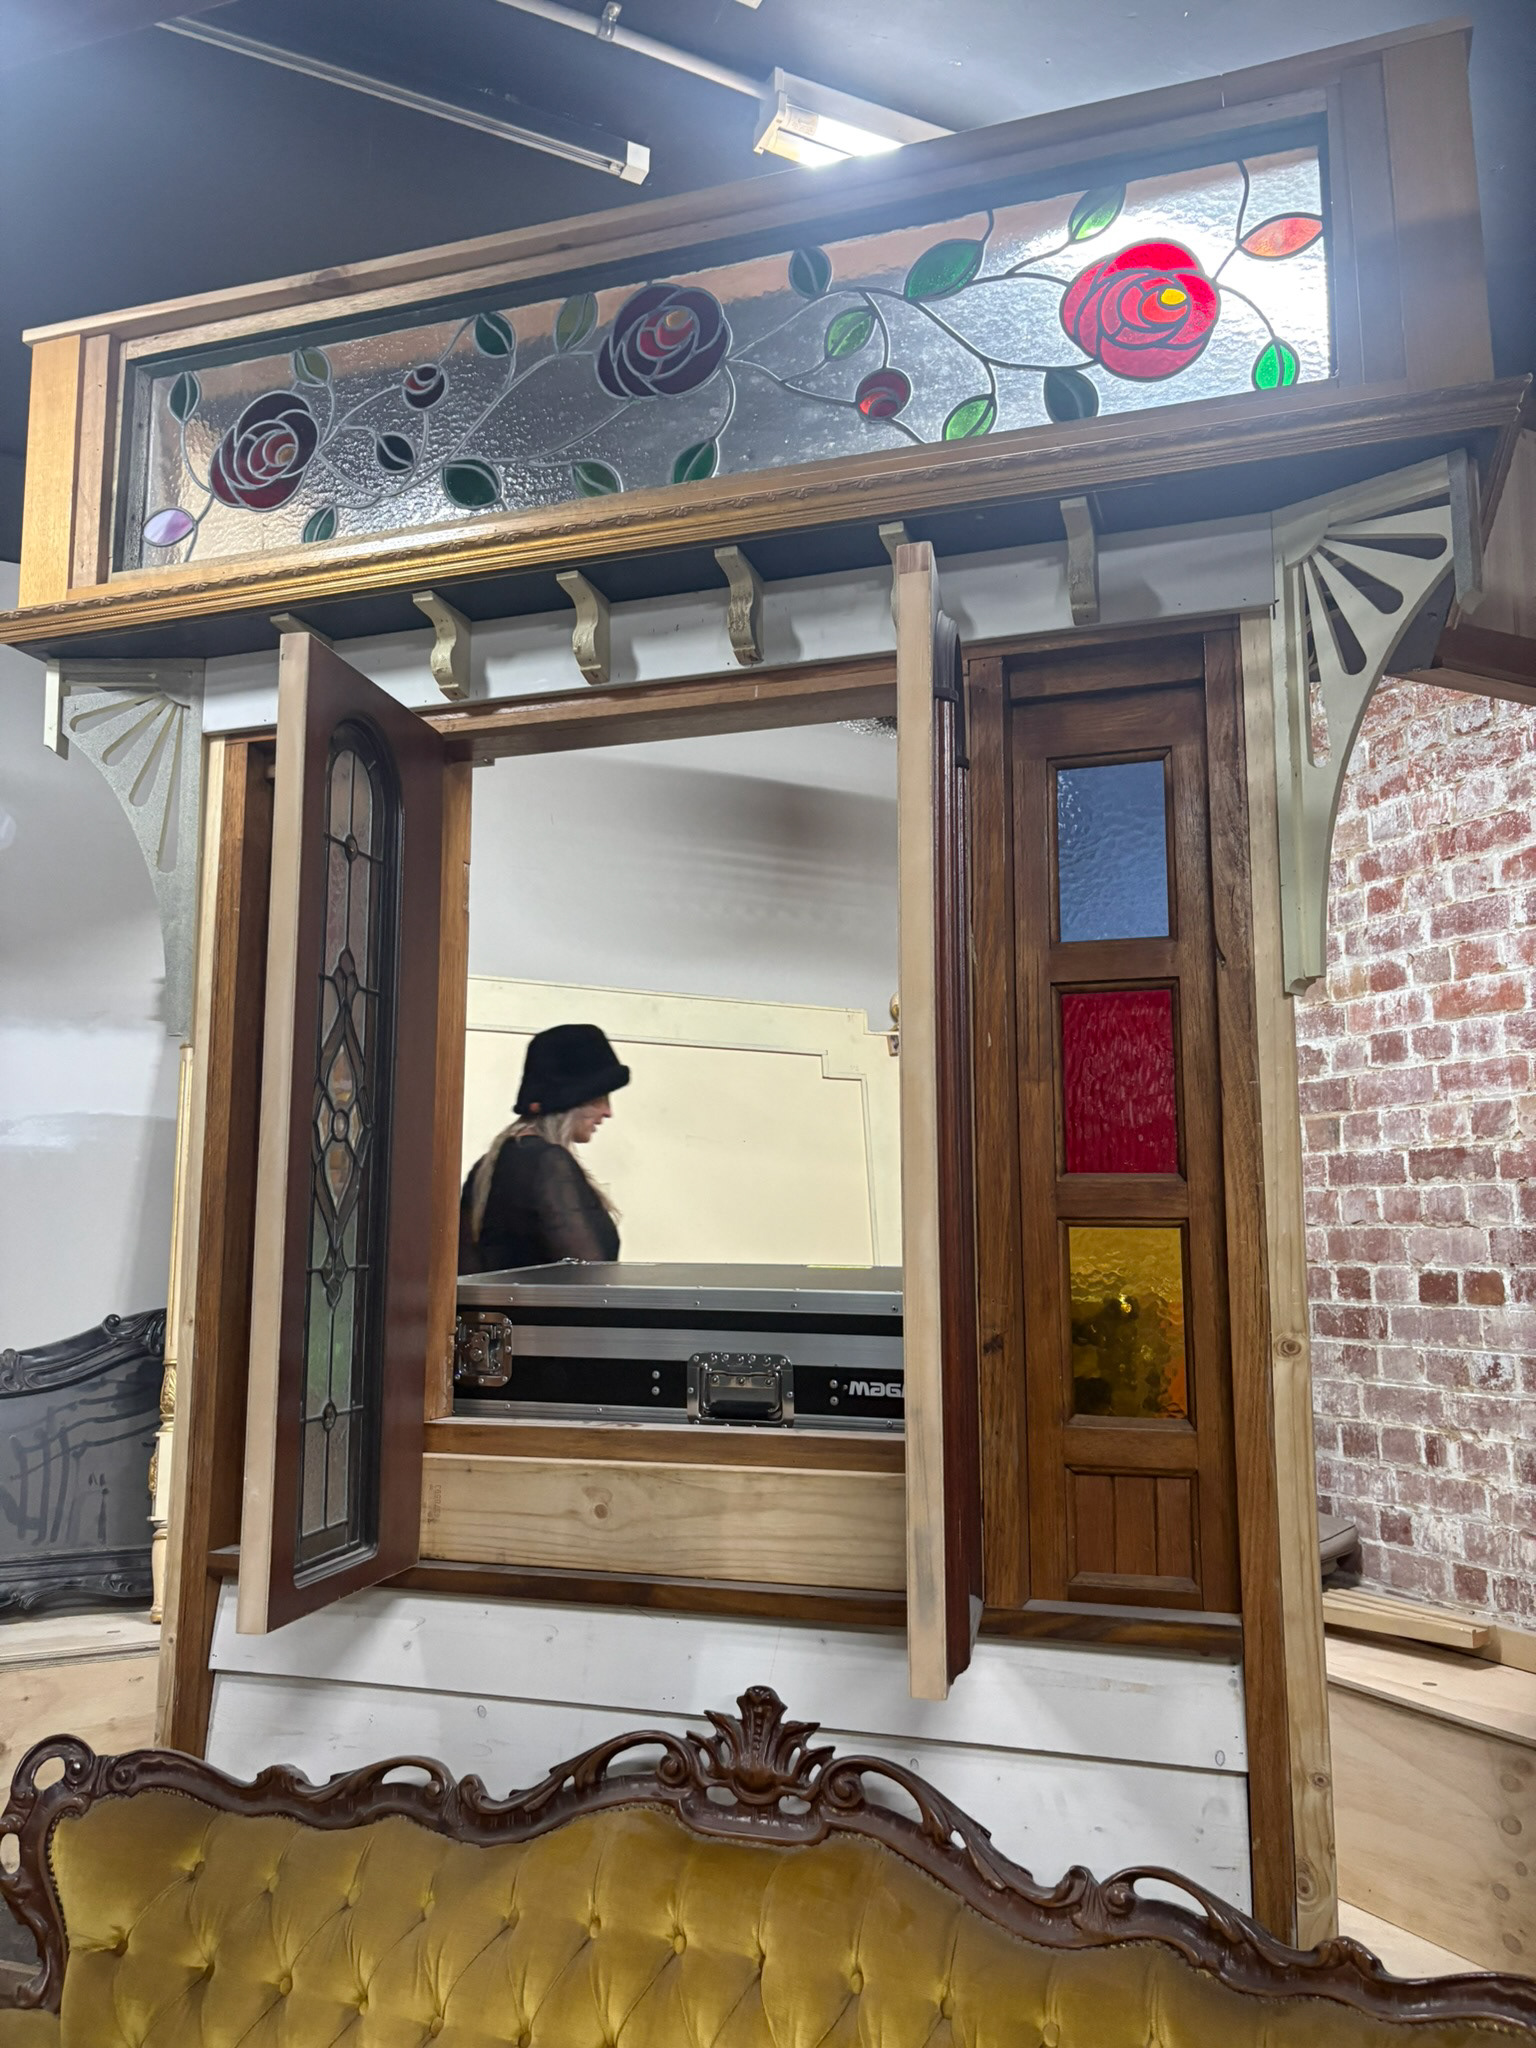
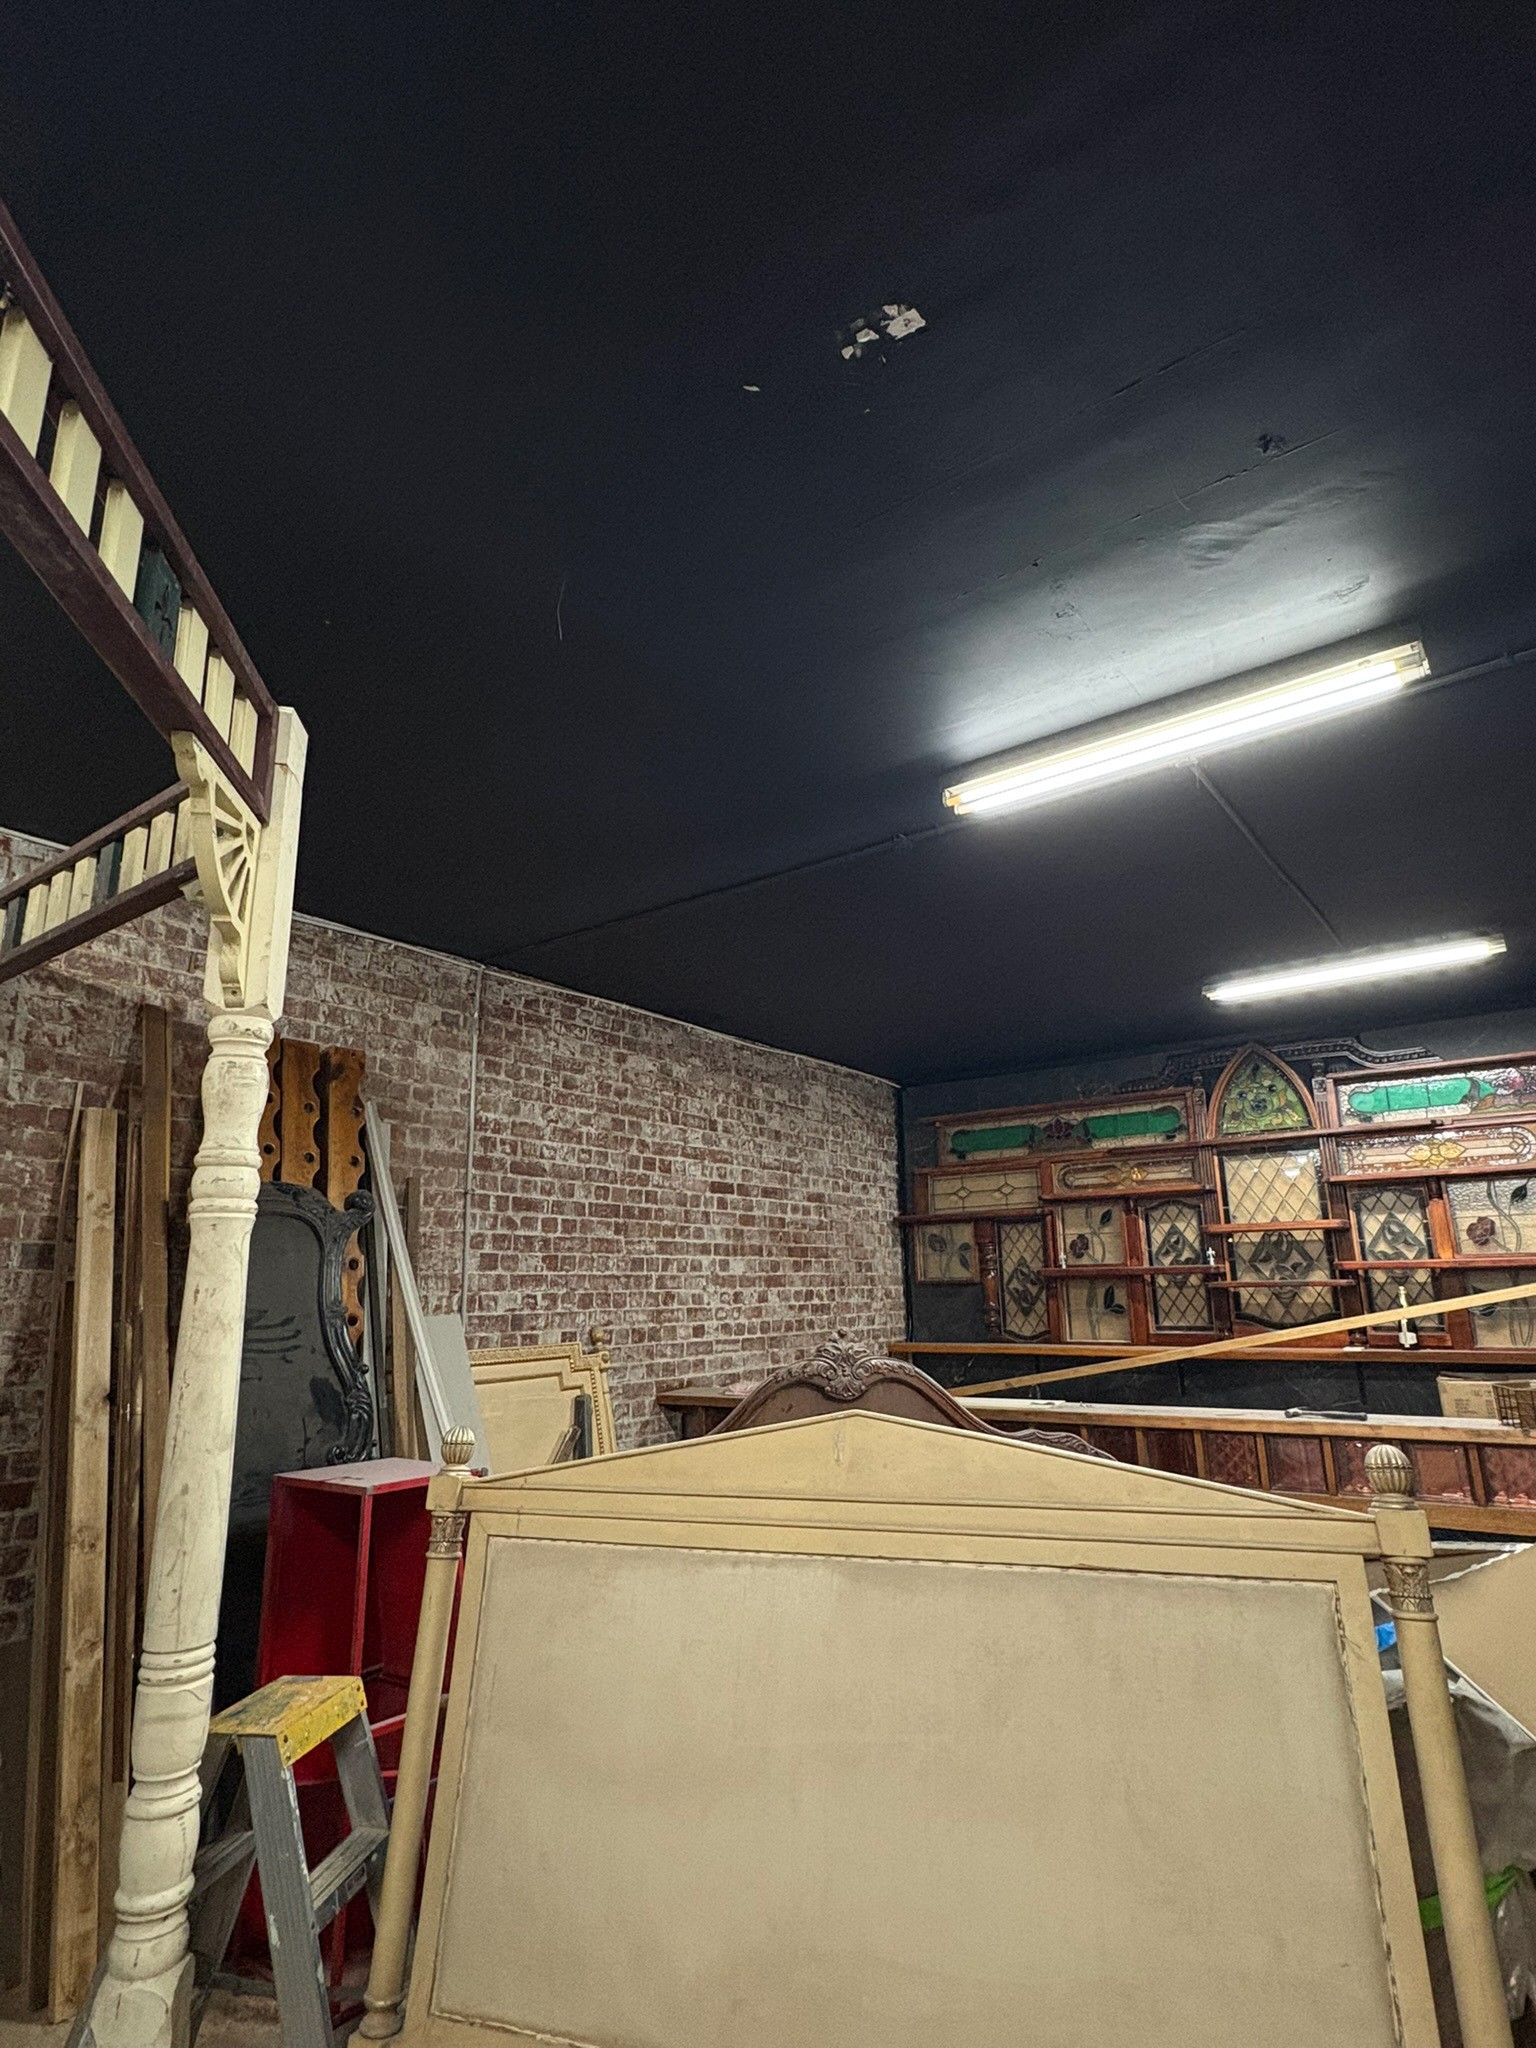
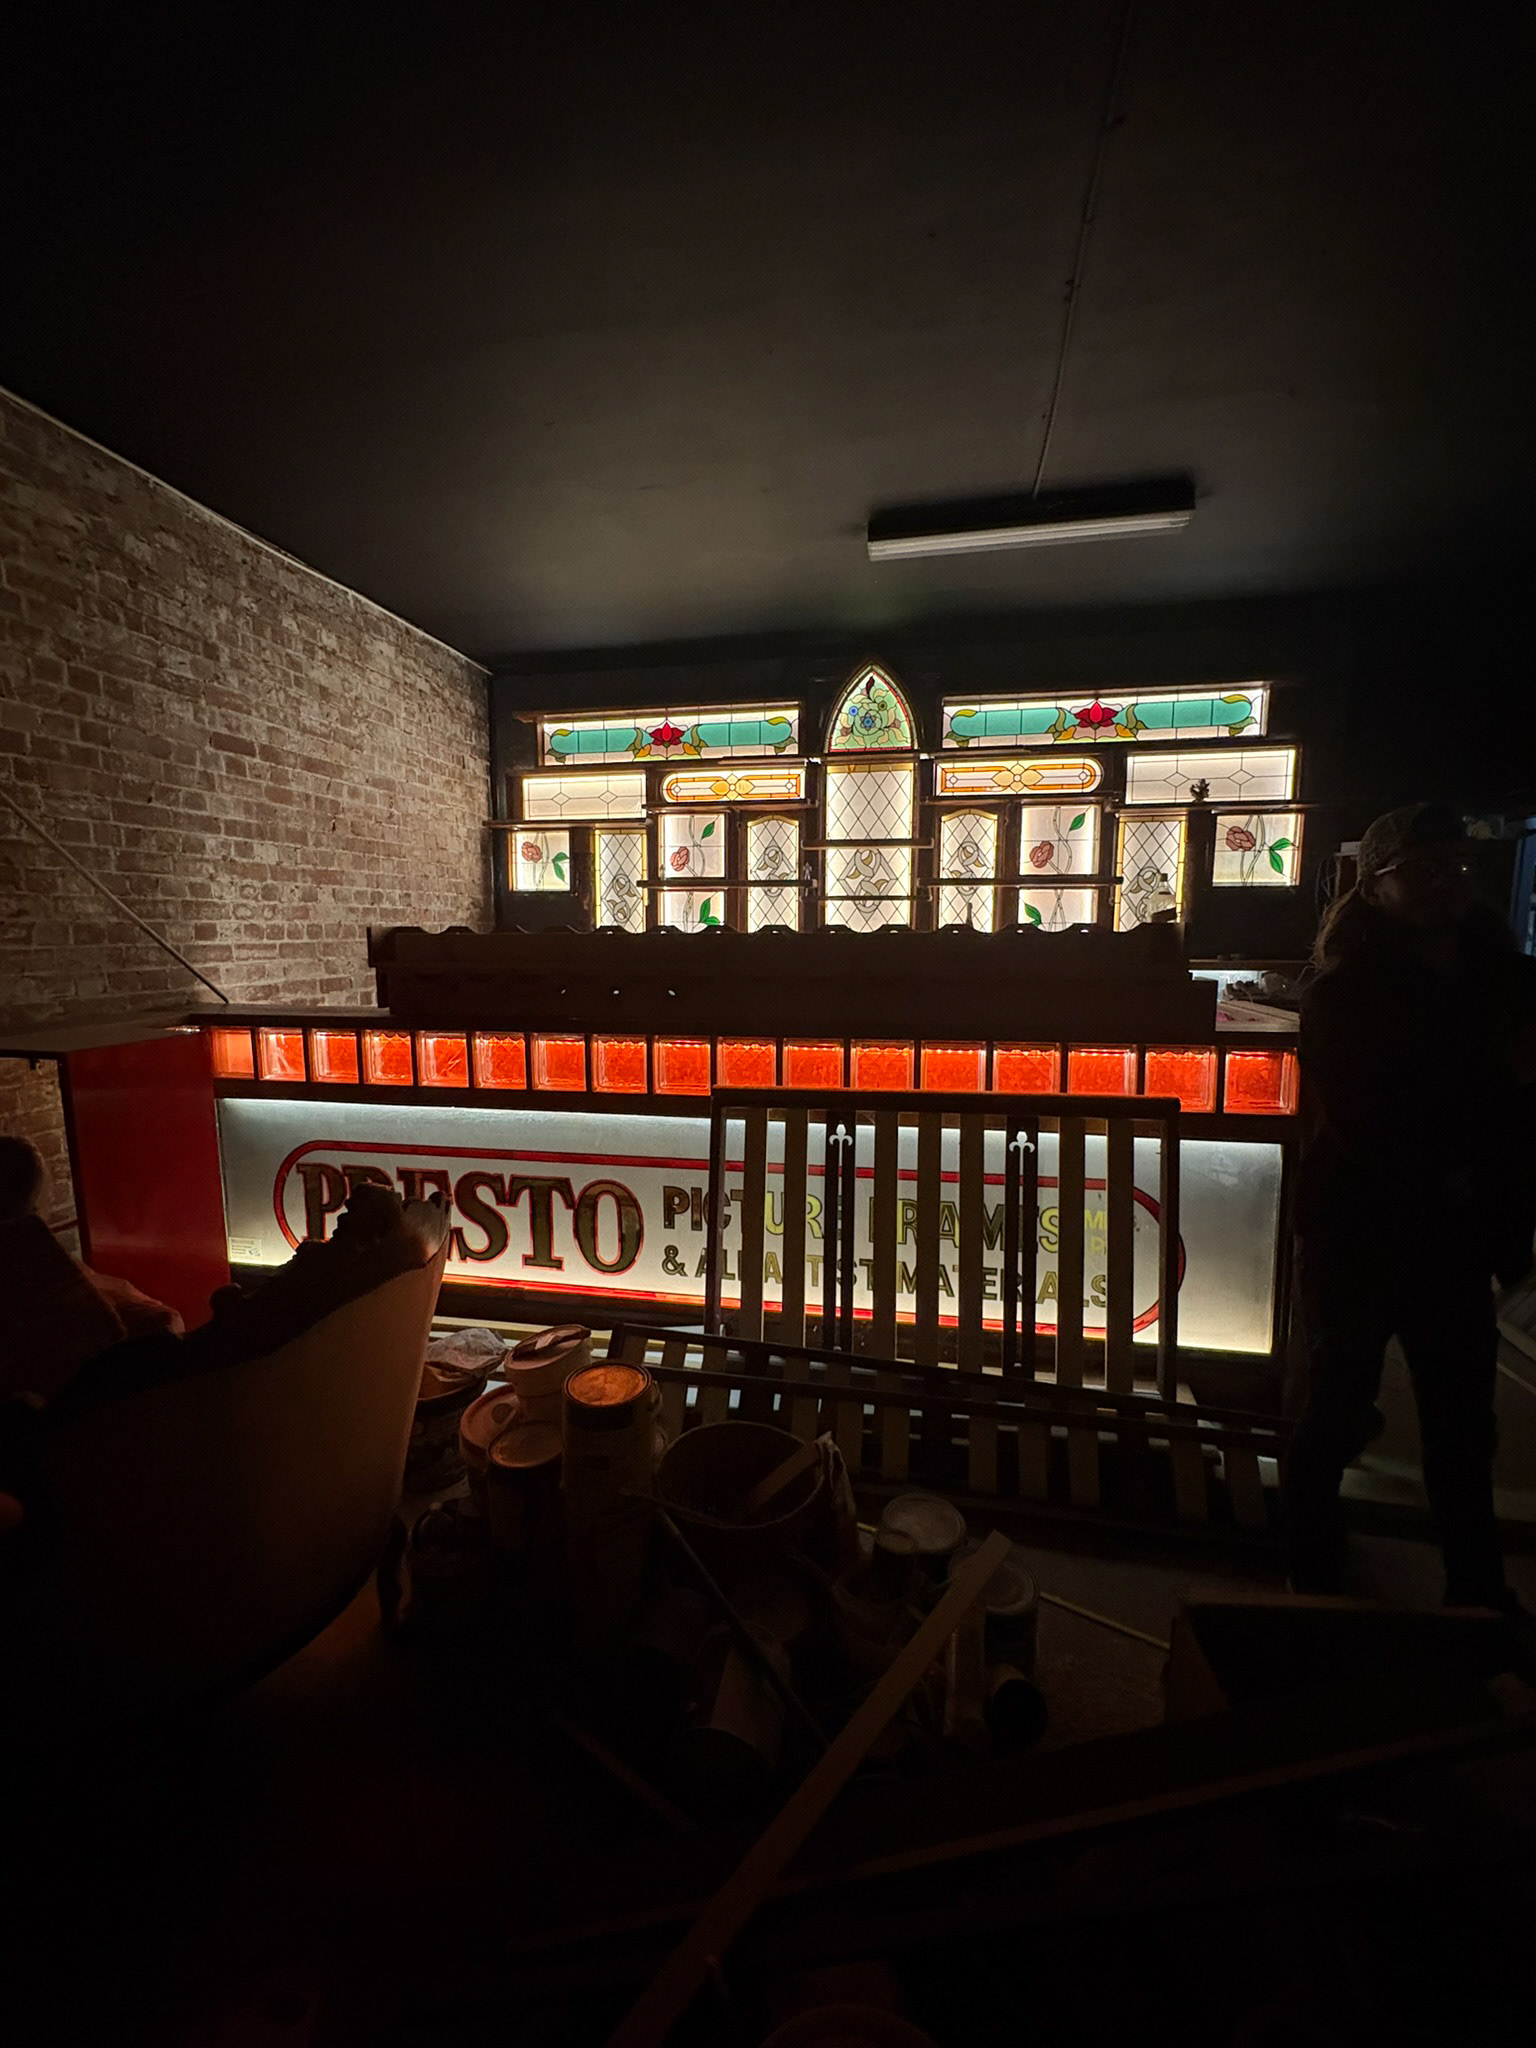
The first steps of the installation was done by the builder and electrician; the DJ booth (pictured middle and right above) were built from scratch and include an opening stained glass window, stage, and benches with storage room inside. The new bar (pictured above left) was also built specifically for the new room. Each of the stained glass panels for the bar and DJ booth were found from different places such as St Patrick's Cathedral in Ballarat and the Castlemaine Town Hall. It took 5 months to acquire enough stained glass panels to cover the back liquor-bottle wall and doors of the DJ booth, the framing and wooden details were then built around each of the glass panels for seamless integration. The lower part of the bar (pictured below) labelled "Presto Picture Frames" was taken directly from the previous venue's front window (below).

Audio Preparation
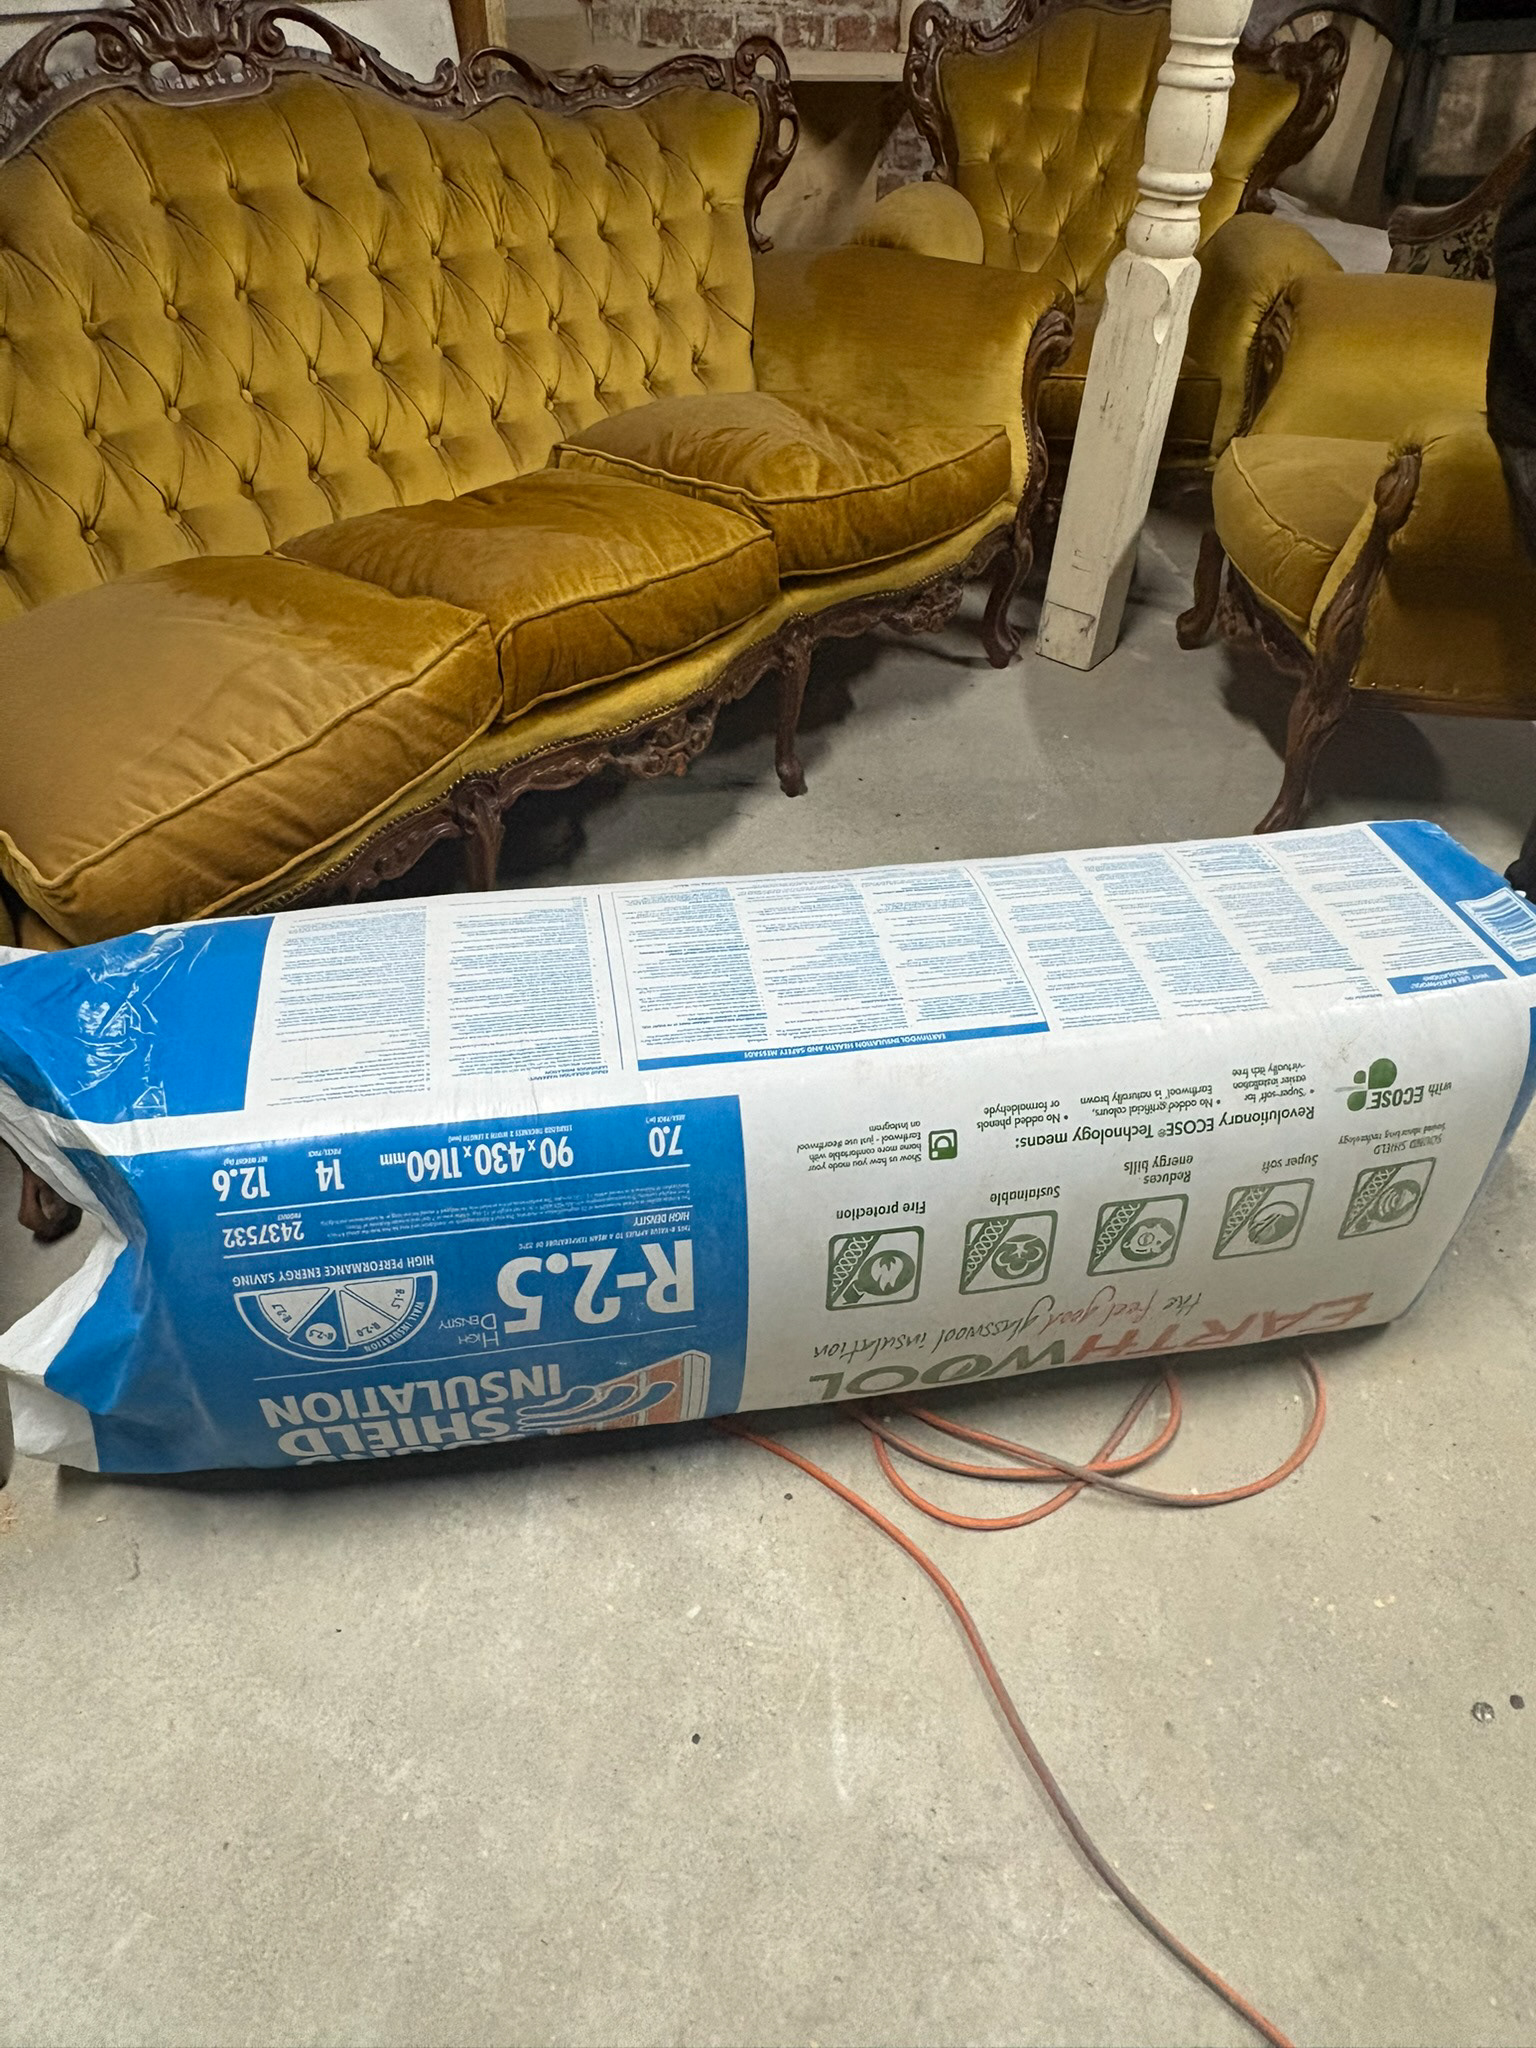
Due to the new room only needing enough outputs for the DJ and house music, I made the decision to opt for passive PA speakers, as they would be lighter in weight, as well as making it easier for the staff to turn the system on and off without needing to switch off each speaker individually, and they also gave us the ability to daisy-chain the speakers together. Nick and Shellie explained that they would like the music to feel encompassing around the middle of the dance/discussion space and wanted PA speakers to be at the back of the venue as 'fills'. This would also mean that the front PA speakers could be turned down a little bit to minimise loud noises going onto the street and disrupting the neighbours. After speaking with the builder, I said that the best way to minimise sound leakage onto the street and into the bar next door would be to add insulation to the walls as they were currently just plain plaster walls. The next week they had refitted the entire back and side walls with R2.7 rockwool insulation (pictured to the right). This helped significantly, particularly with sound going between the venues as they share a wall.
Finalising Audio Plan
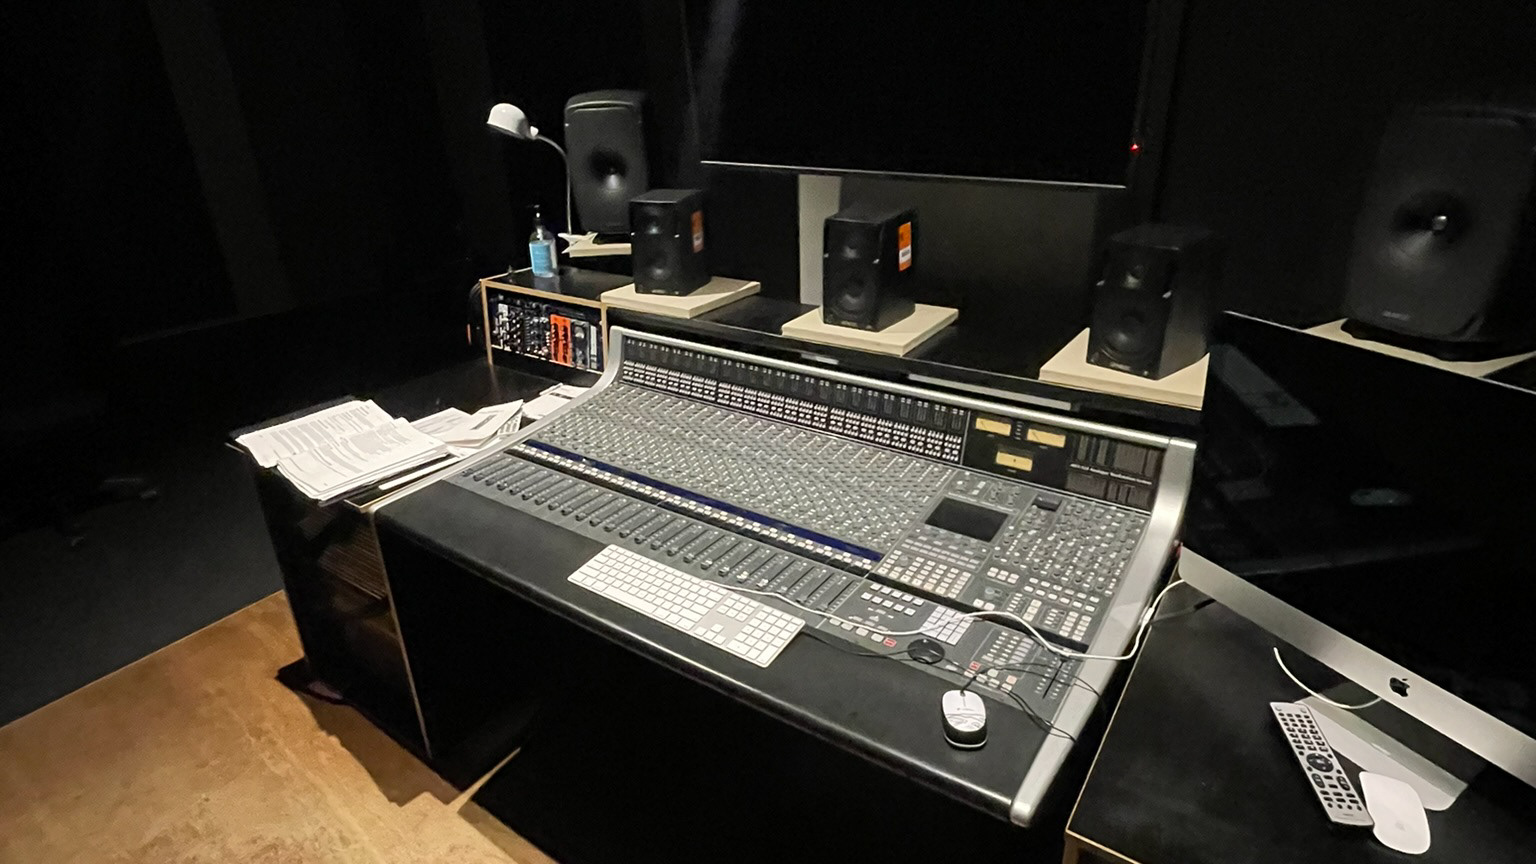
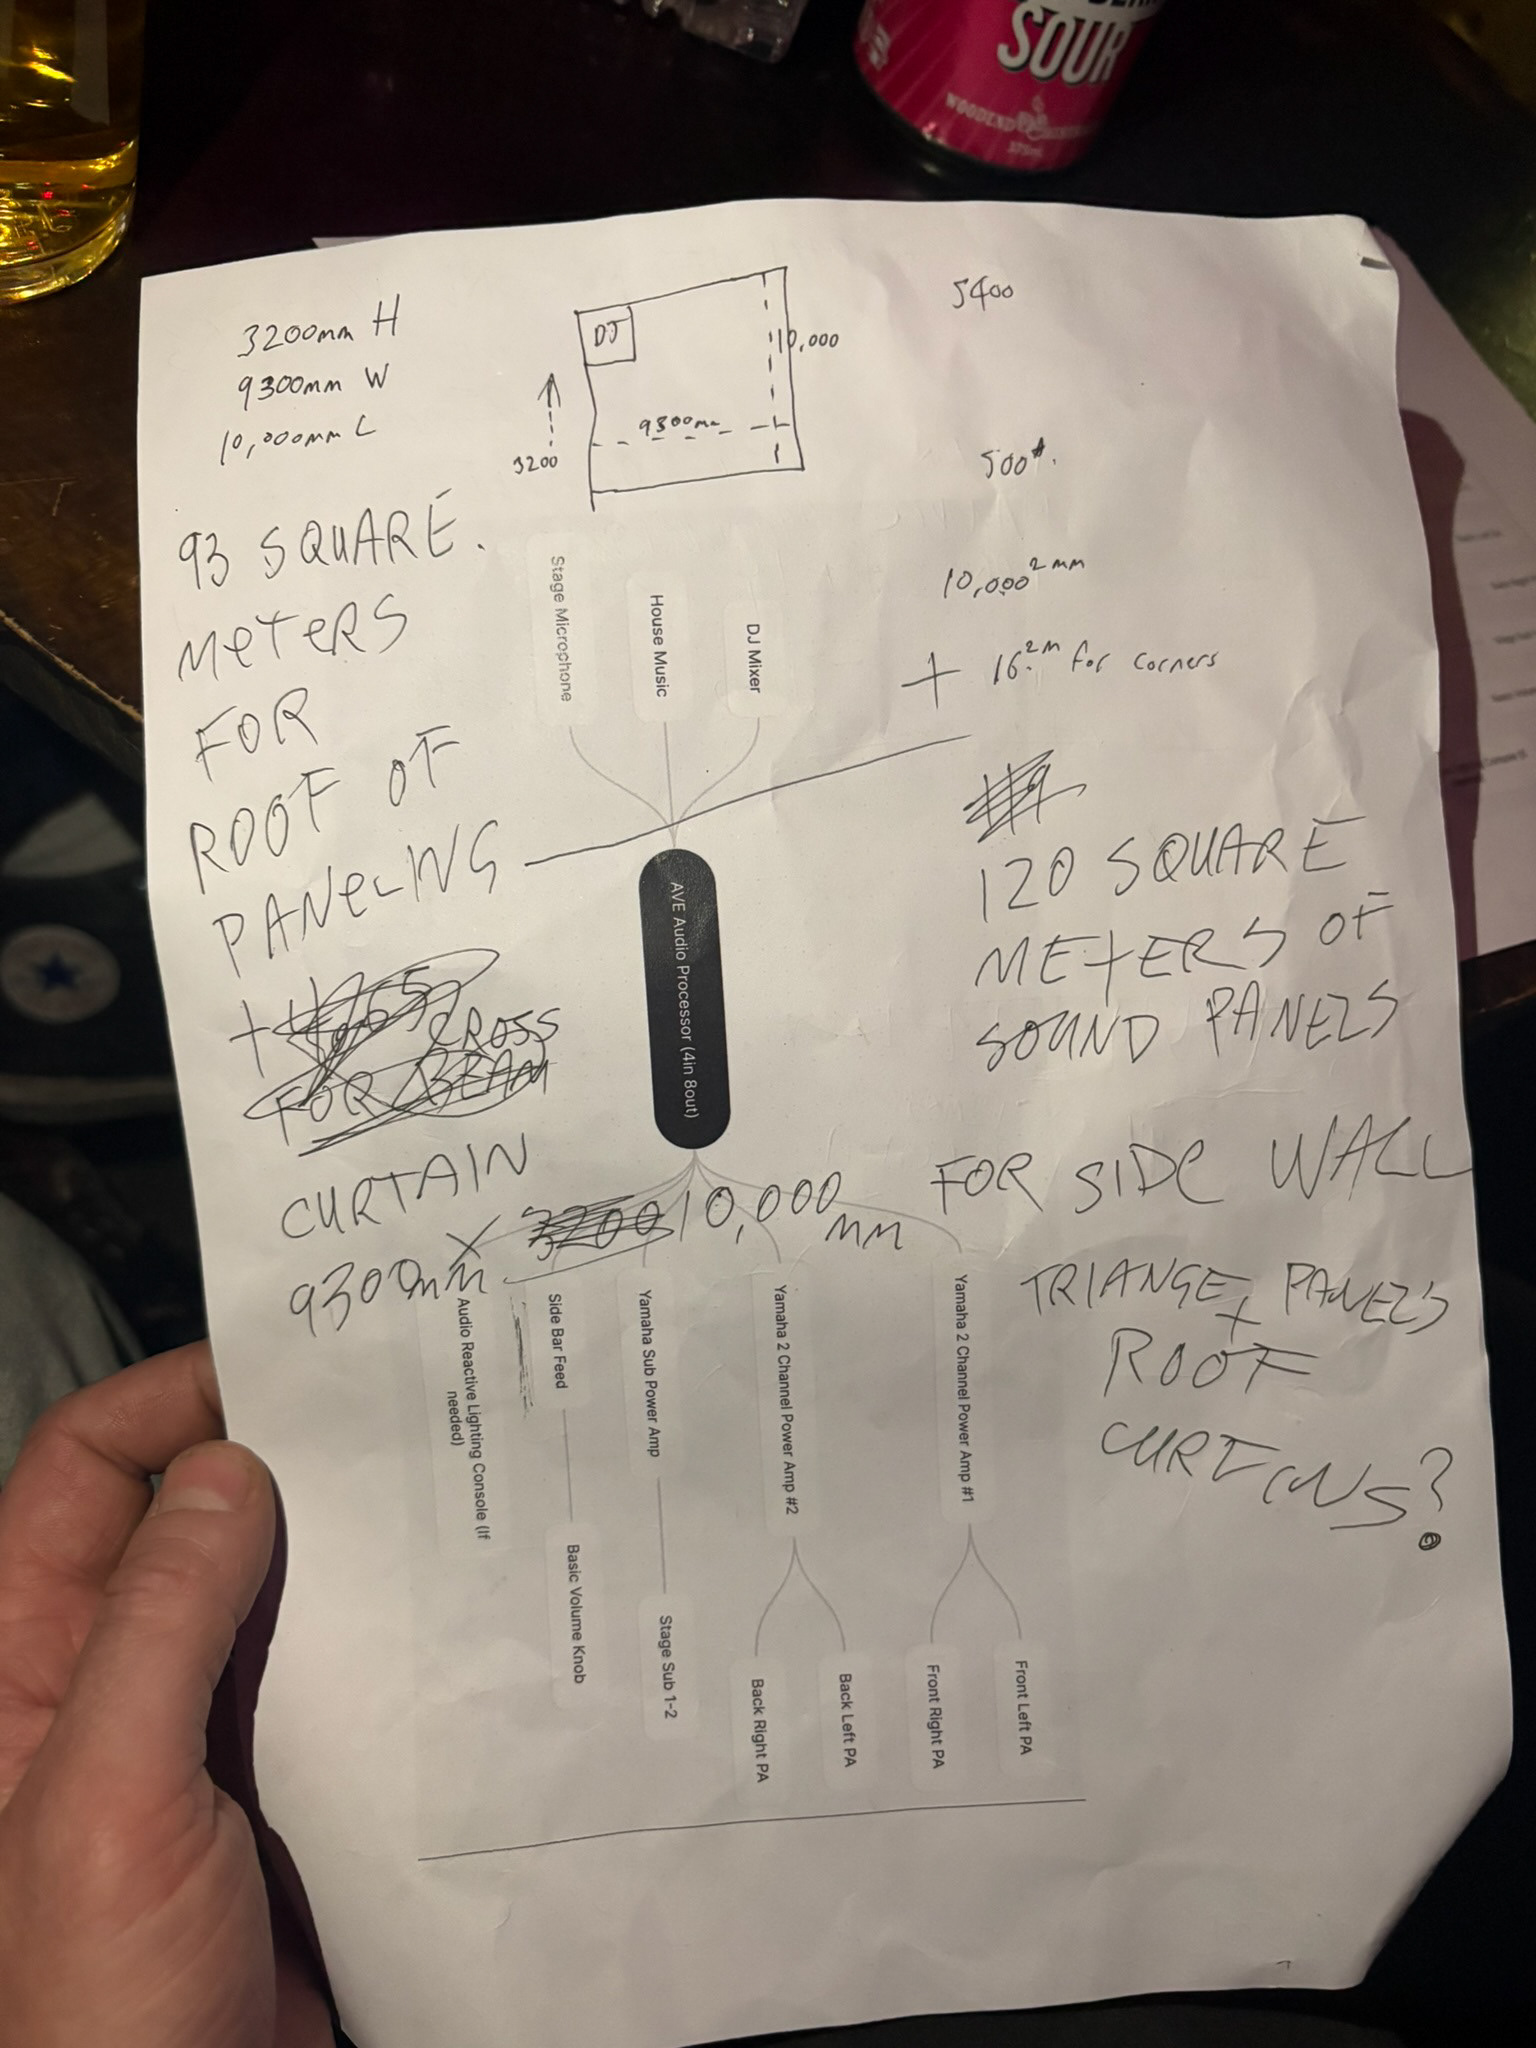
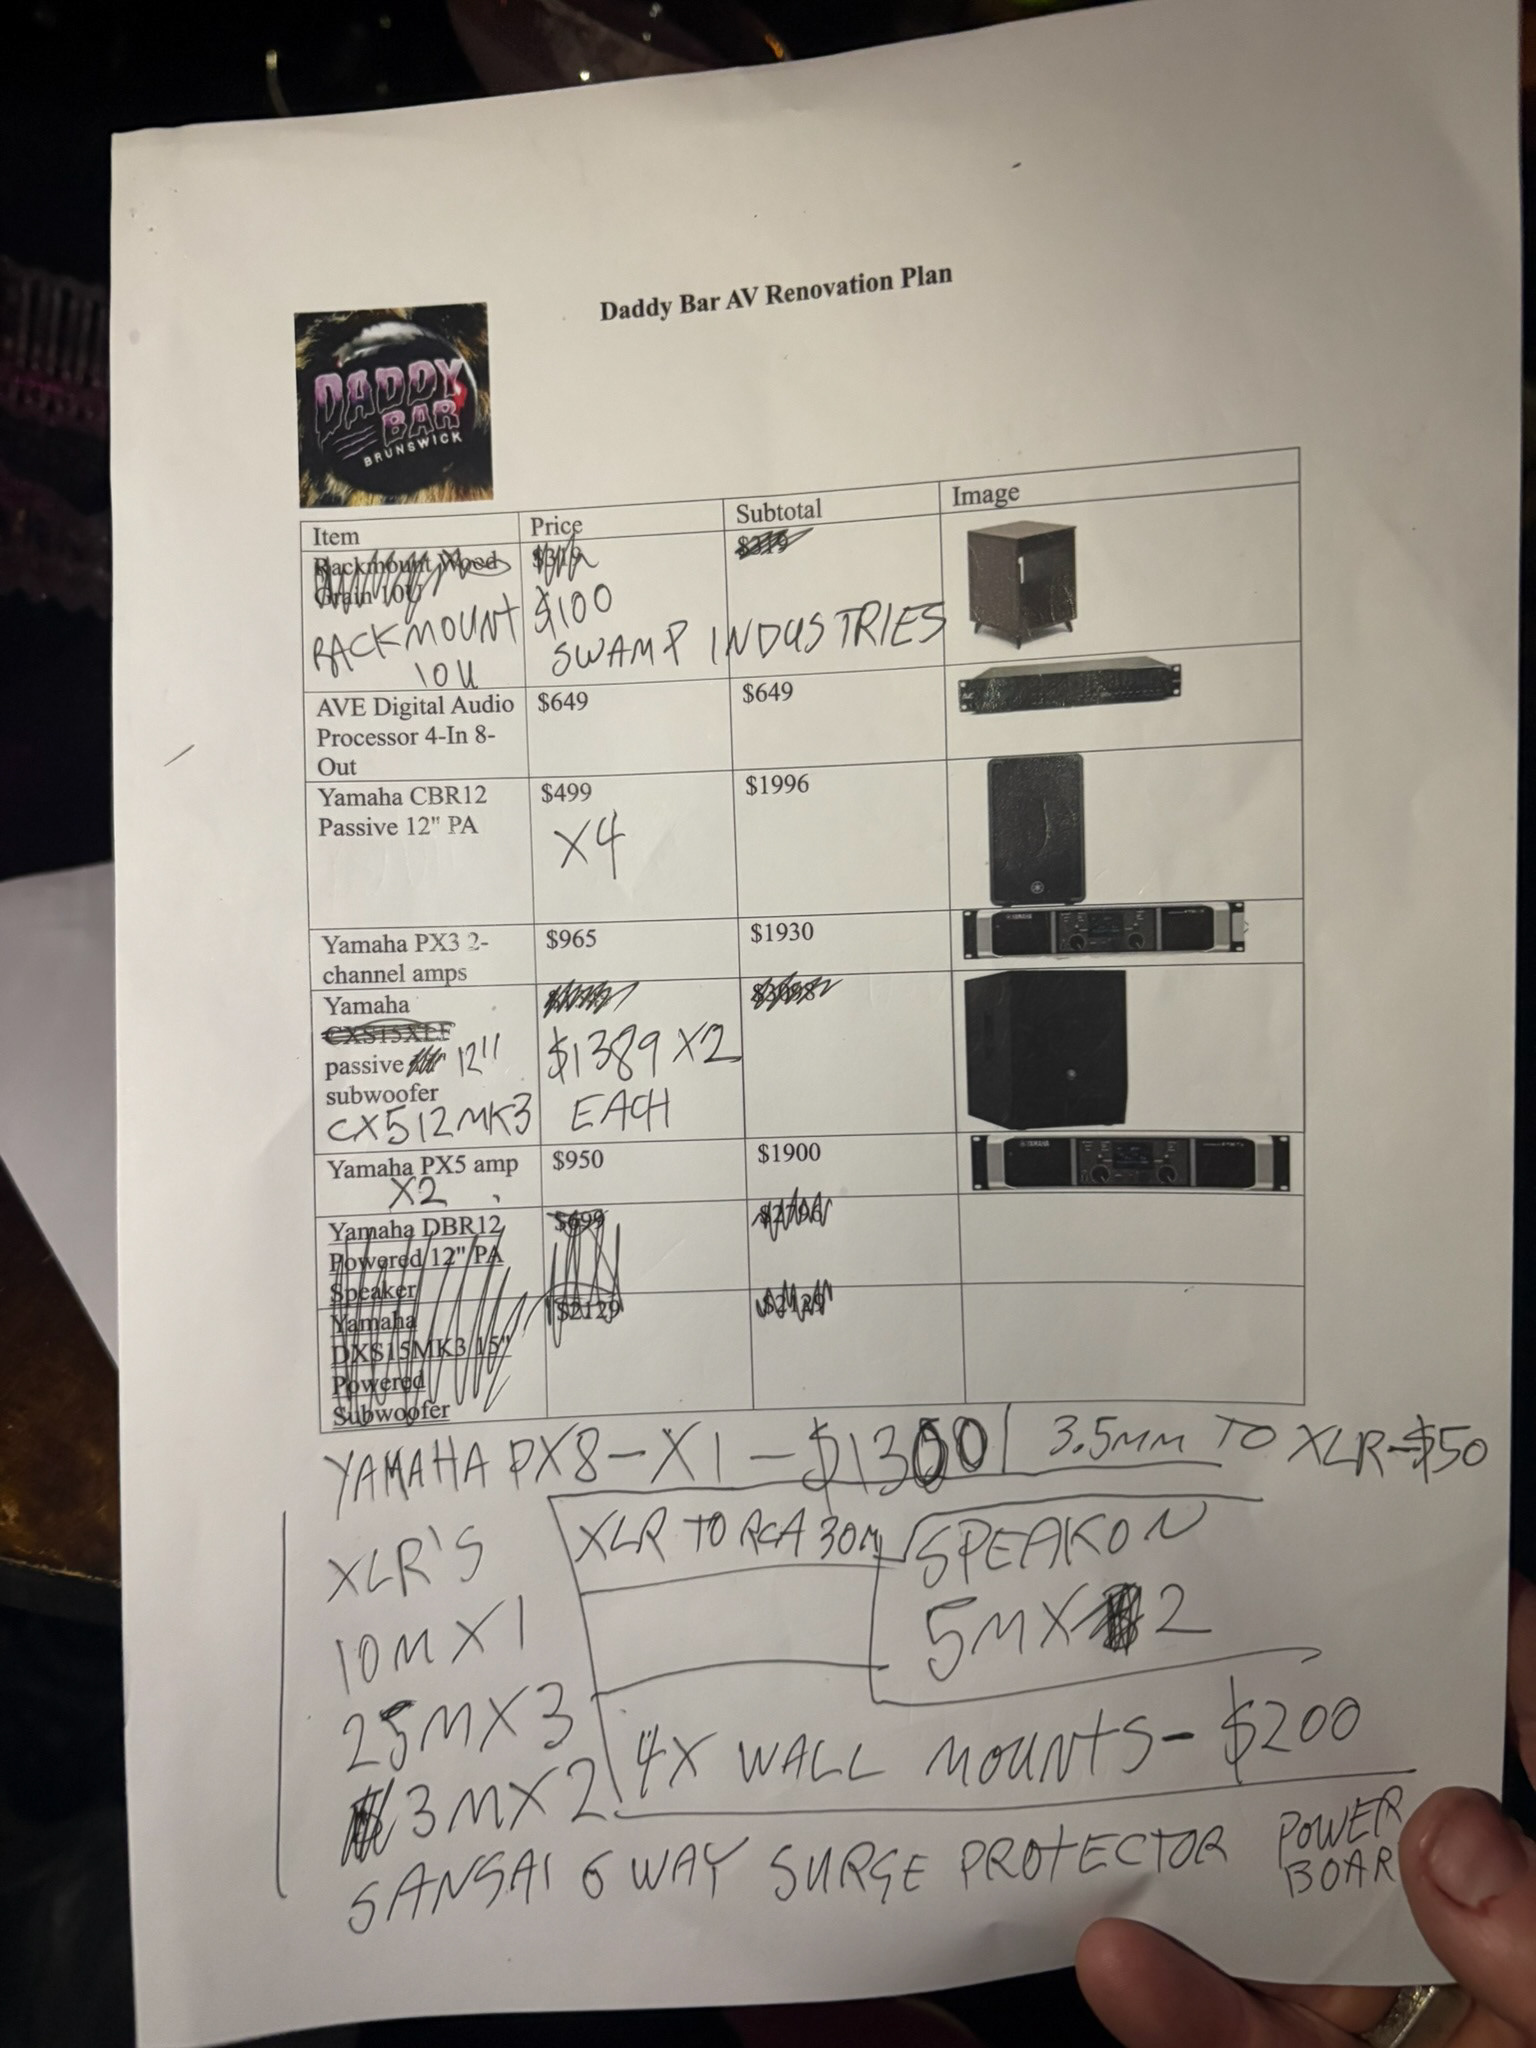
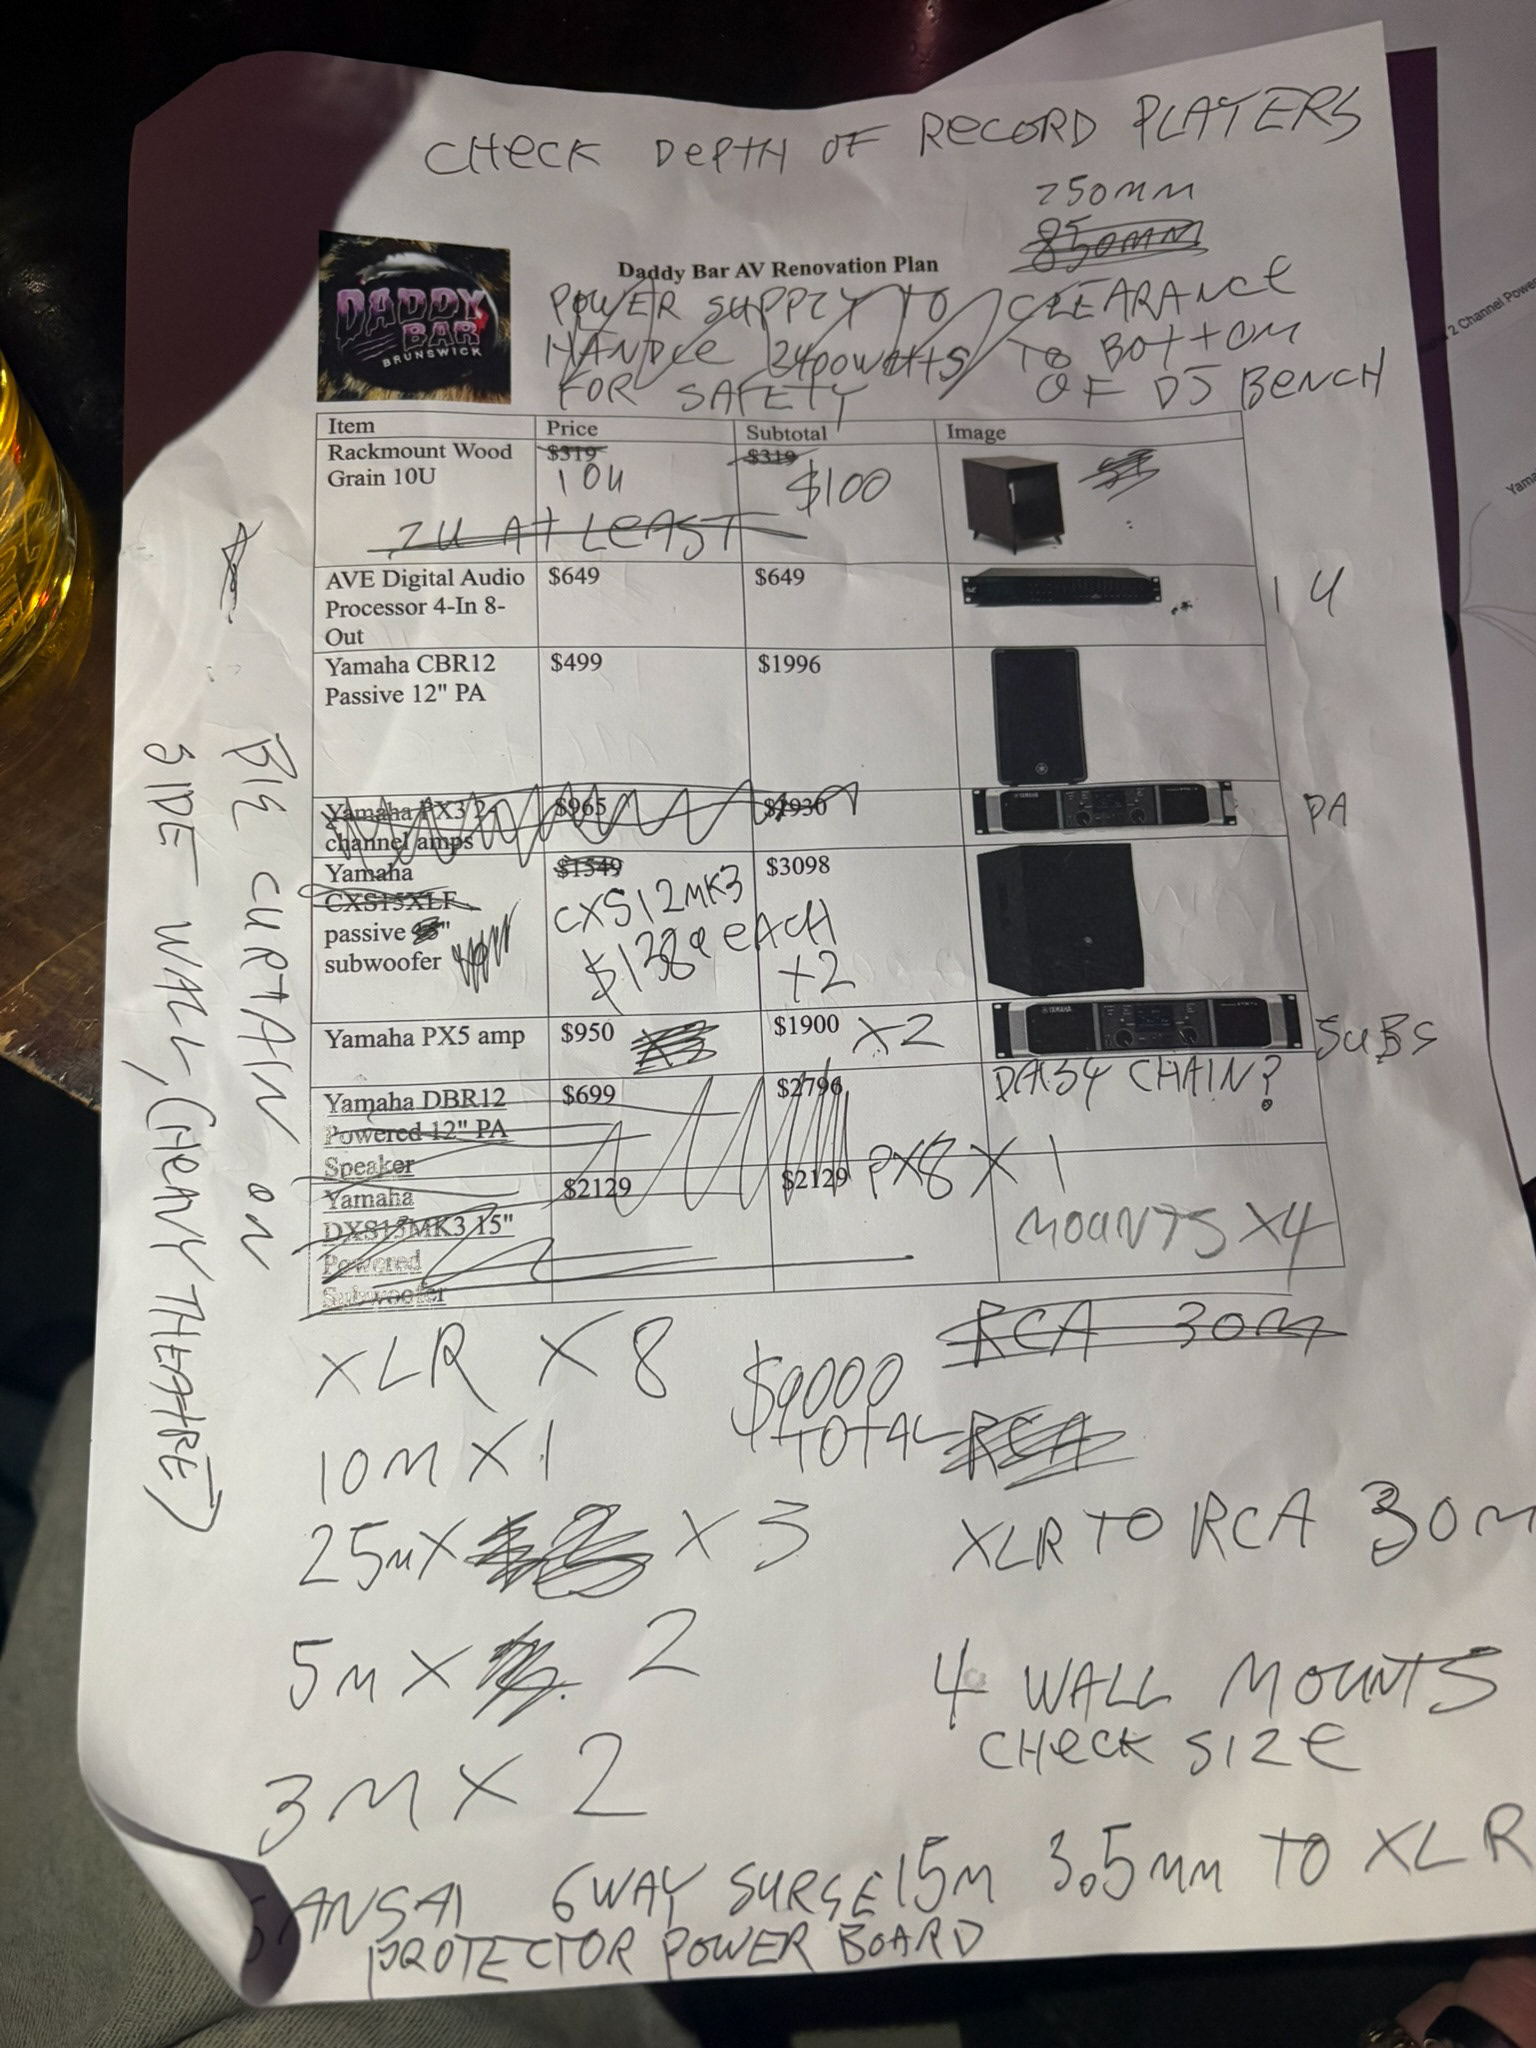
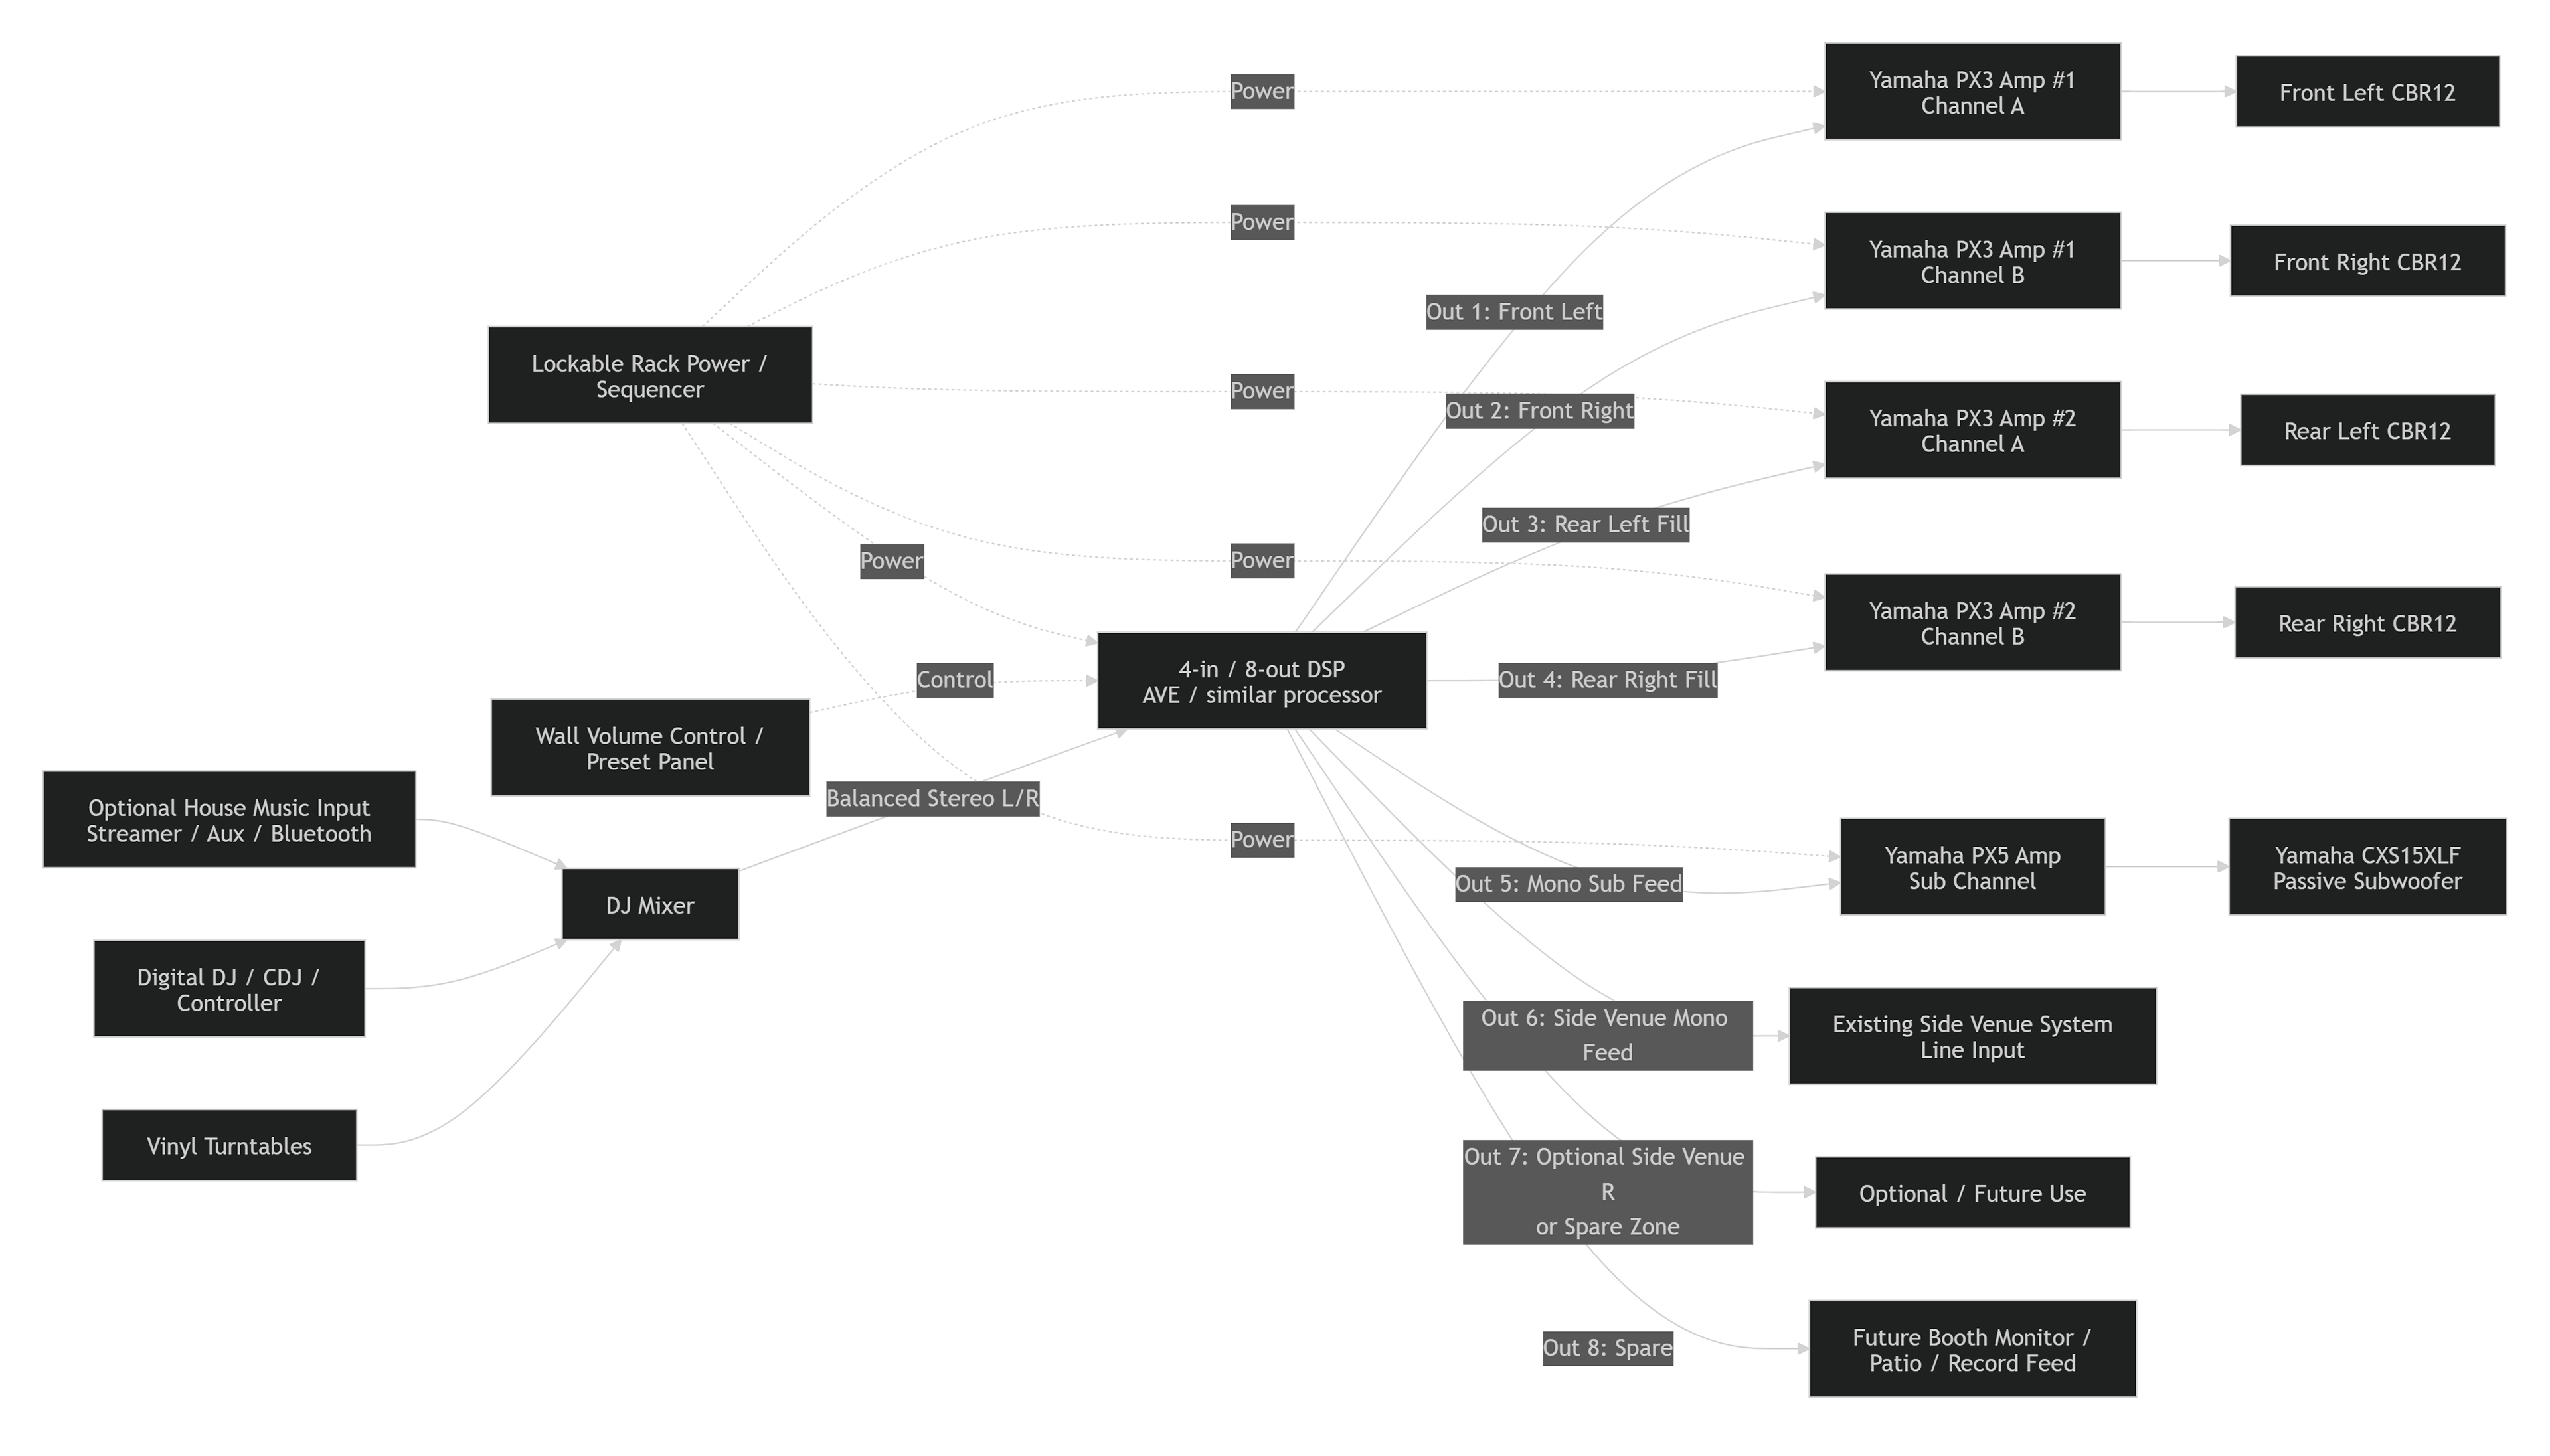
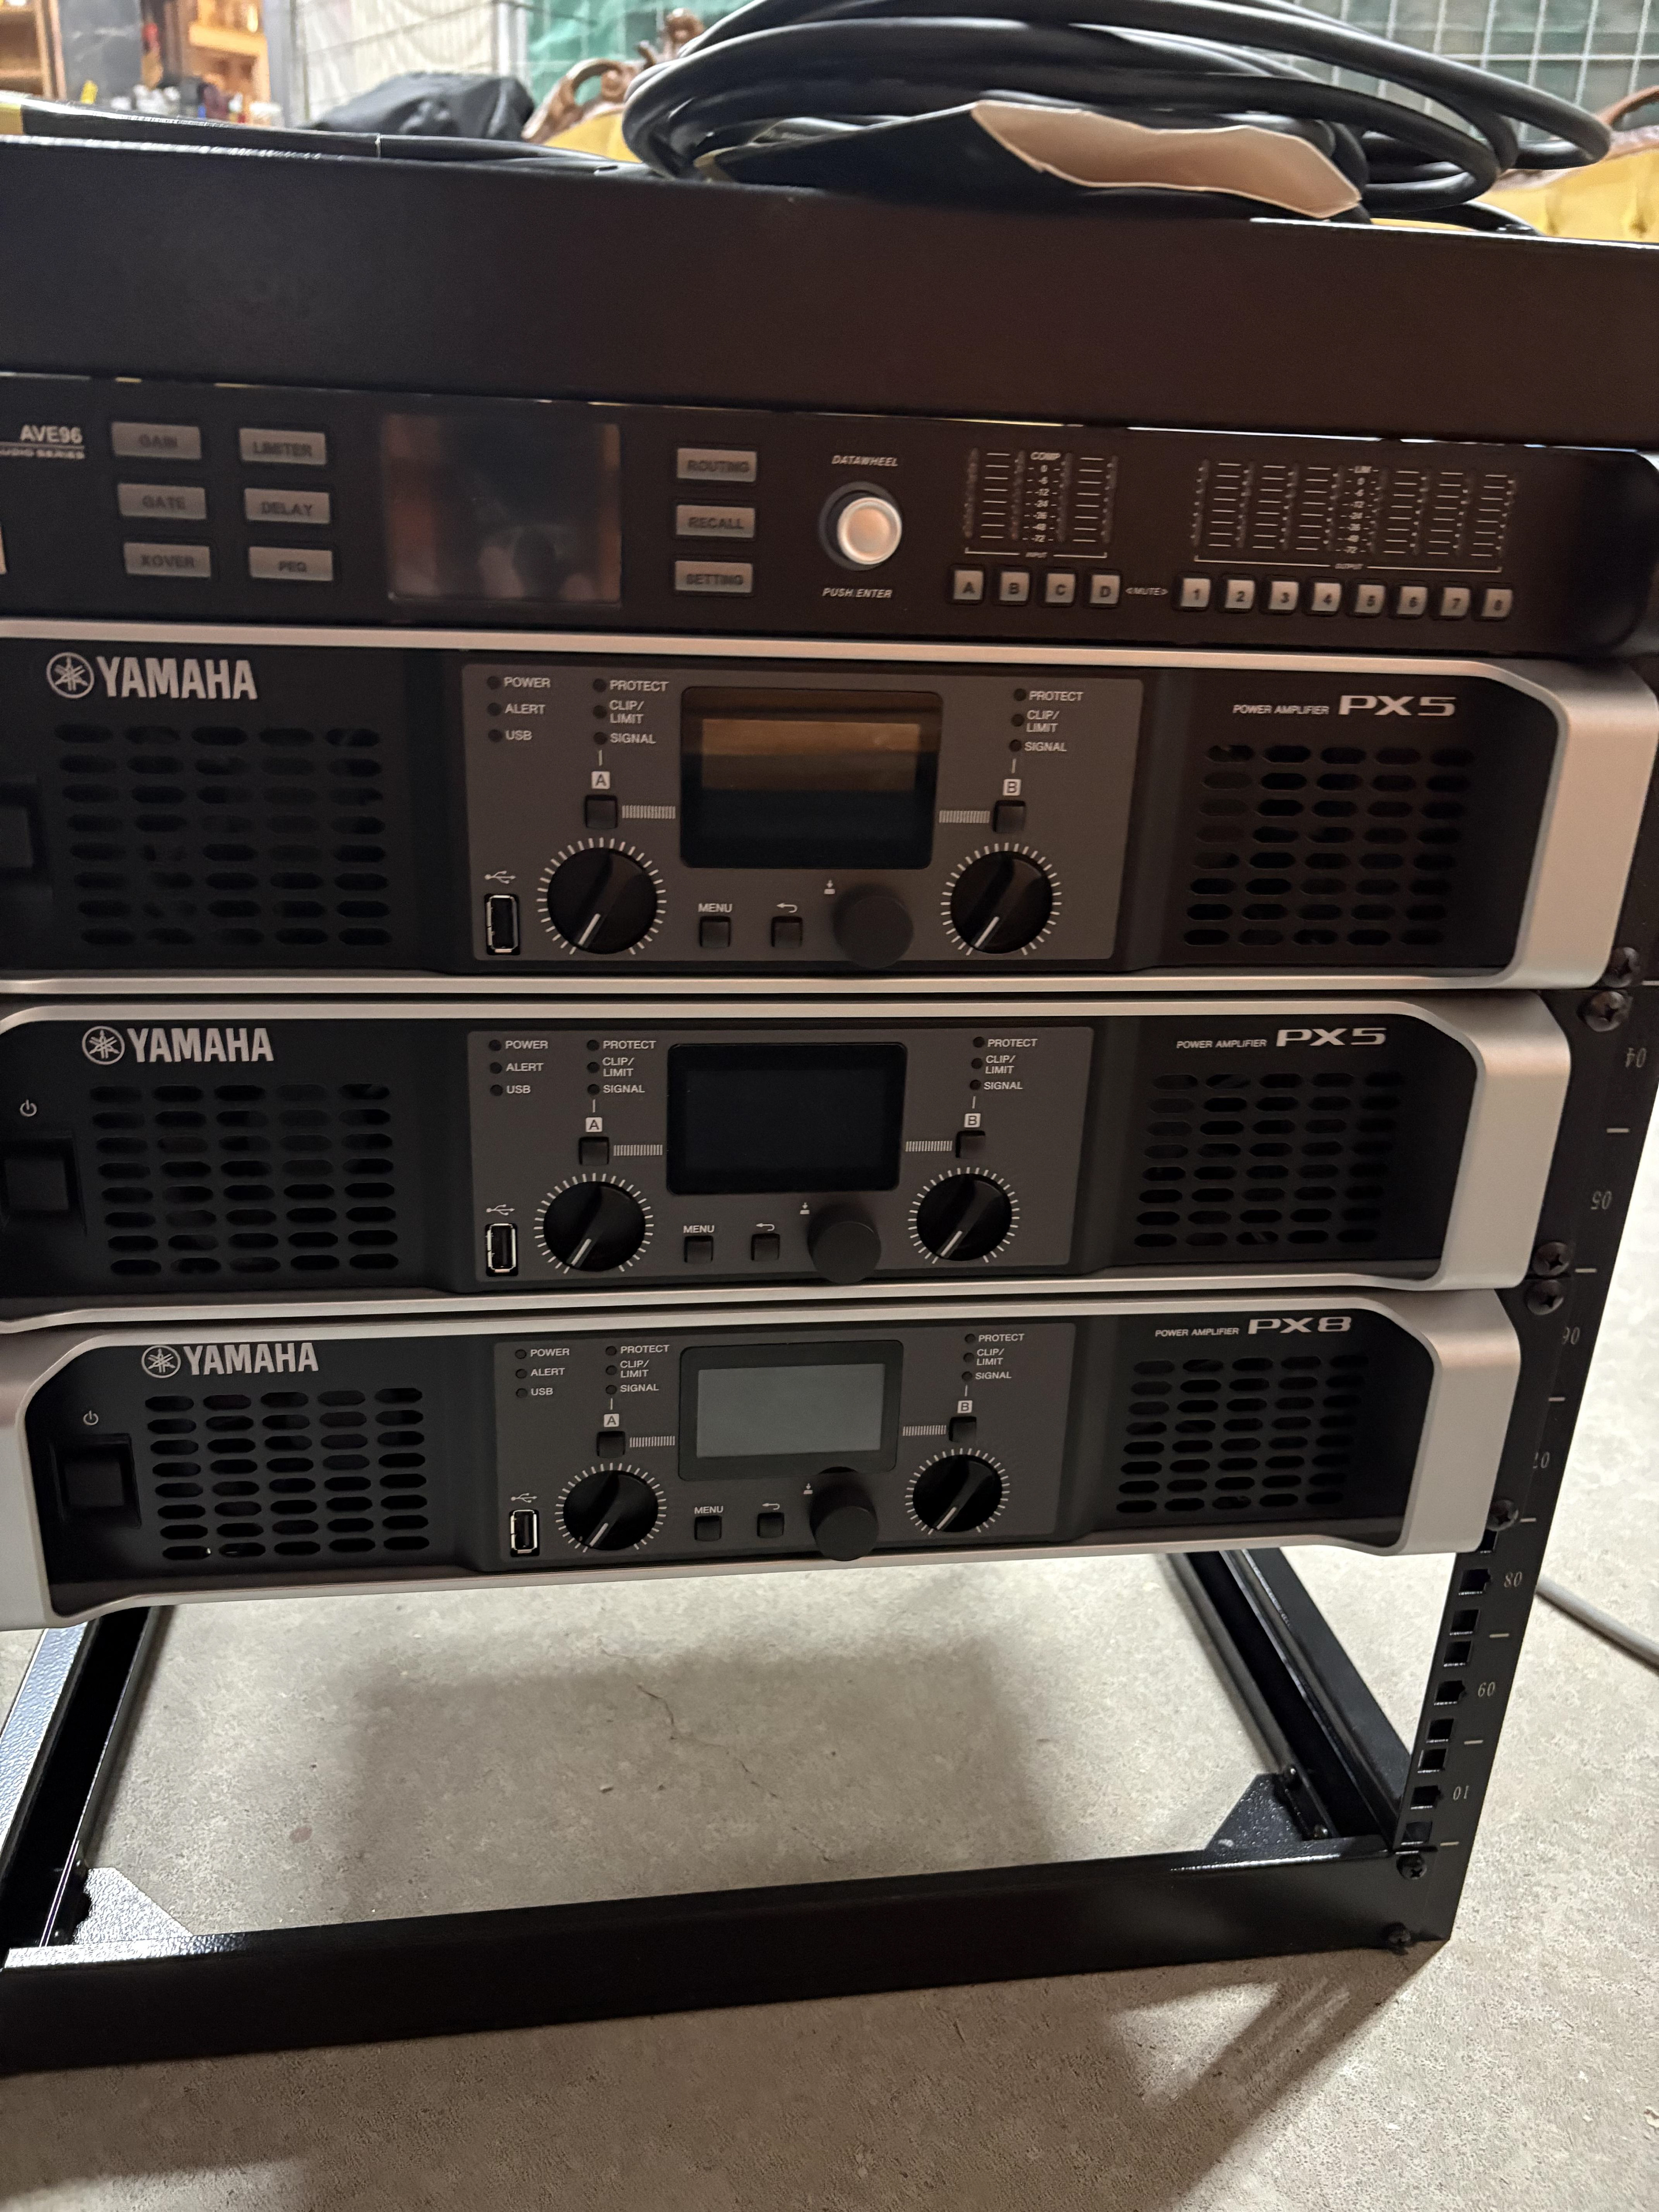
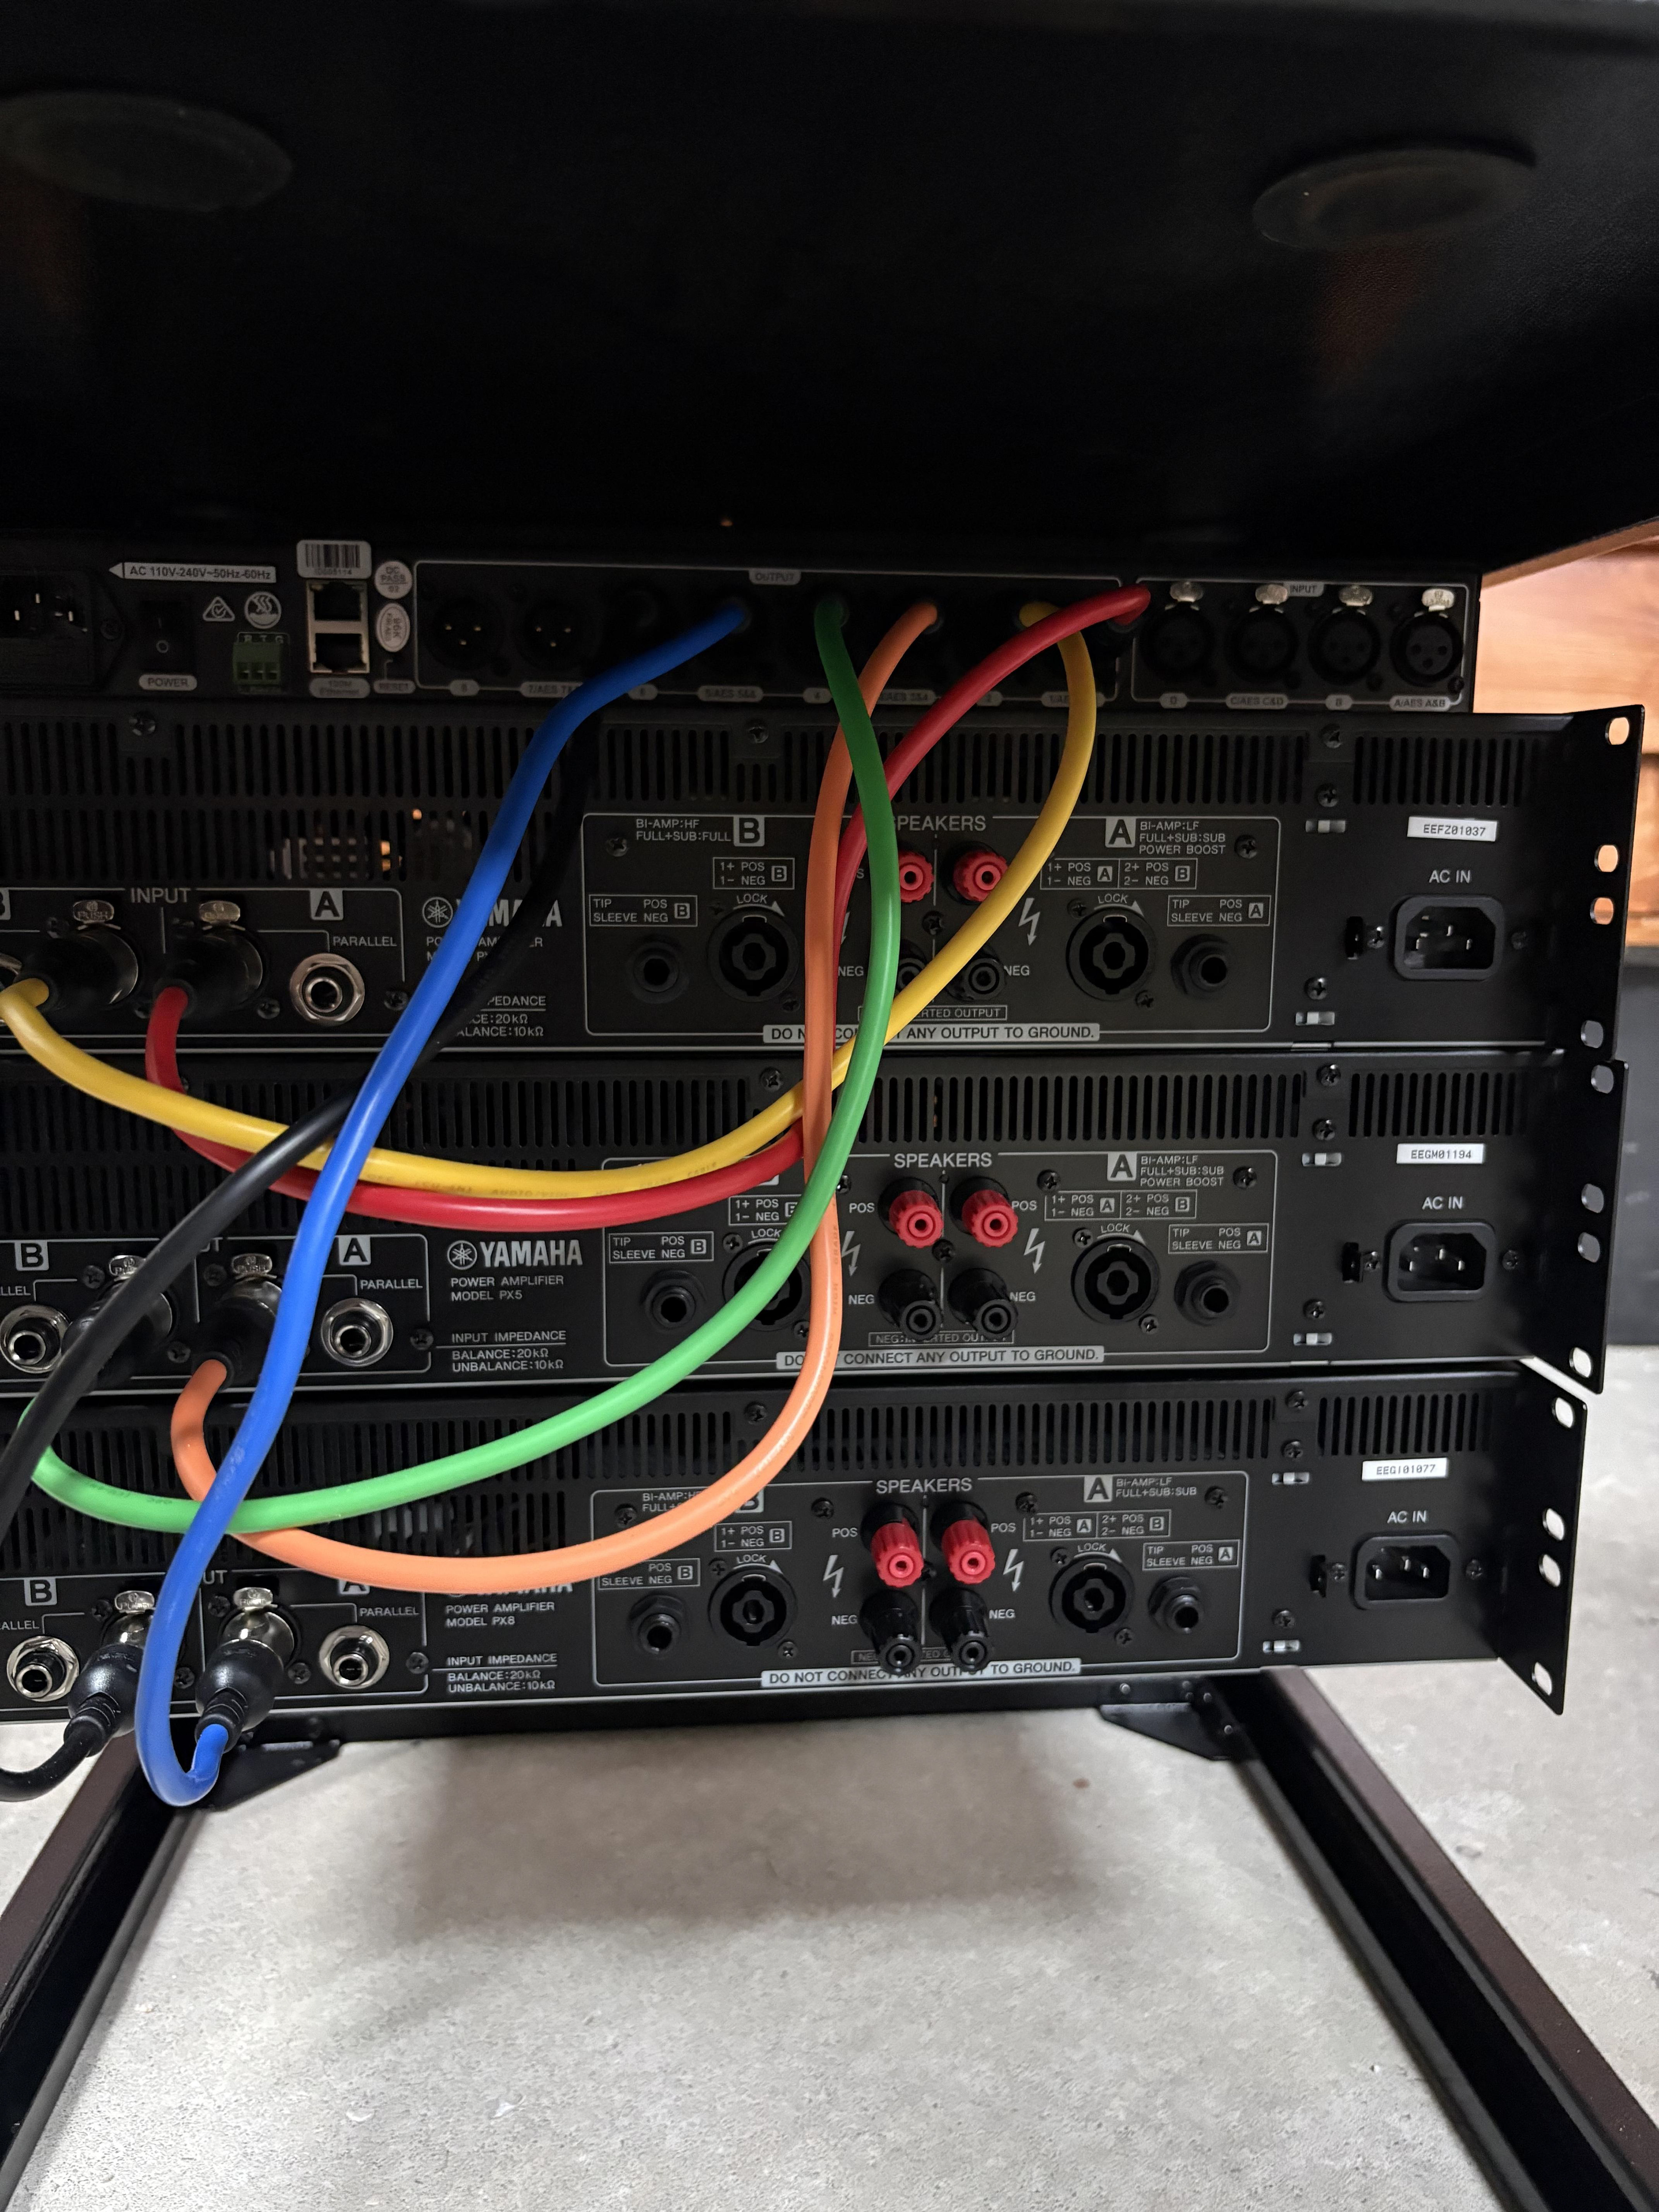
Once the first physical renovations were complete and I had a strong understanding of what they were looking for in the new venue, I began researching which components we would need. It included 4x Passive PA speakers, 2x Passive Subwoofers, 2x Yamaha PX5 2-channel power amps (For the PAs), 1x Yamaha PX8 2-channel power amp (for the subwoofers), AVE Digital Audio Processor 4in 8out (for routing audio and callibration/tuning the system, and a basic rack-mount system to go in the DJ booth to store the power amps and audio processor. I also designed a small sketch of the signal flow and did basic measurements of the room to try to figure out room nodes and dead spots before calibrating the system properly. I also took notes on how long all the cables would need to be, including the XLR's and the RCA cable for the room next door. After talking with Nick and Shellie and considering the different options, we finalised the list, and they ordered all of the parts required while staying within the budget of $10,000.
Placement
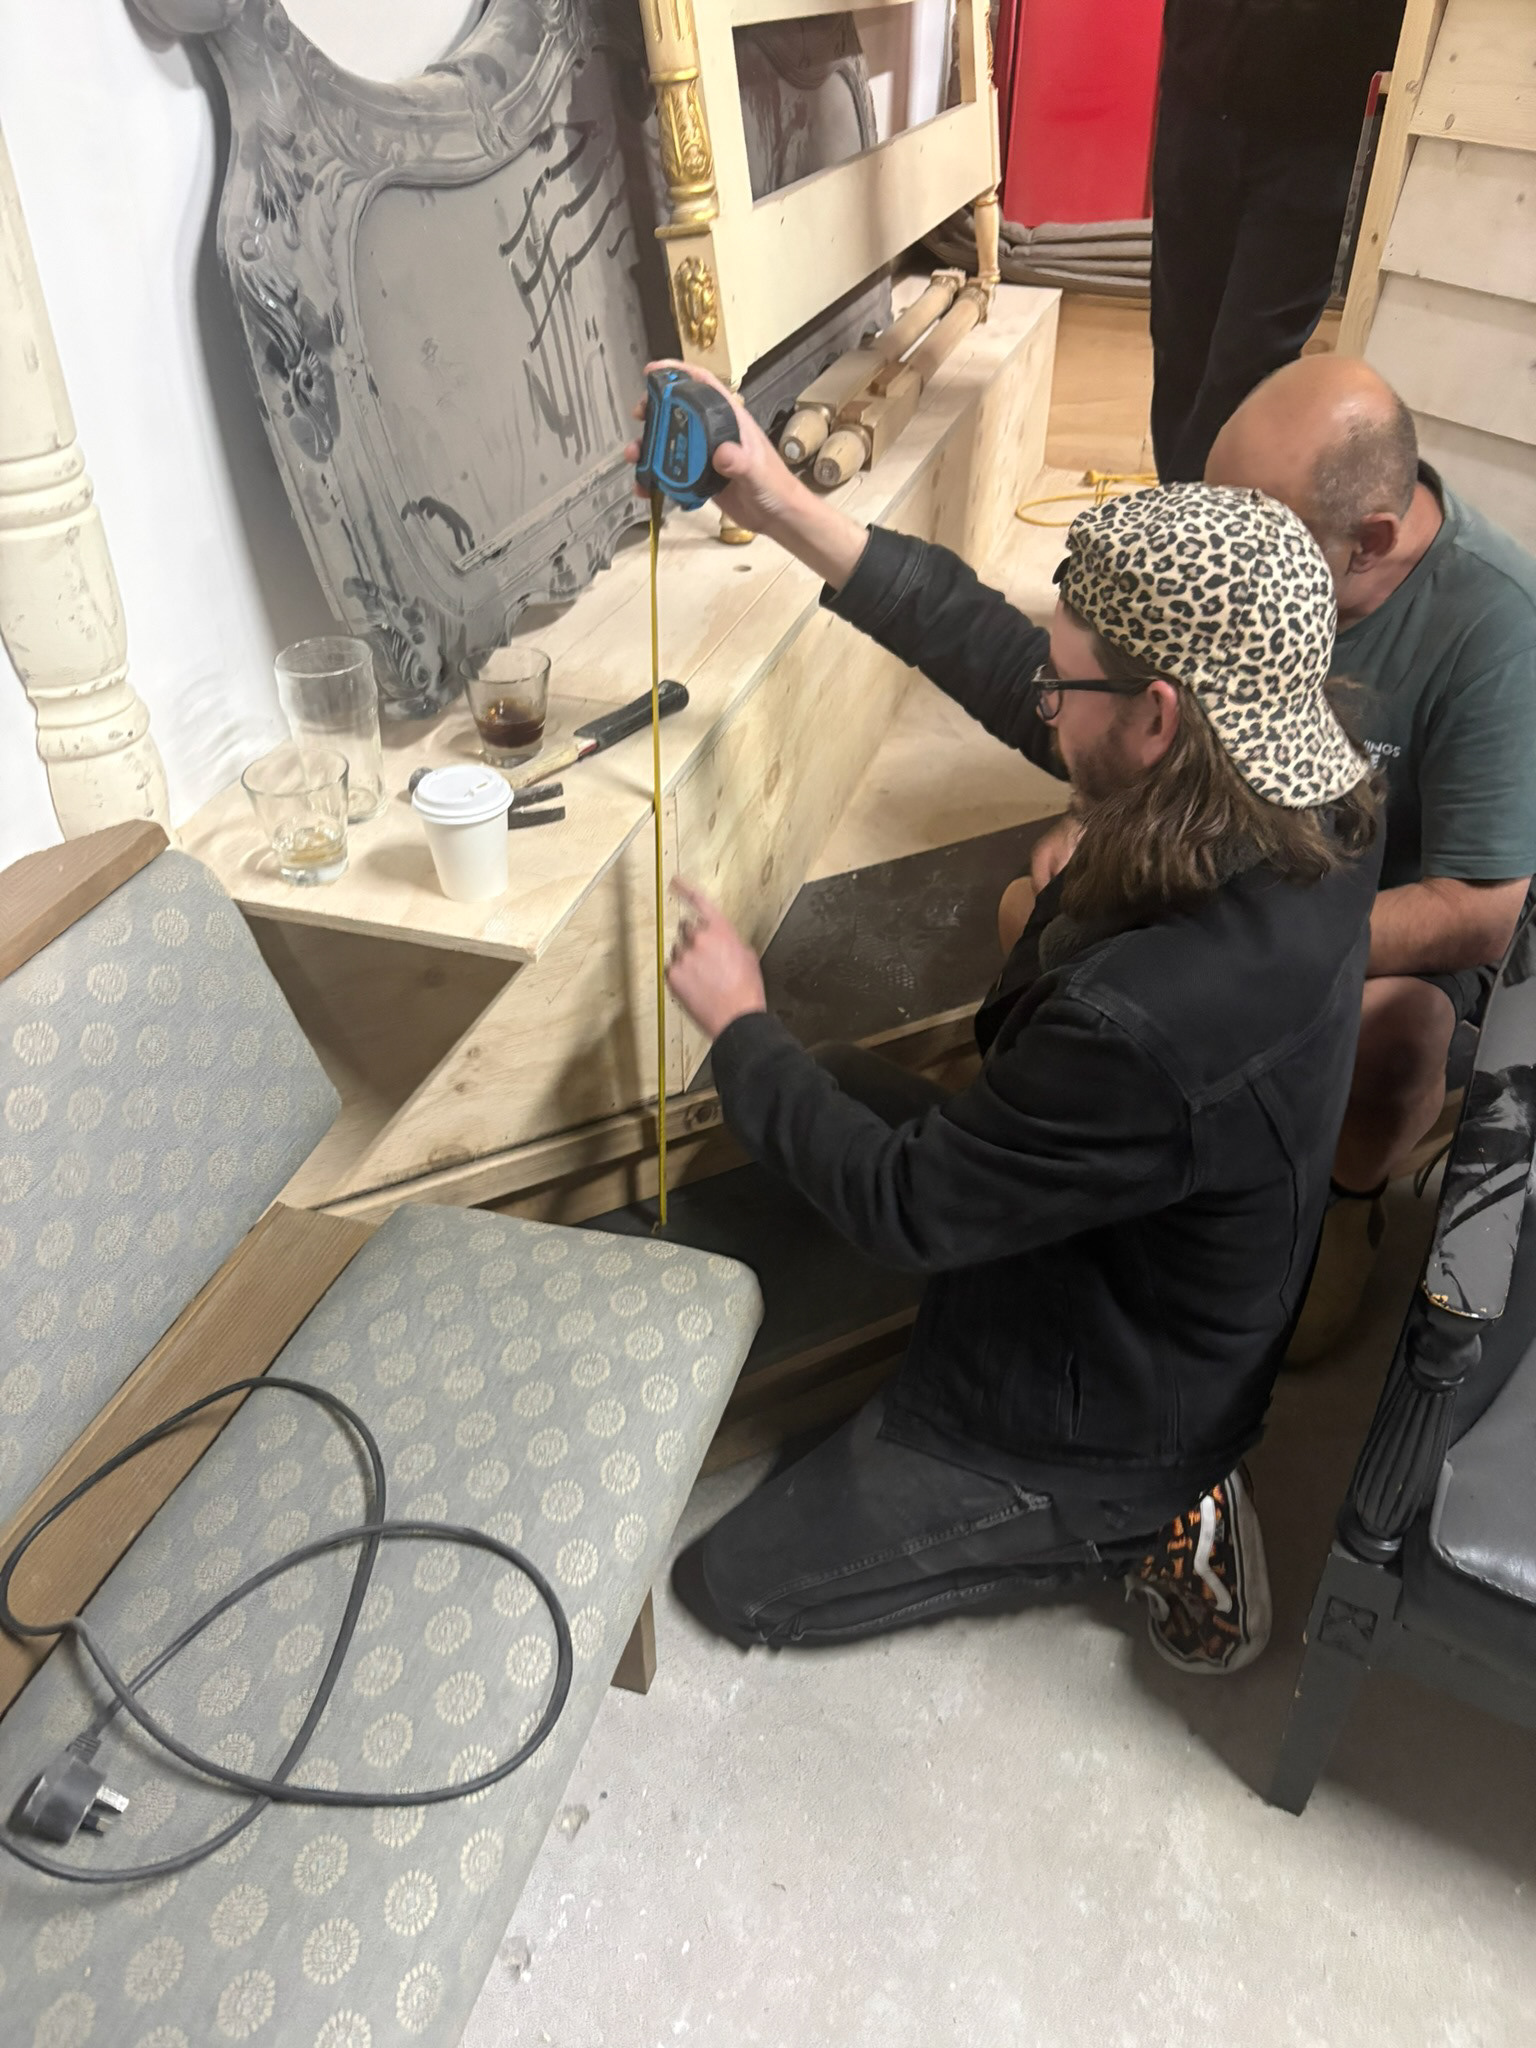
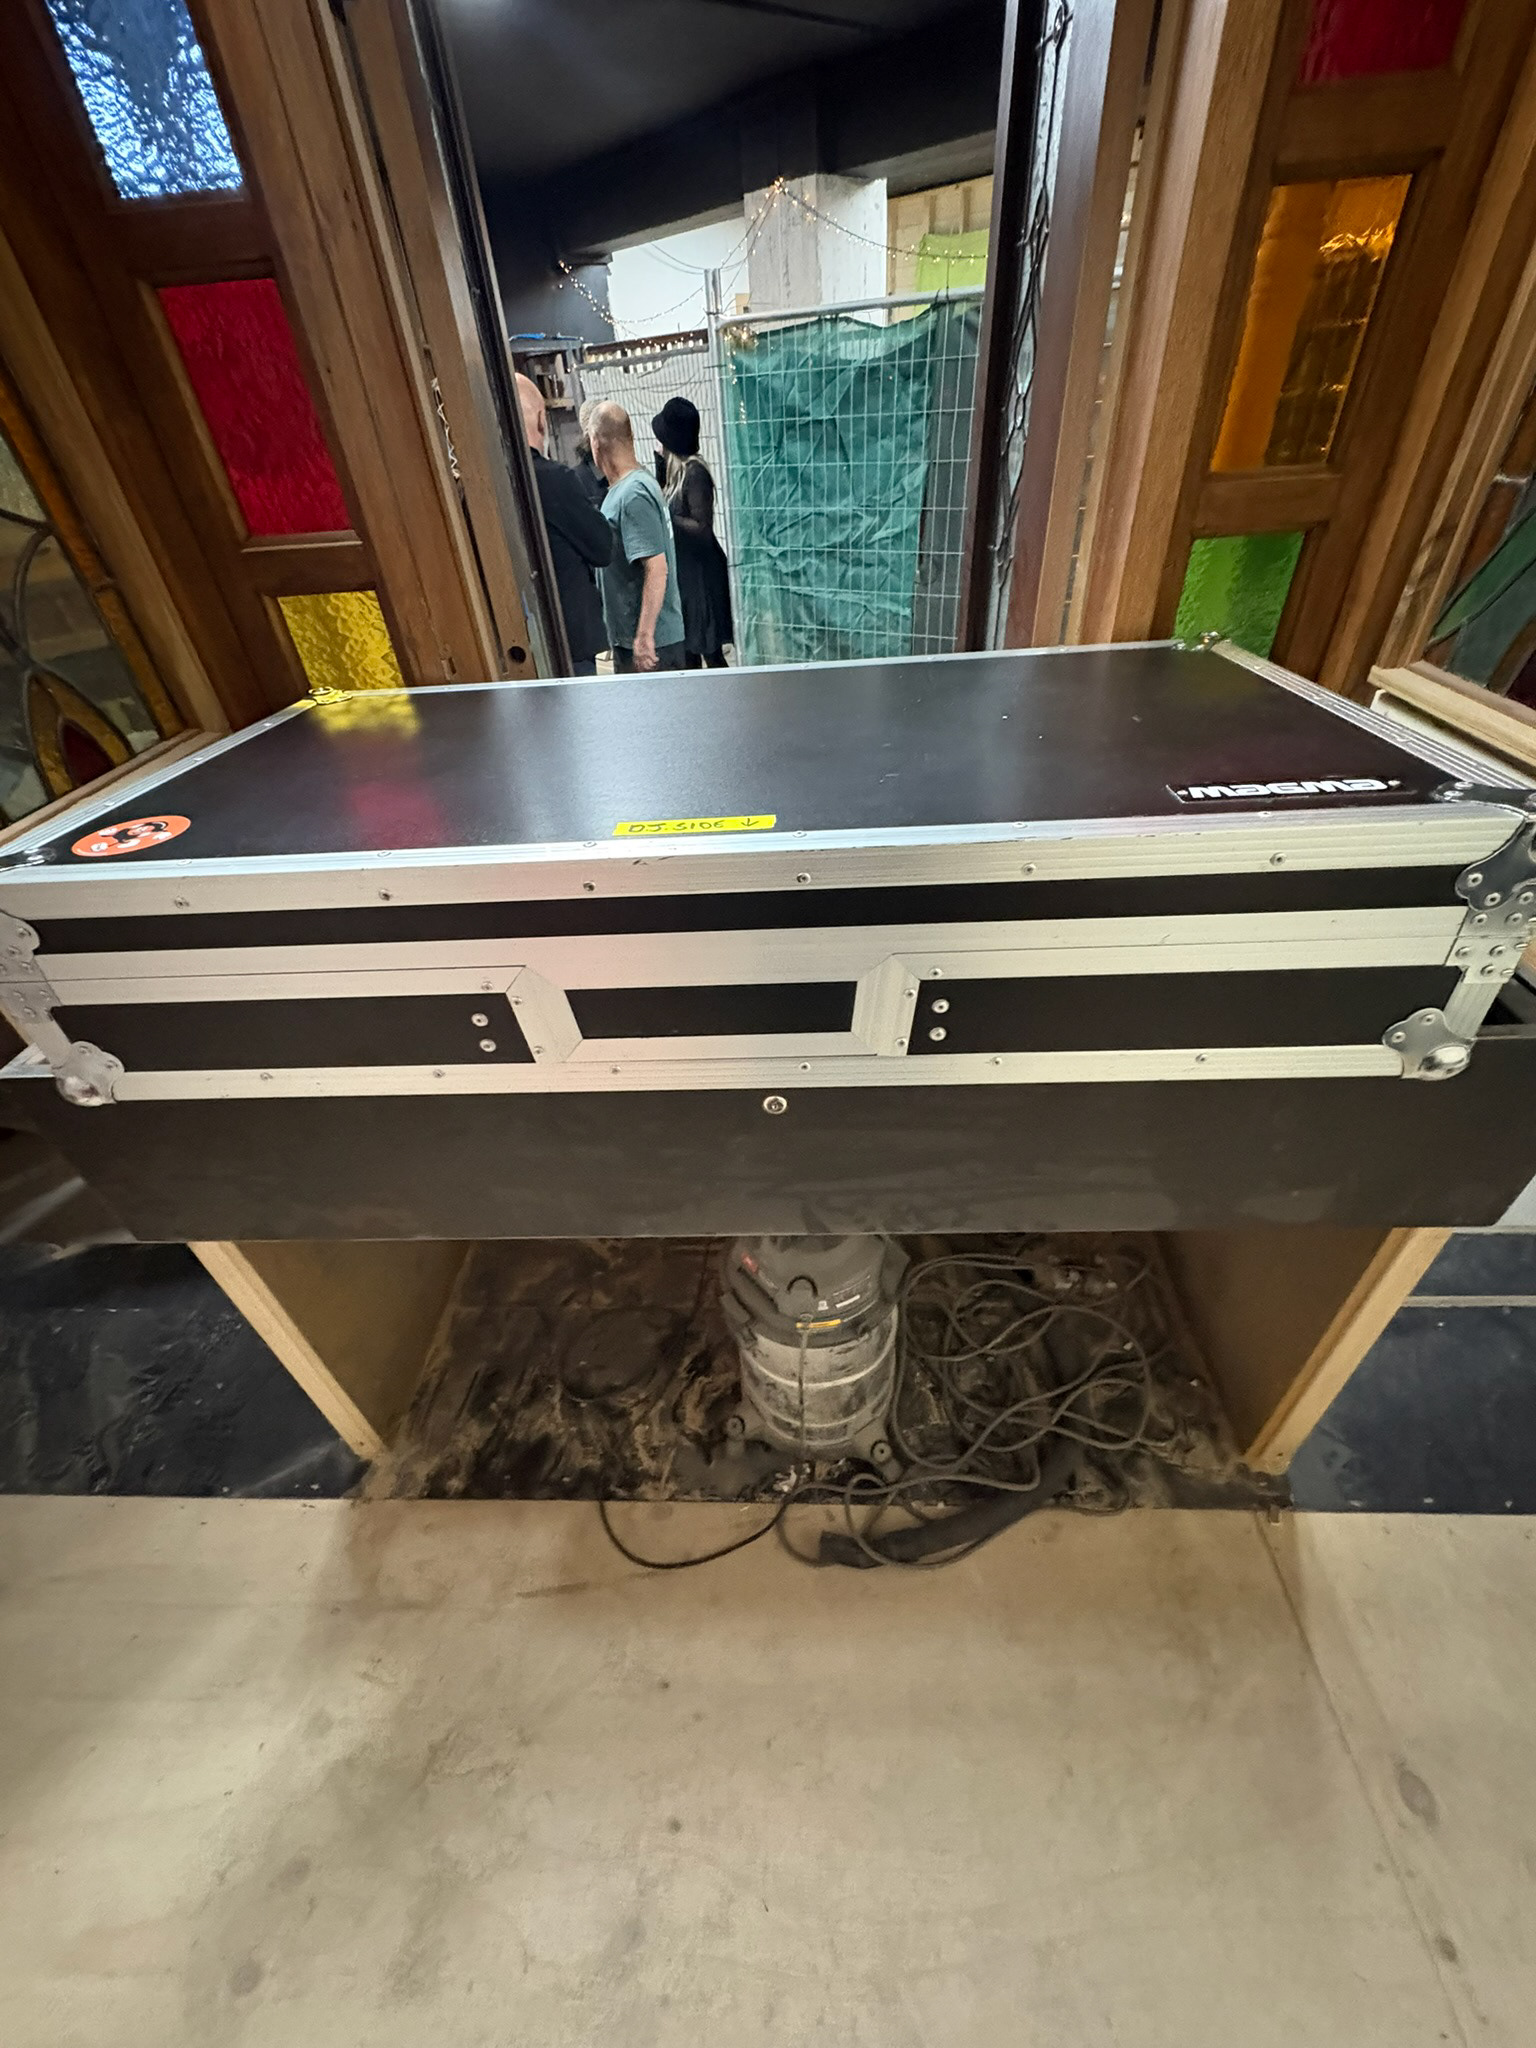
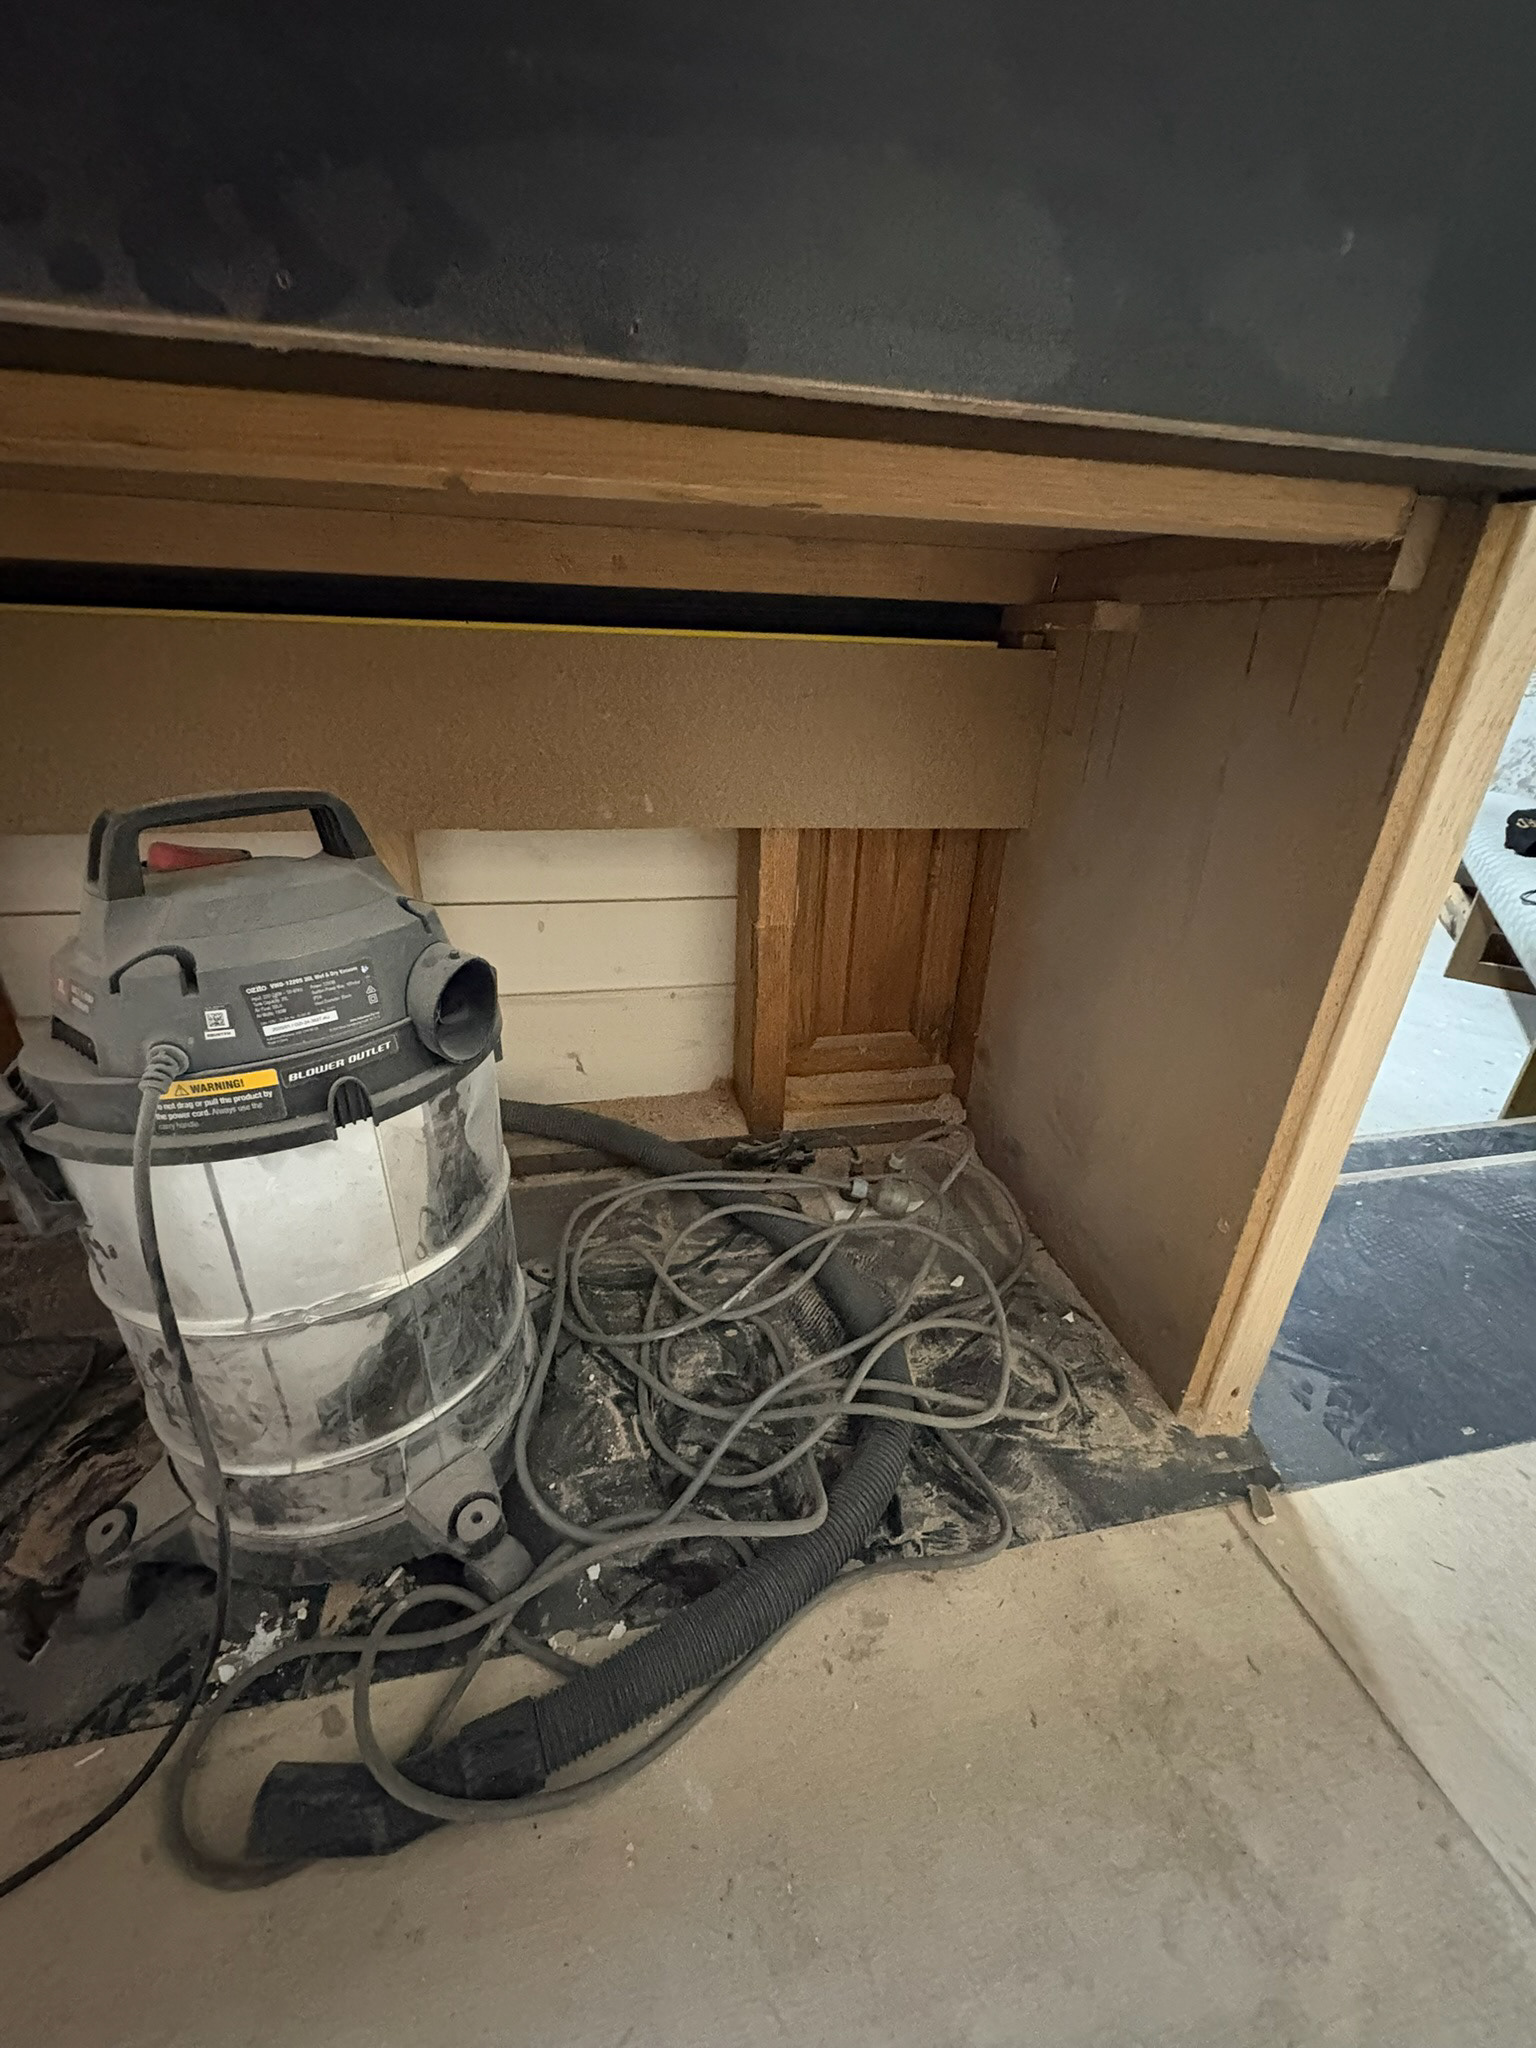
We ended the day by measuring where we would put the subwoofers, DJ turntables, and rackmount units compared to the dimensions listed on the website so that we would be ready on the day to install everything easily and know exactly where each part would go. We realised that the subwoofers would be slightly too wide to fit directly next to the stage, but the builder assured us that he could just cut a small chunk out of the wood and build around the subwoofer, as the booth and bar are still completely customisable, and he wanted to continue working with us throughout the process. I also spoke to the DJ and measured the size of the case and how it would fit in the booth; this also helped me plan where I would drill holes in the wood for cable management and signal flow.
Installation
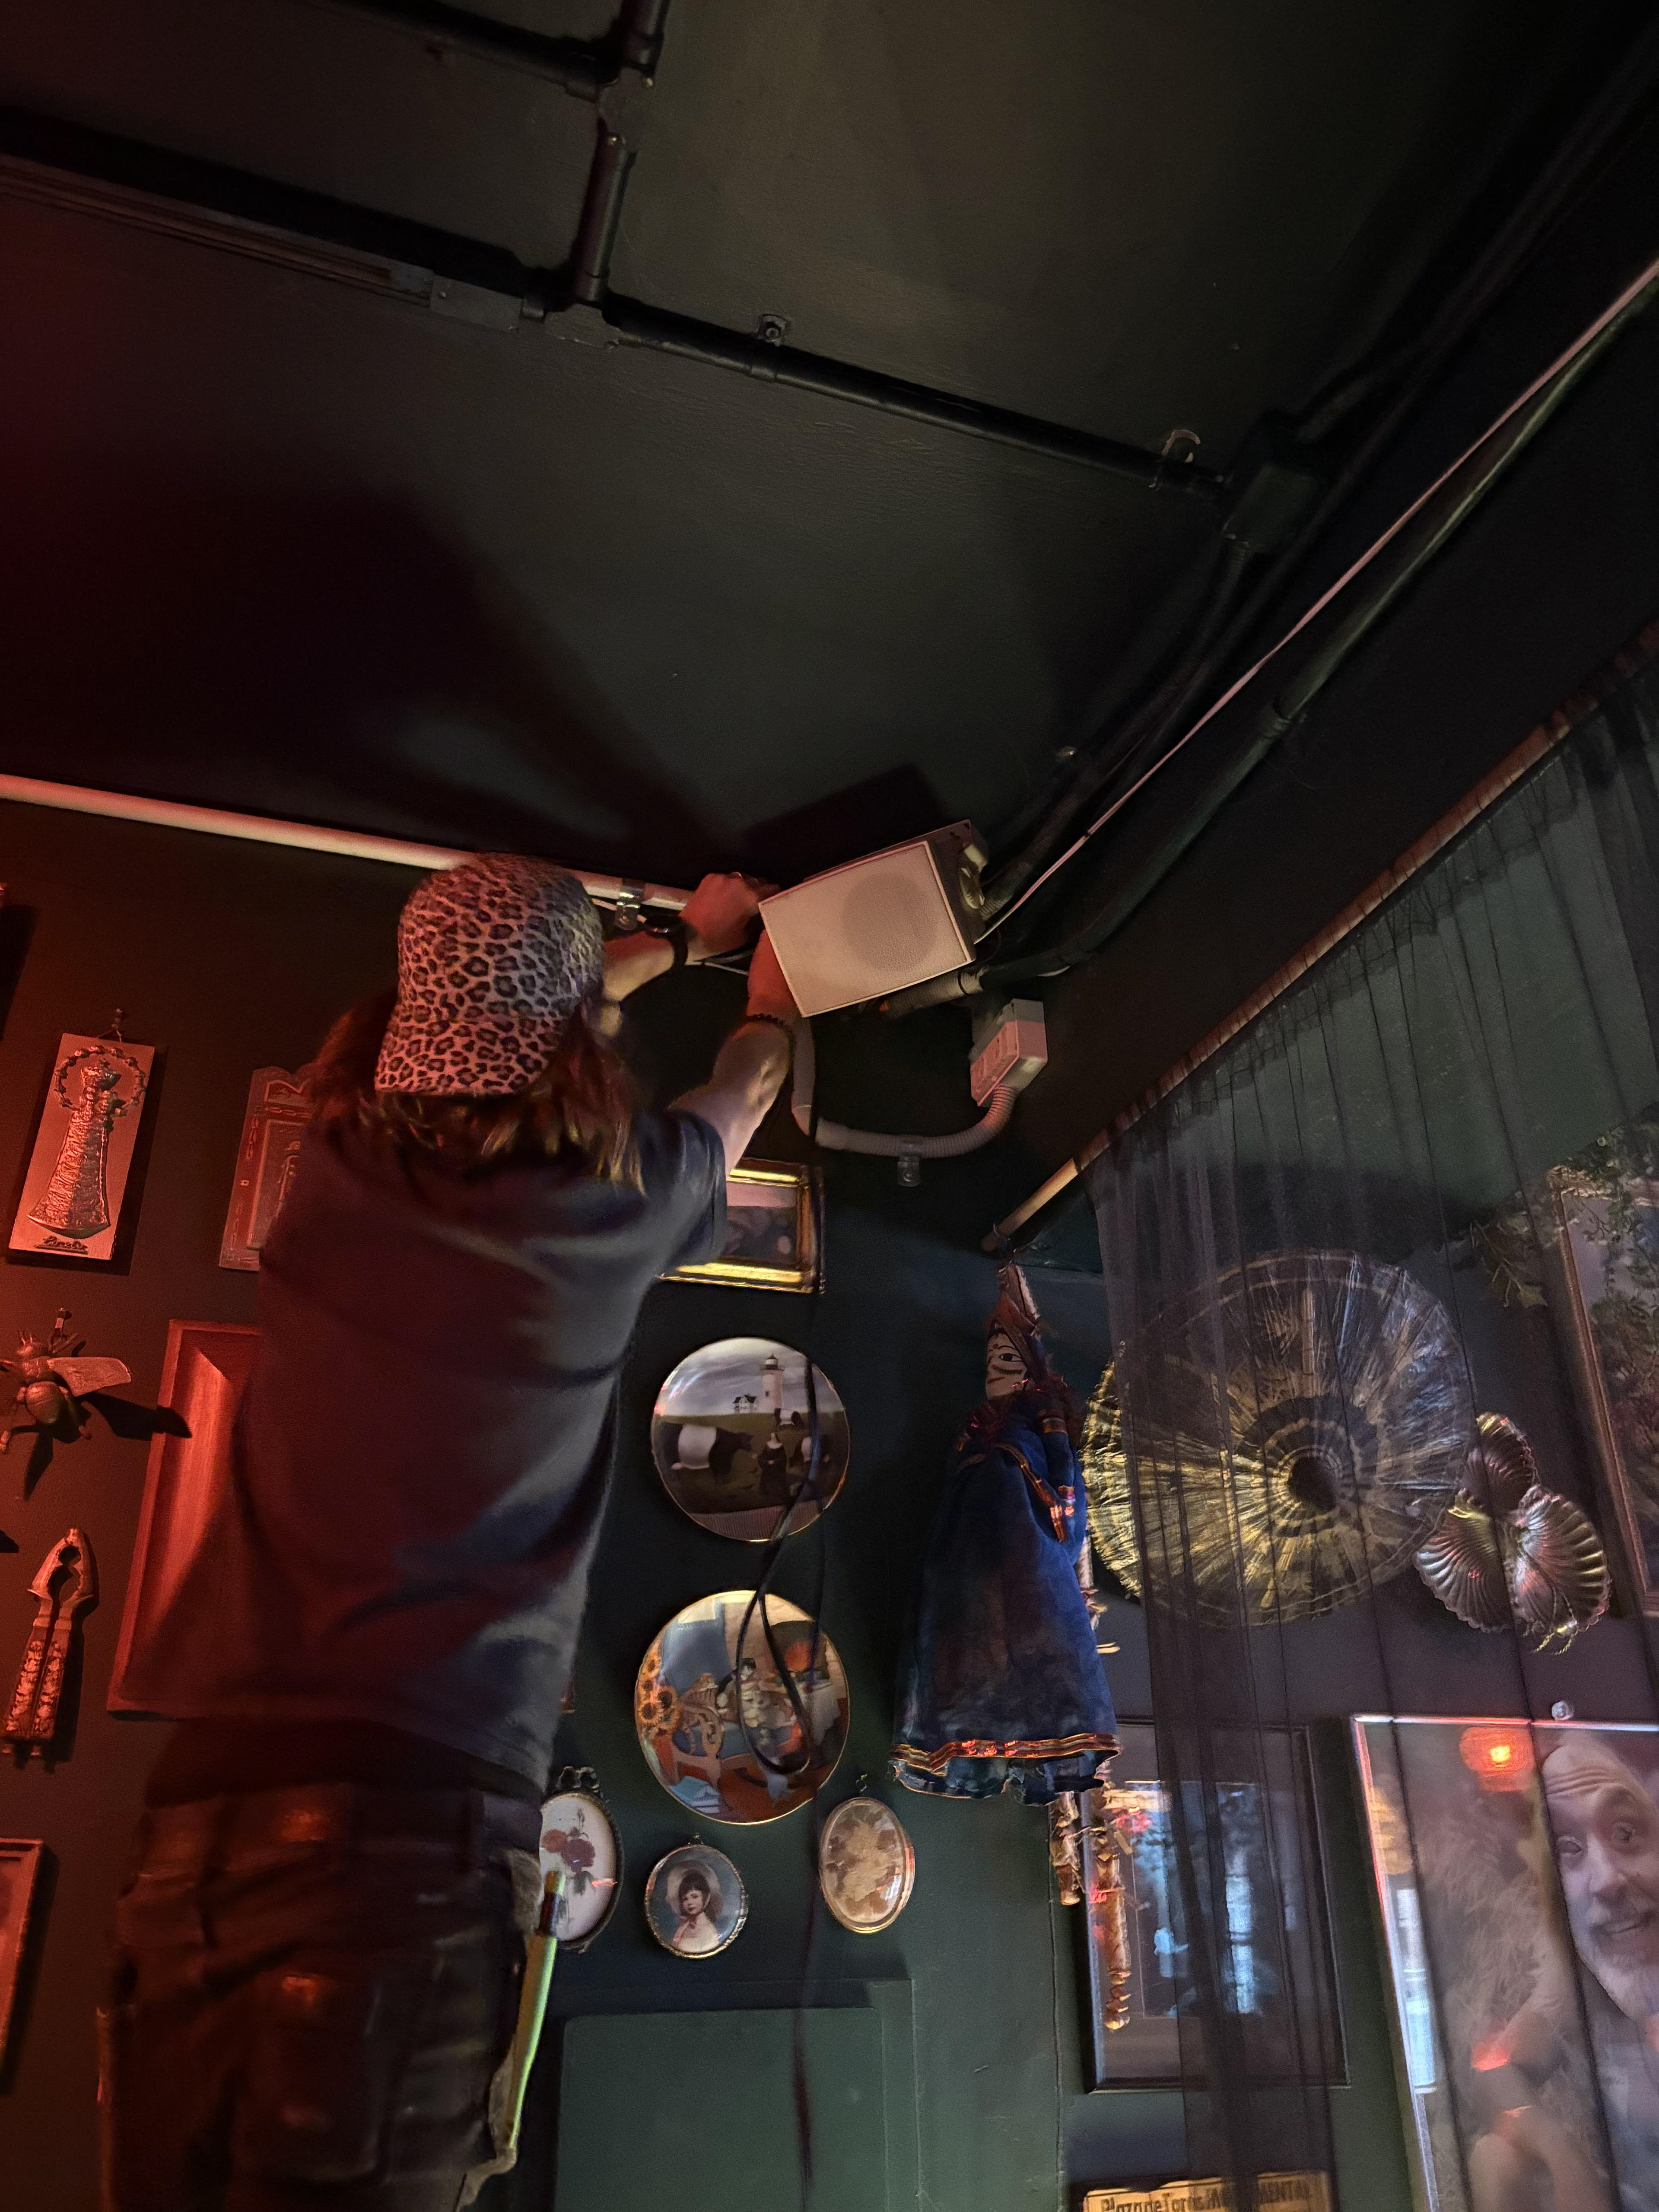
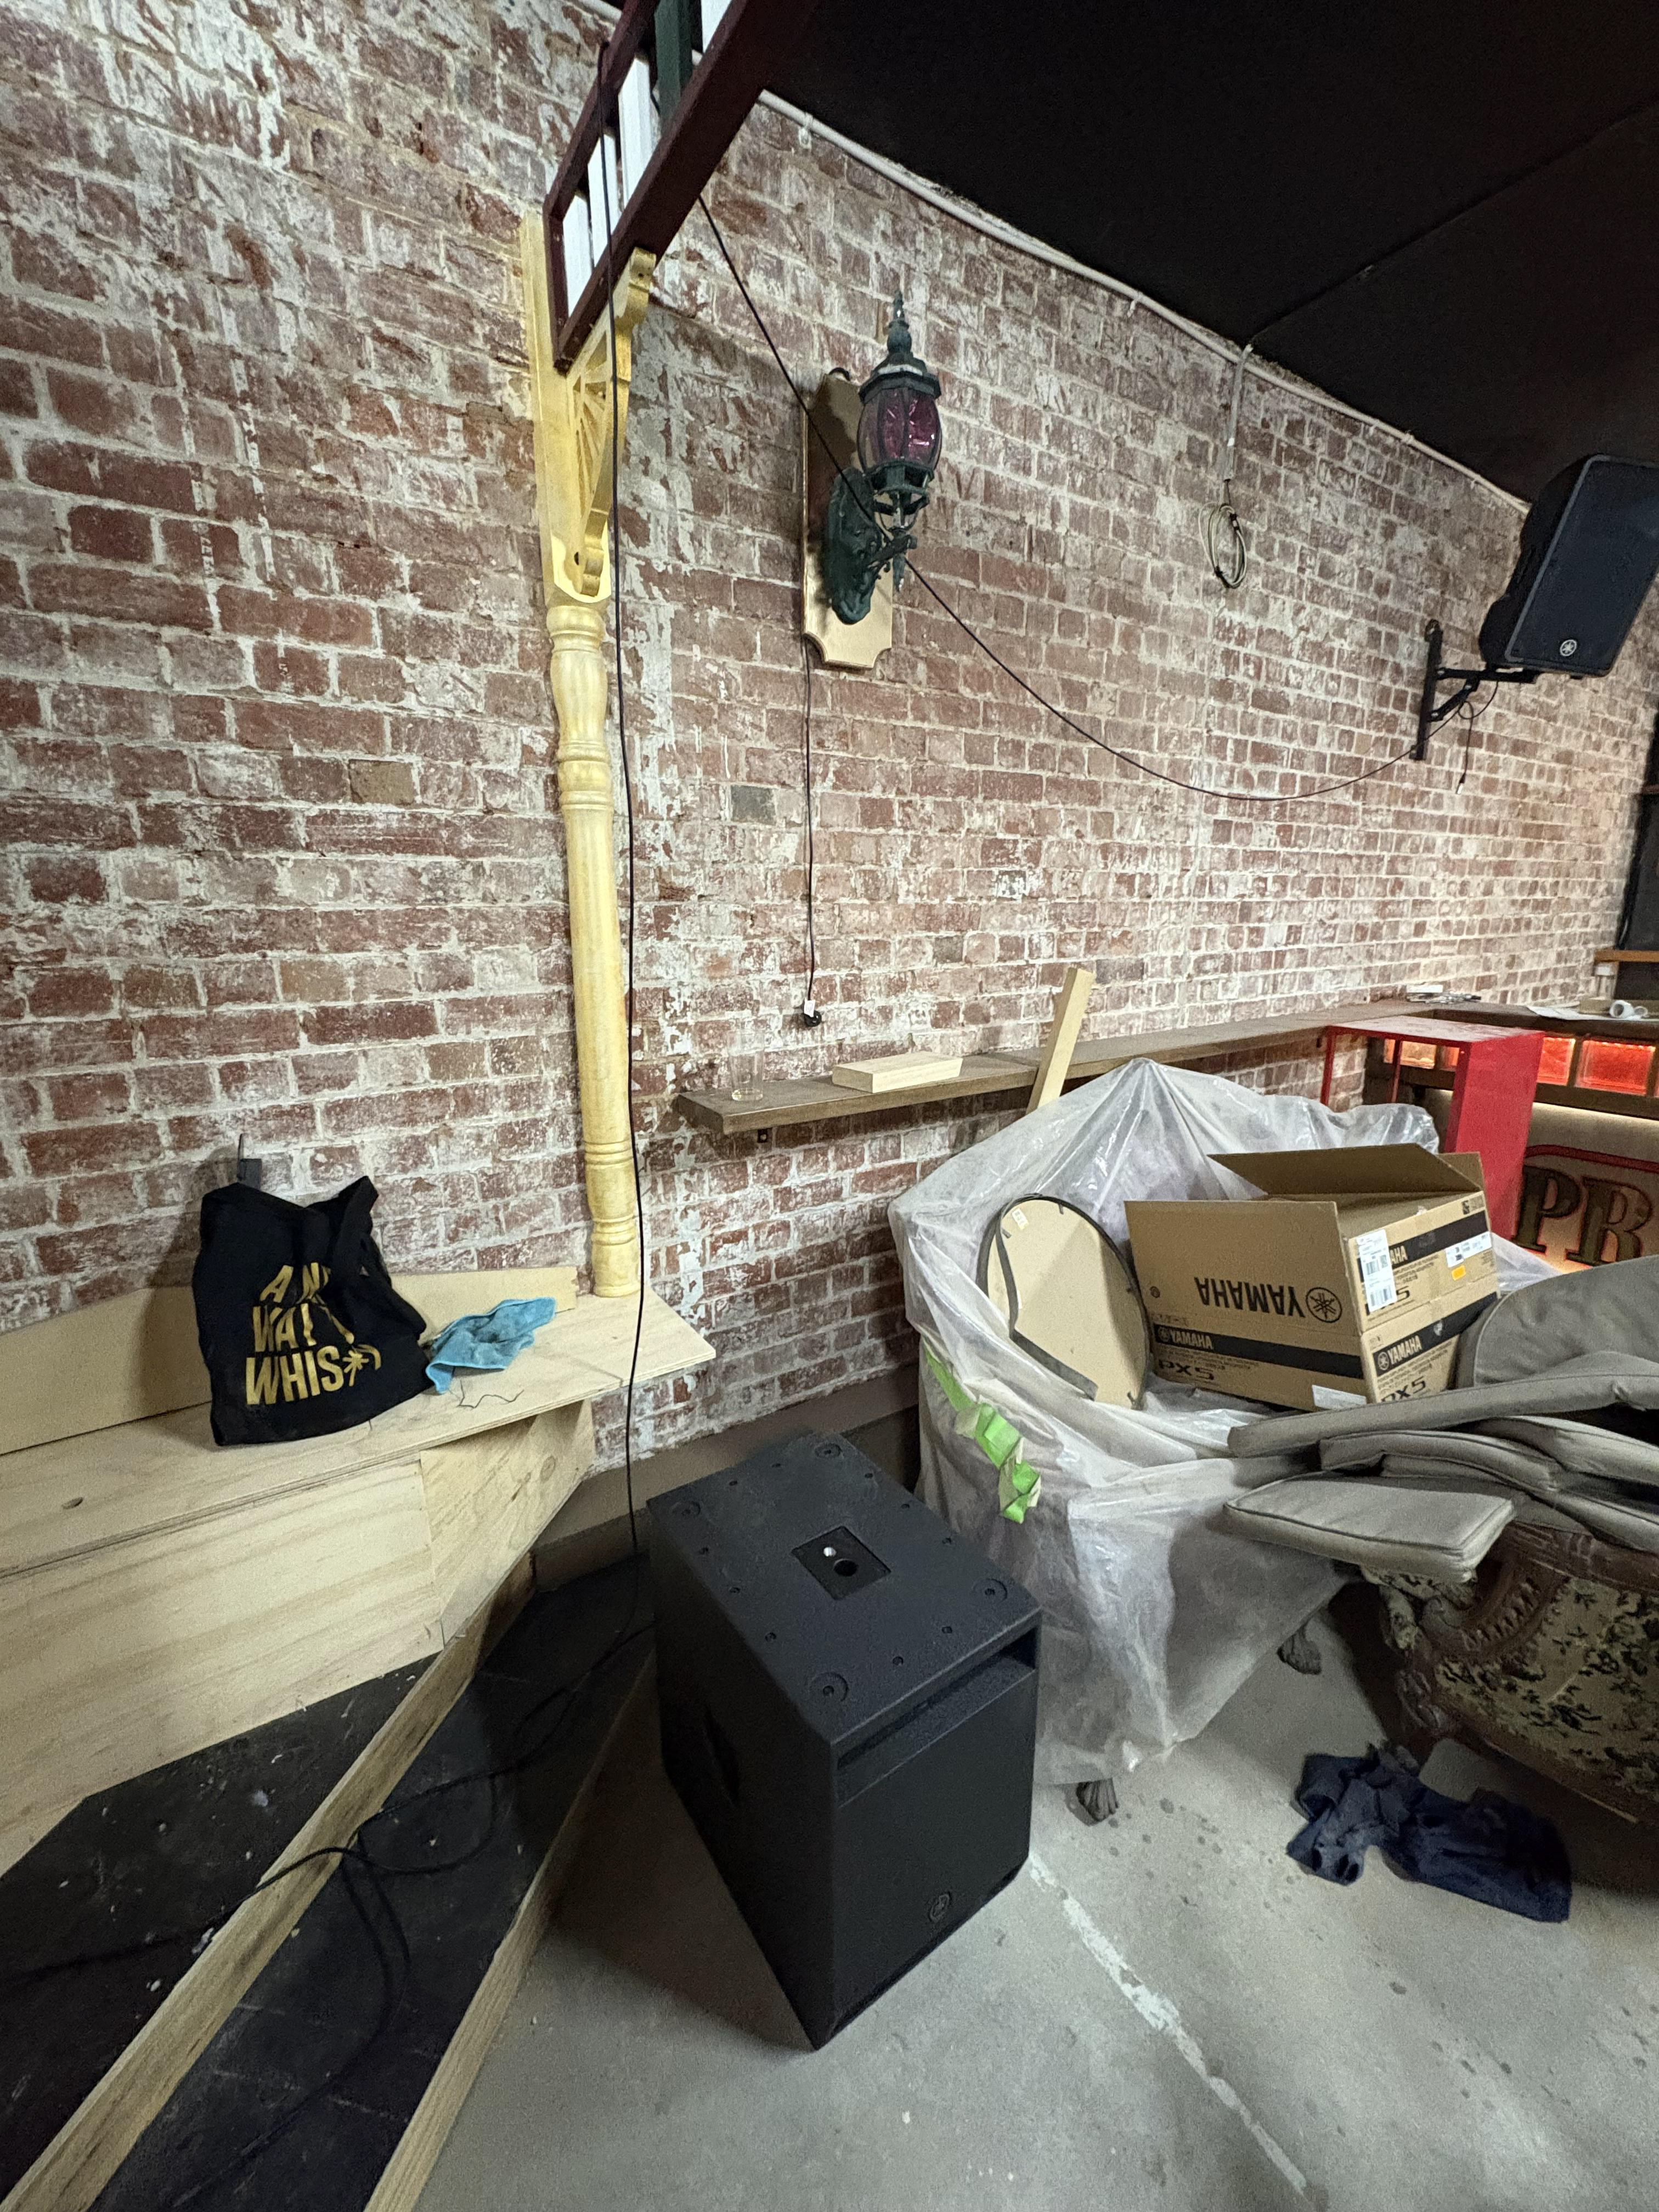
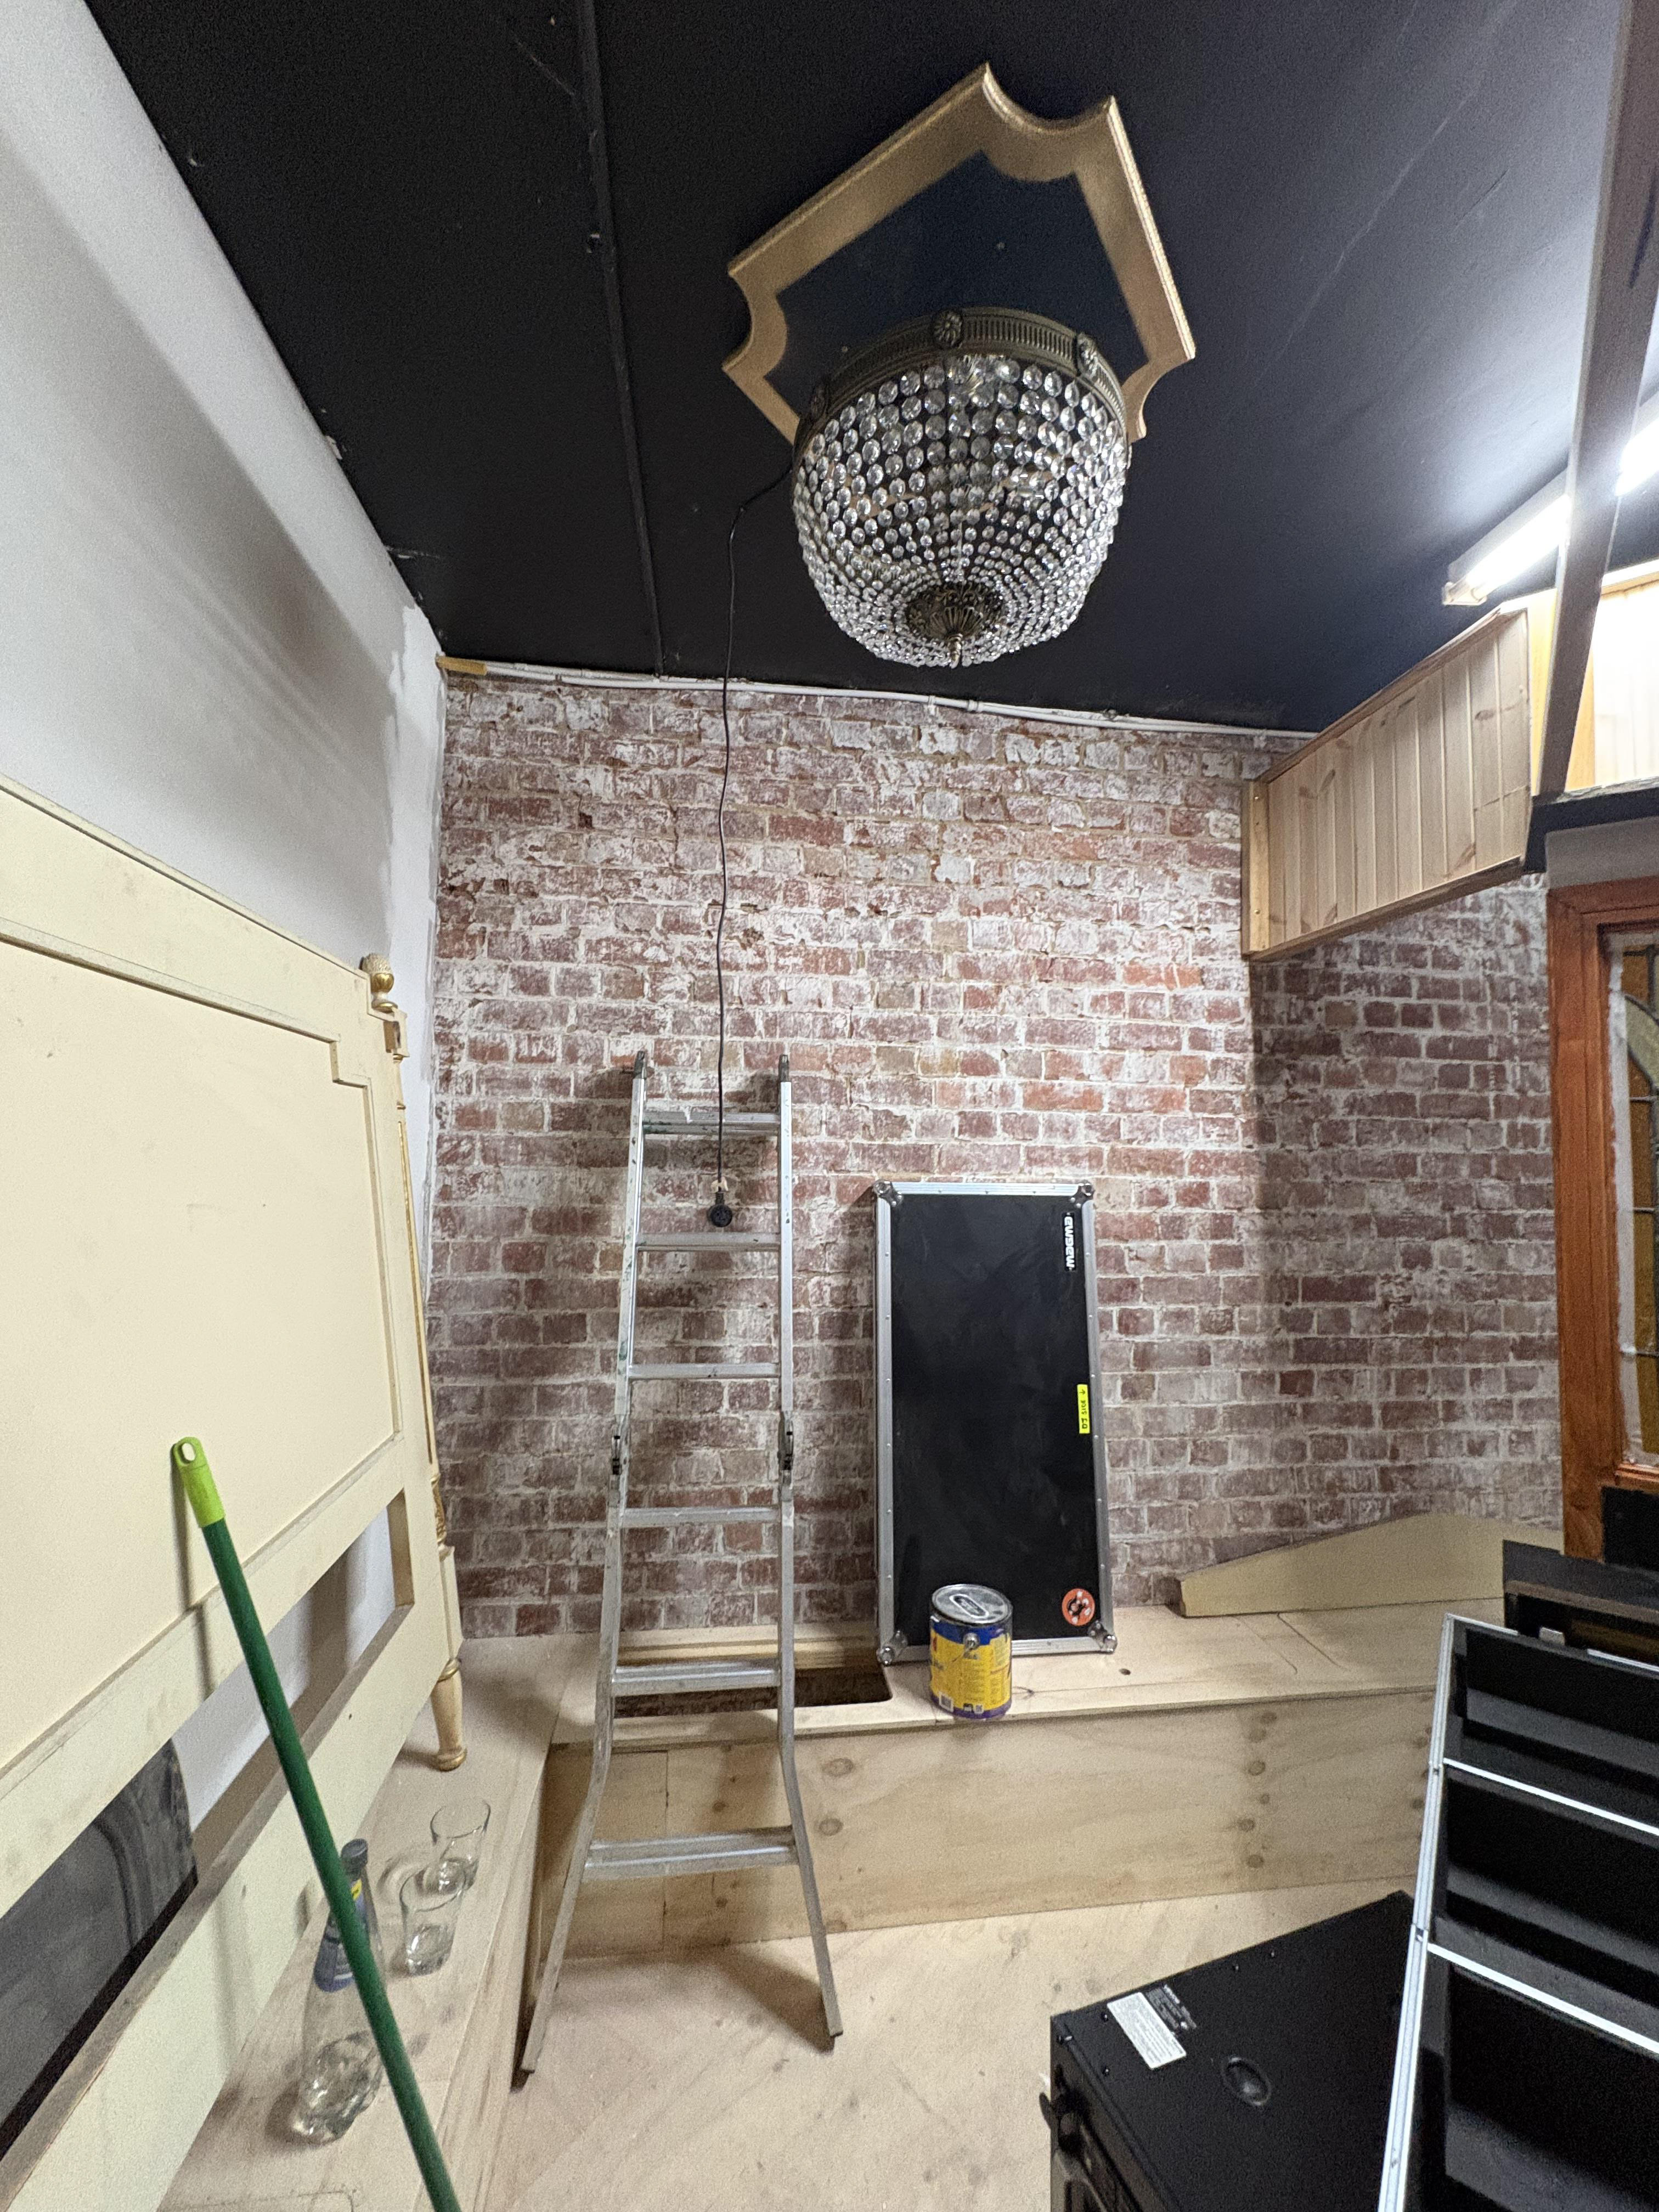
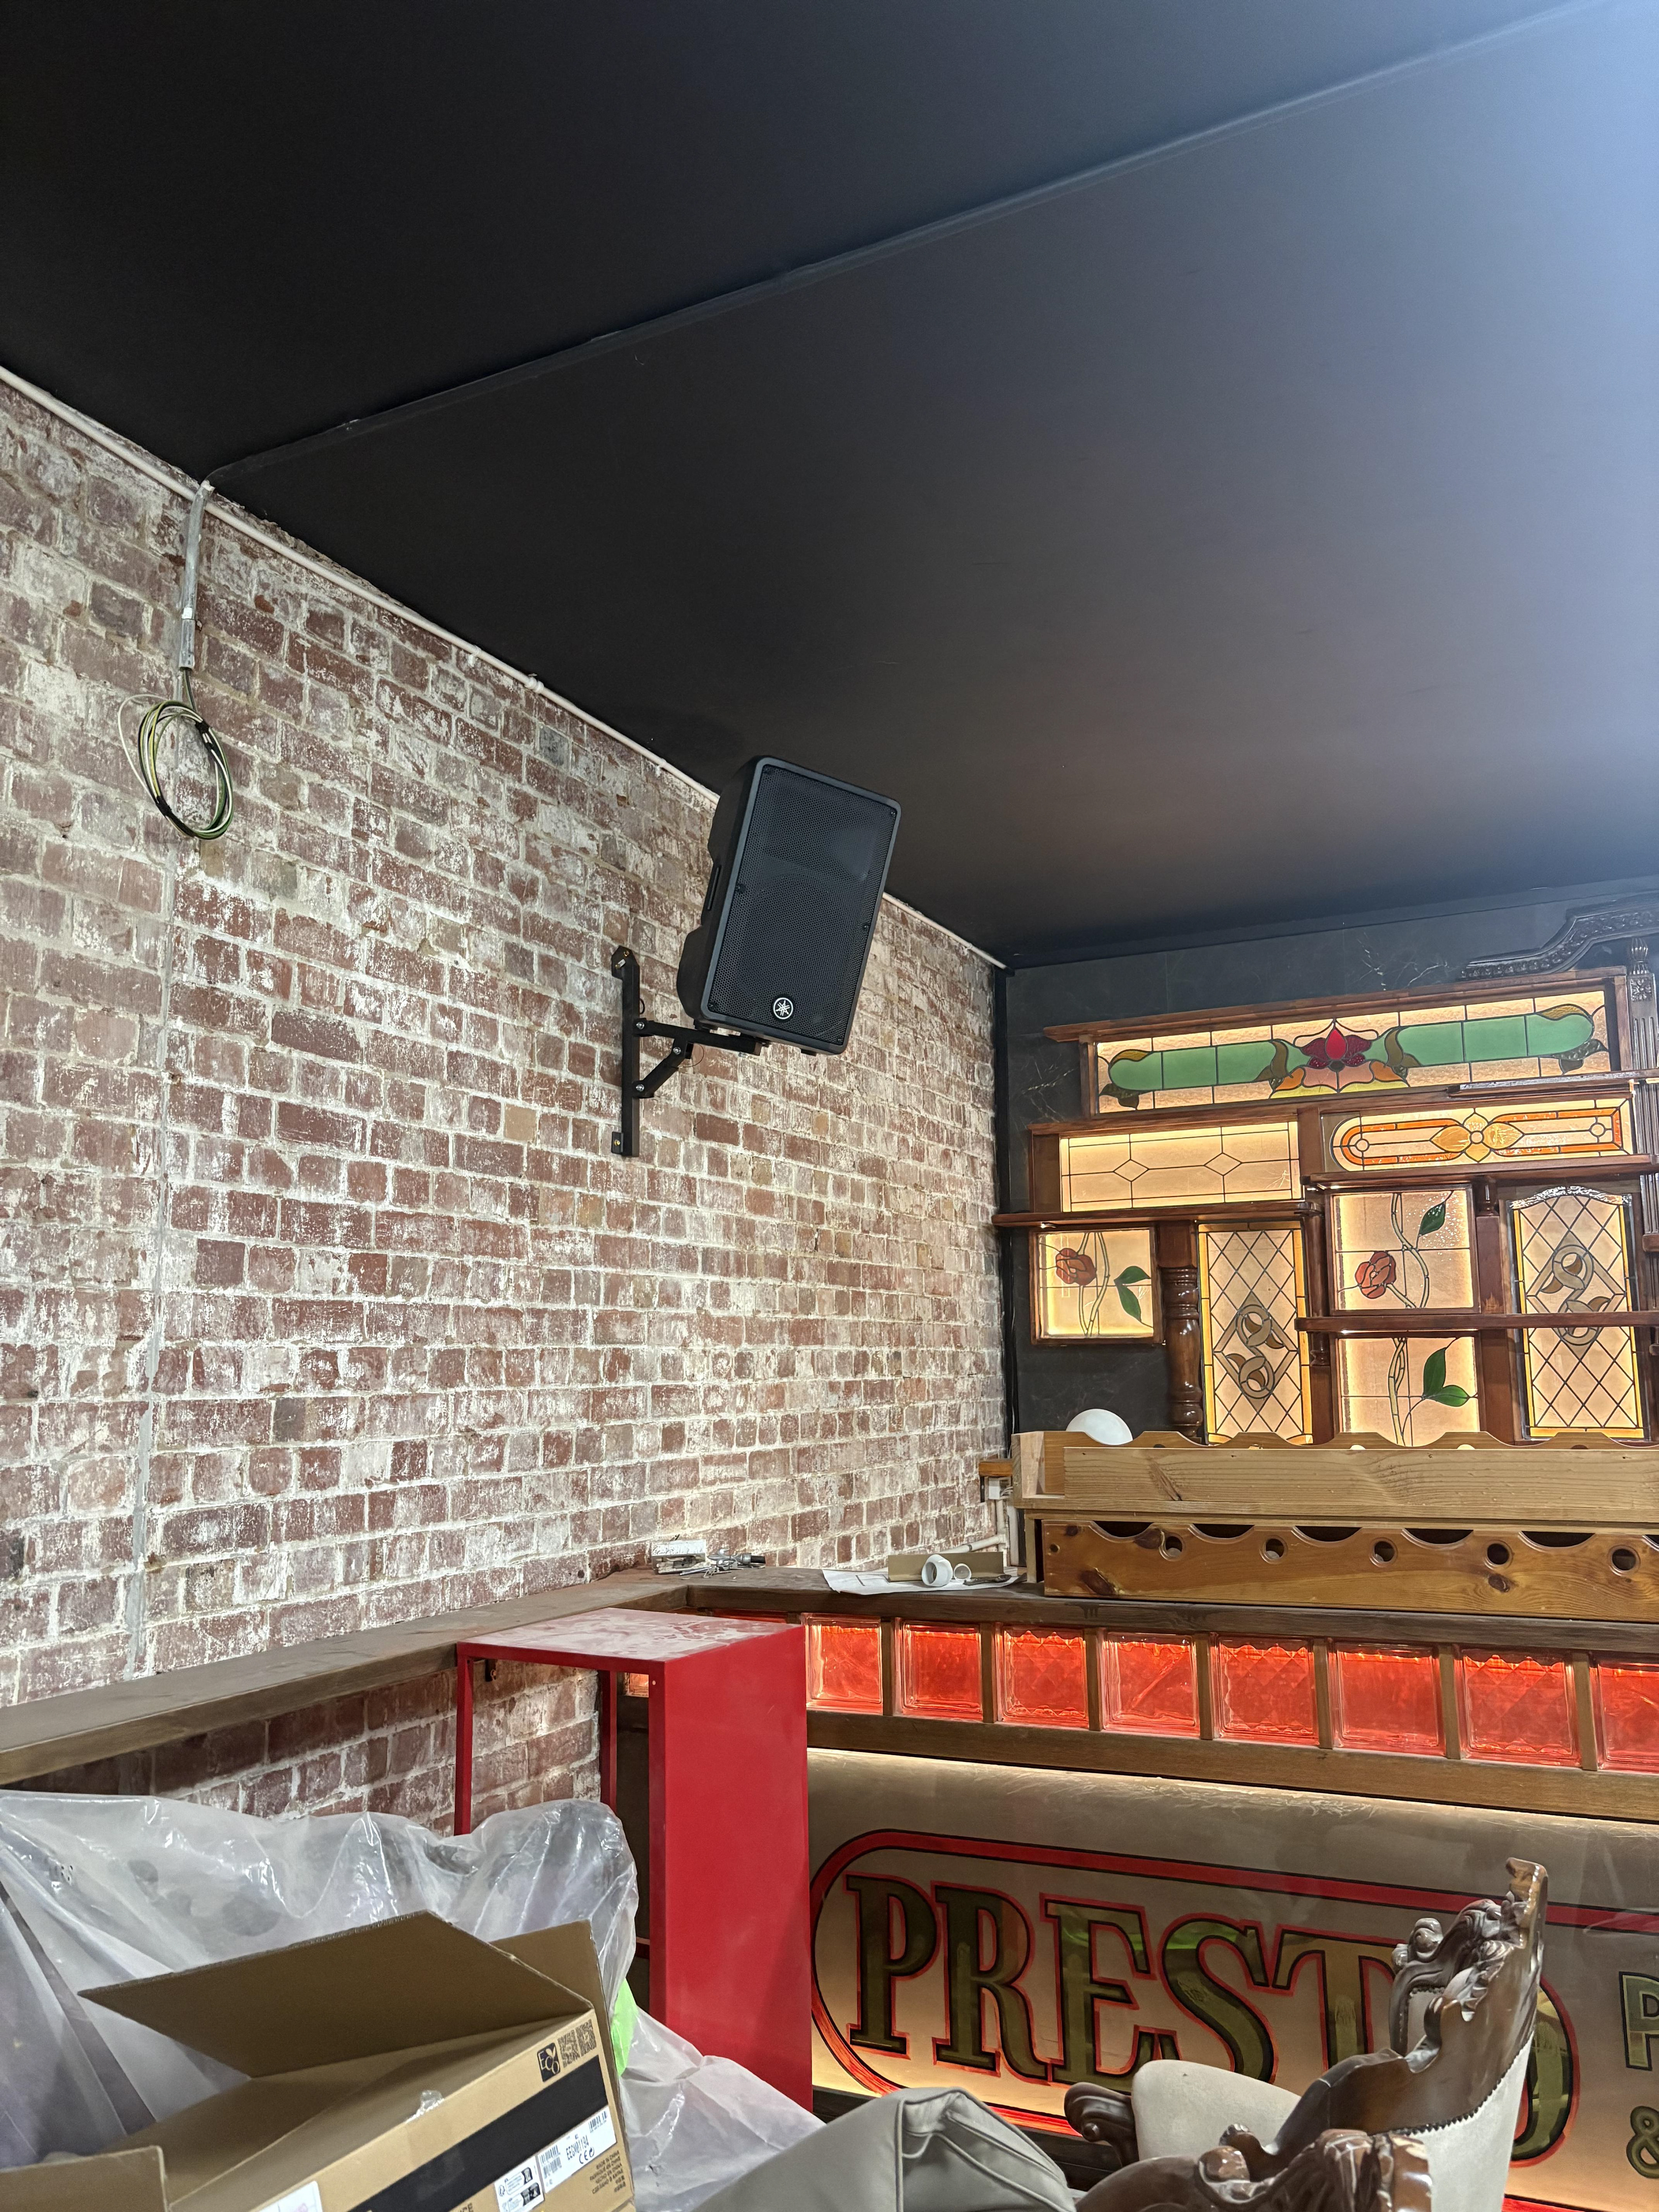
Once everything we needed arrived from the pro audio stores, we built the rackmount box for the power amps and digital signal processesor. We then used wall mounts to install the right PA into brick and the left PA into the plasterwall next to the DJ booth. The builder had also installed a new glass chandeleur inside of the DJ booth which we ran power cables to so the light bulb inside would work. The main challenge of the installation was pre-planning the physical signal flow and figuring out where the cables would be running and if we had enough length for each of the speakers. I laid out all of the cables without plugging them in to be able to visualise all of the cables.
Cabling
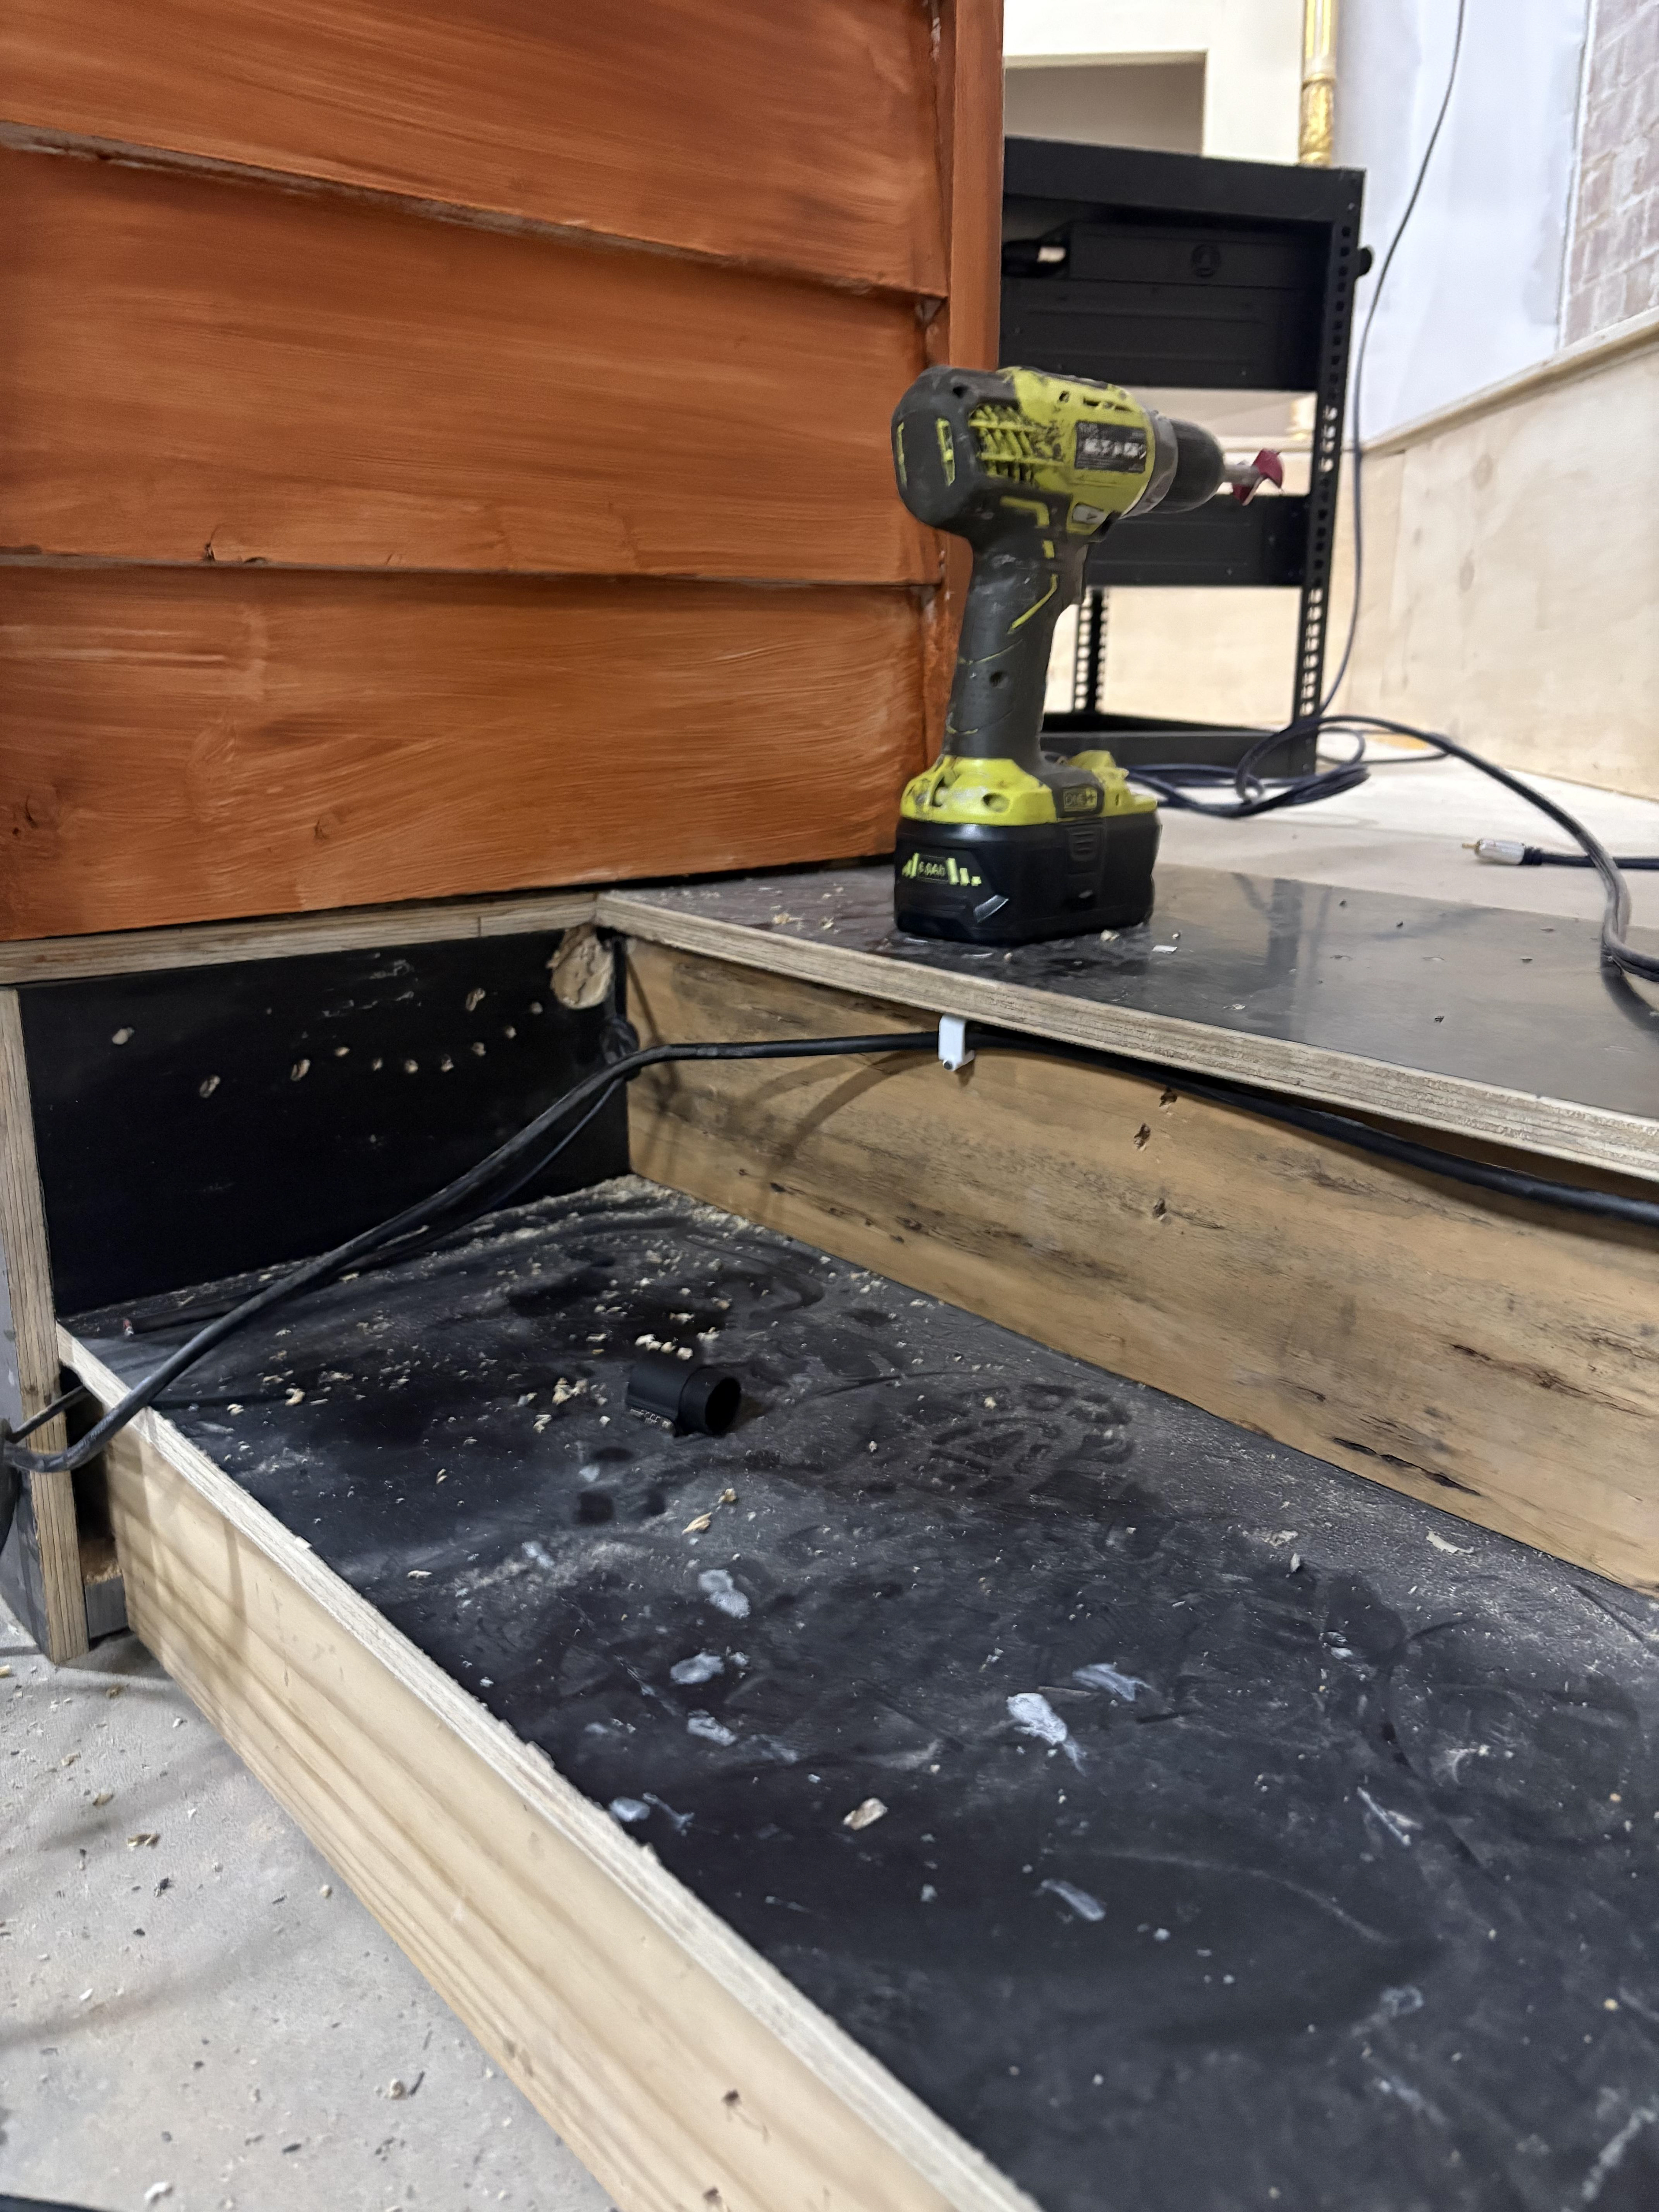
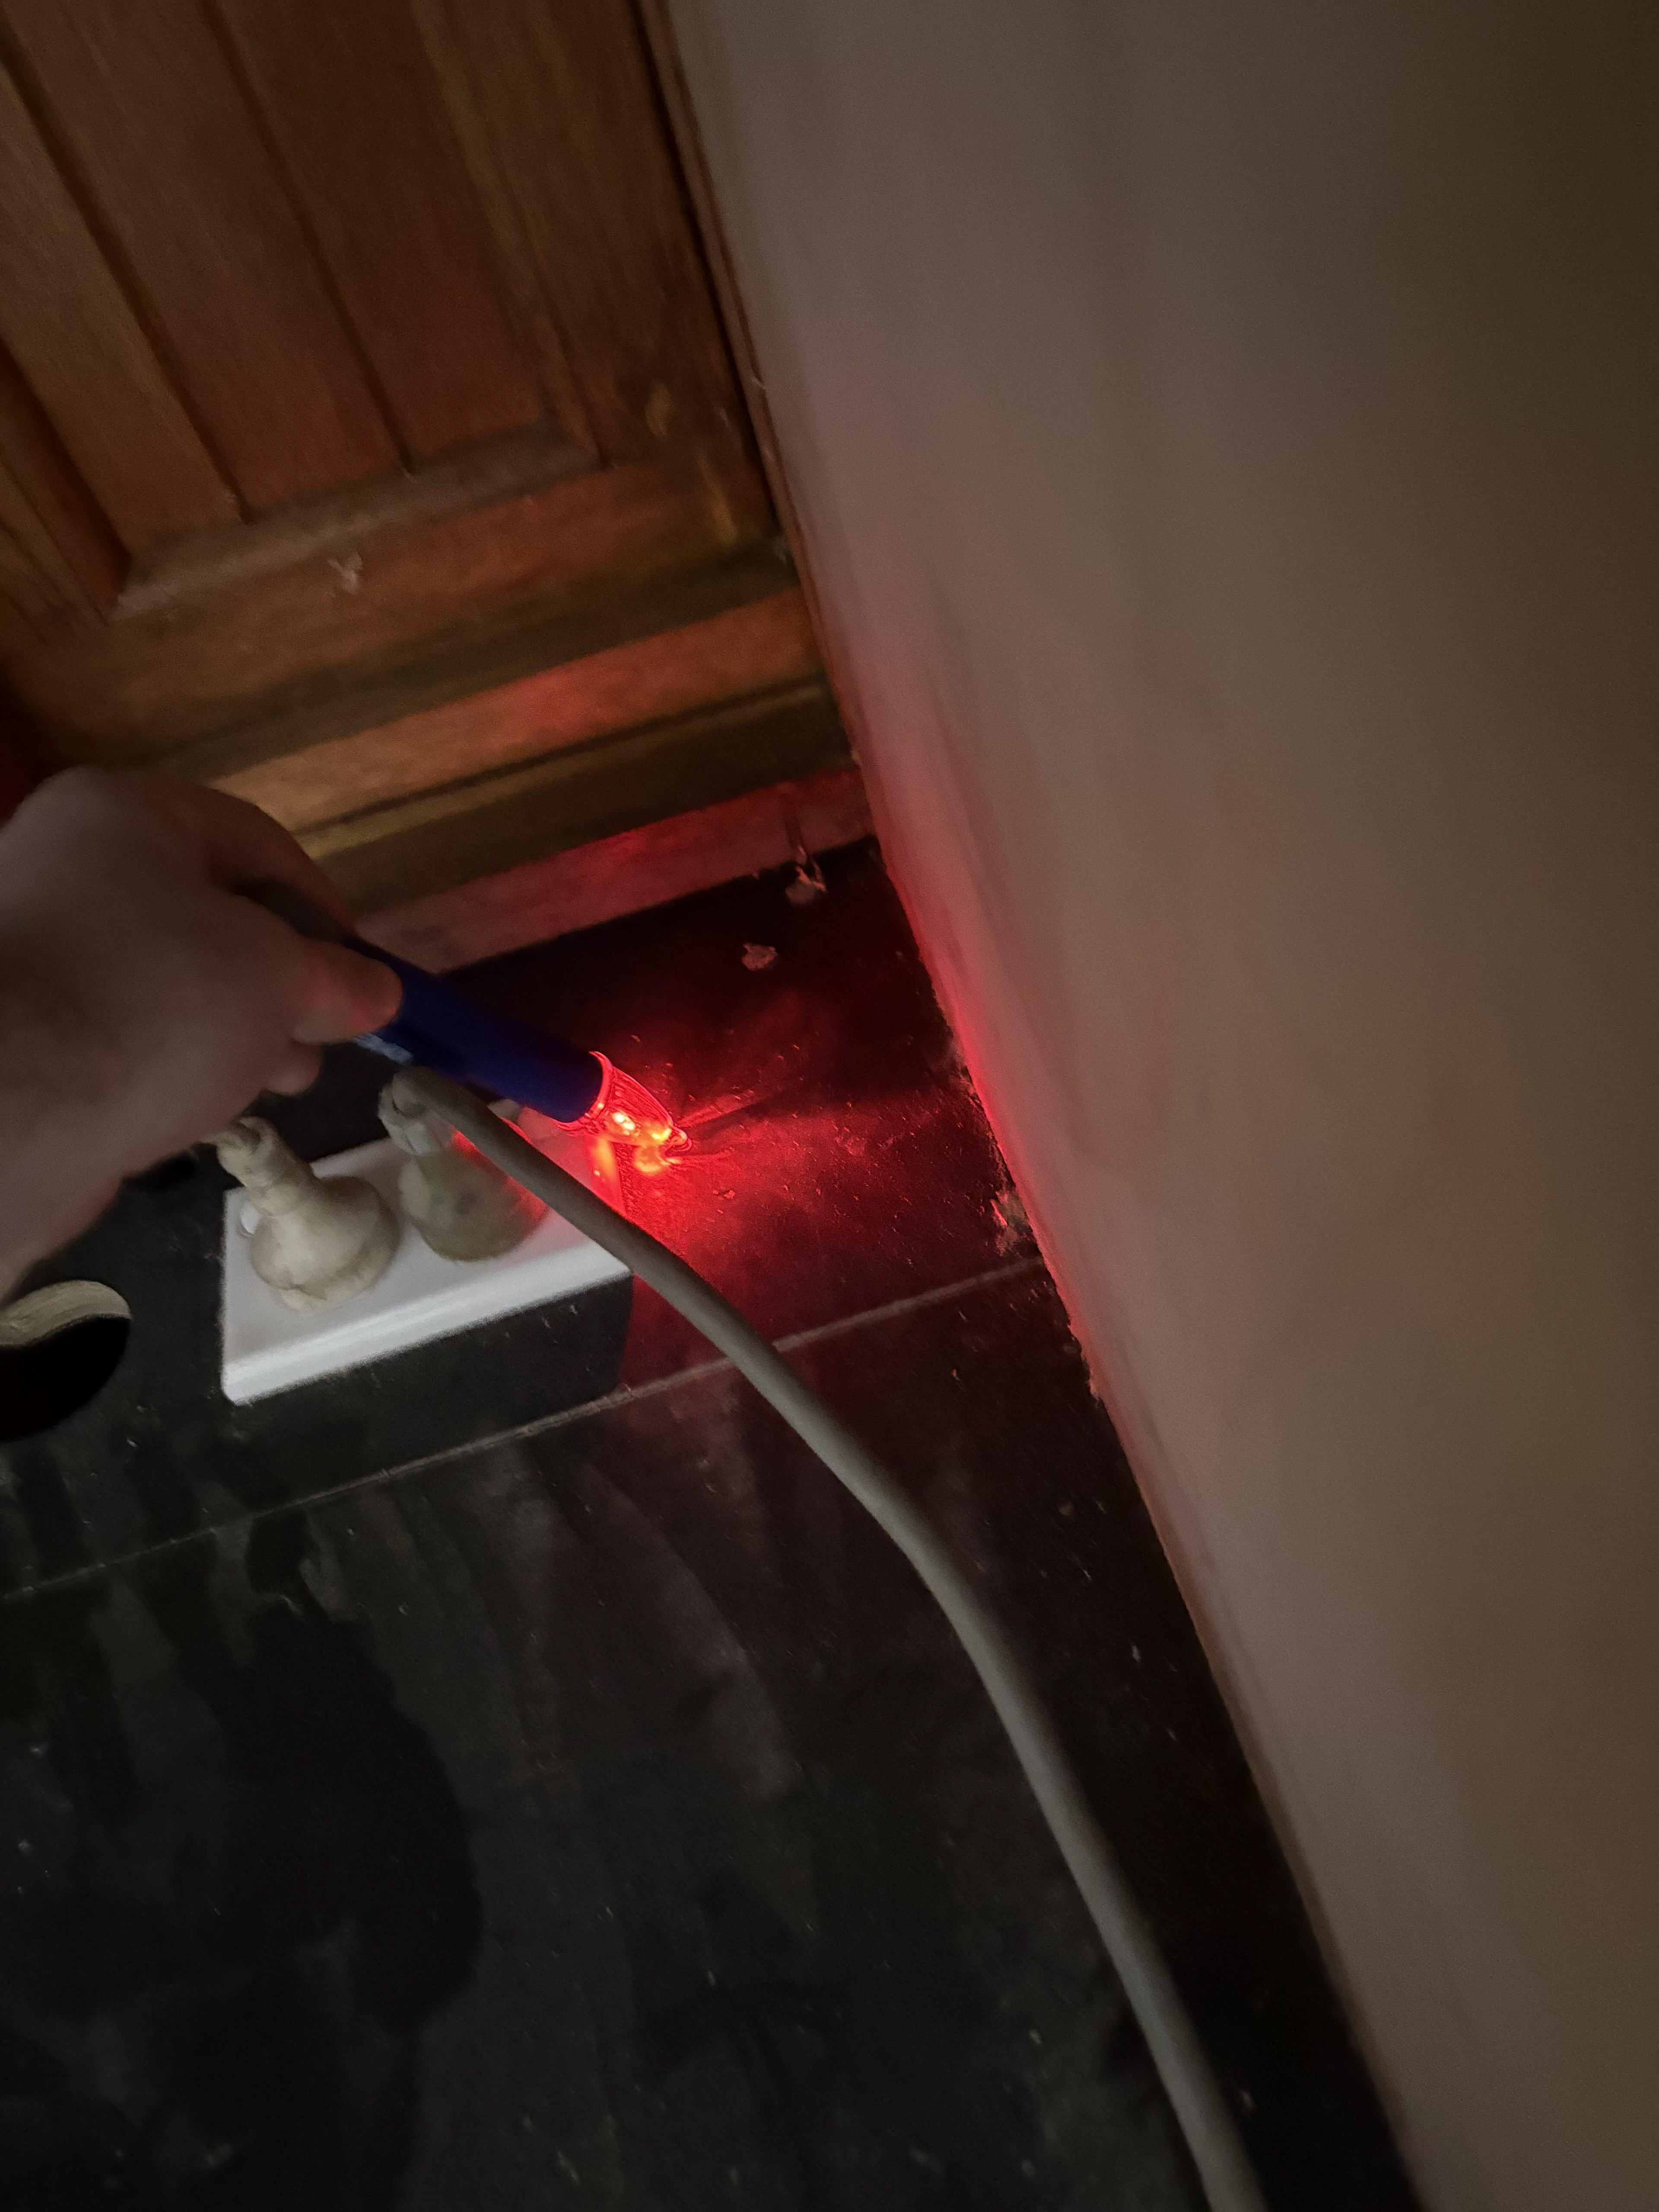
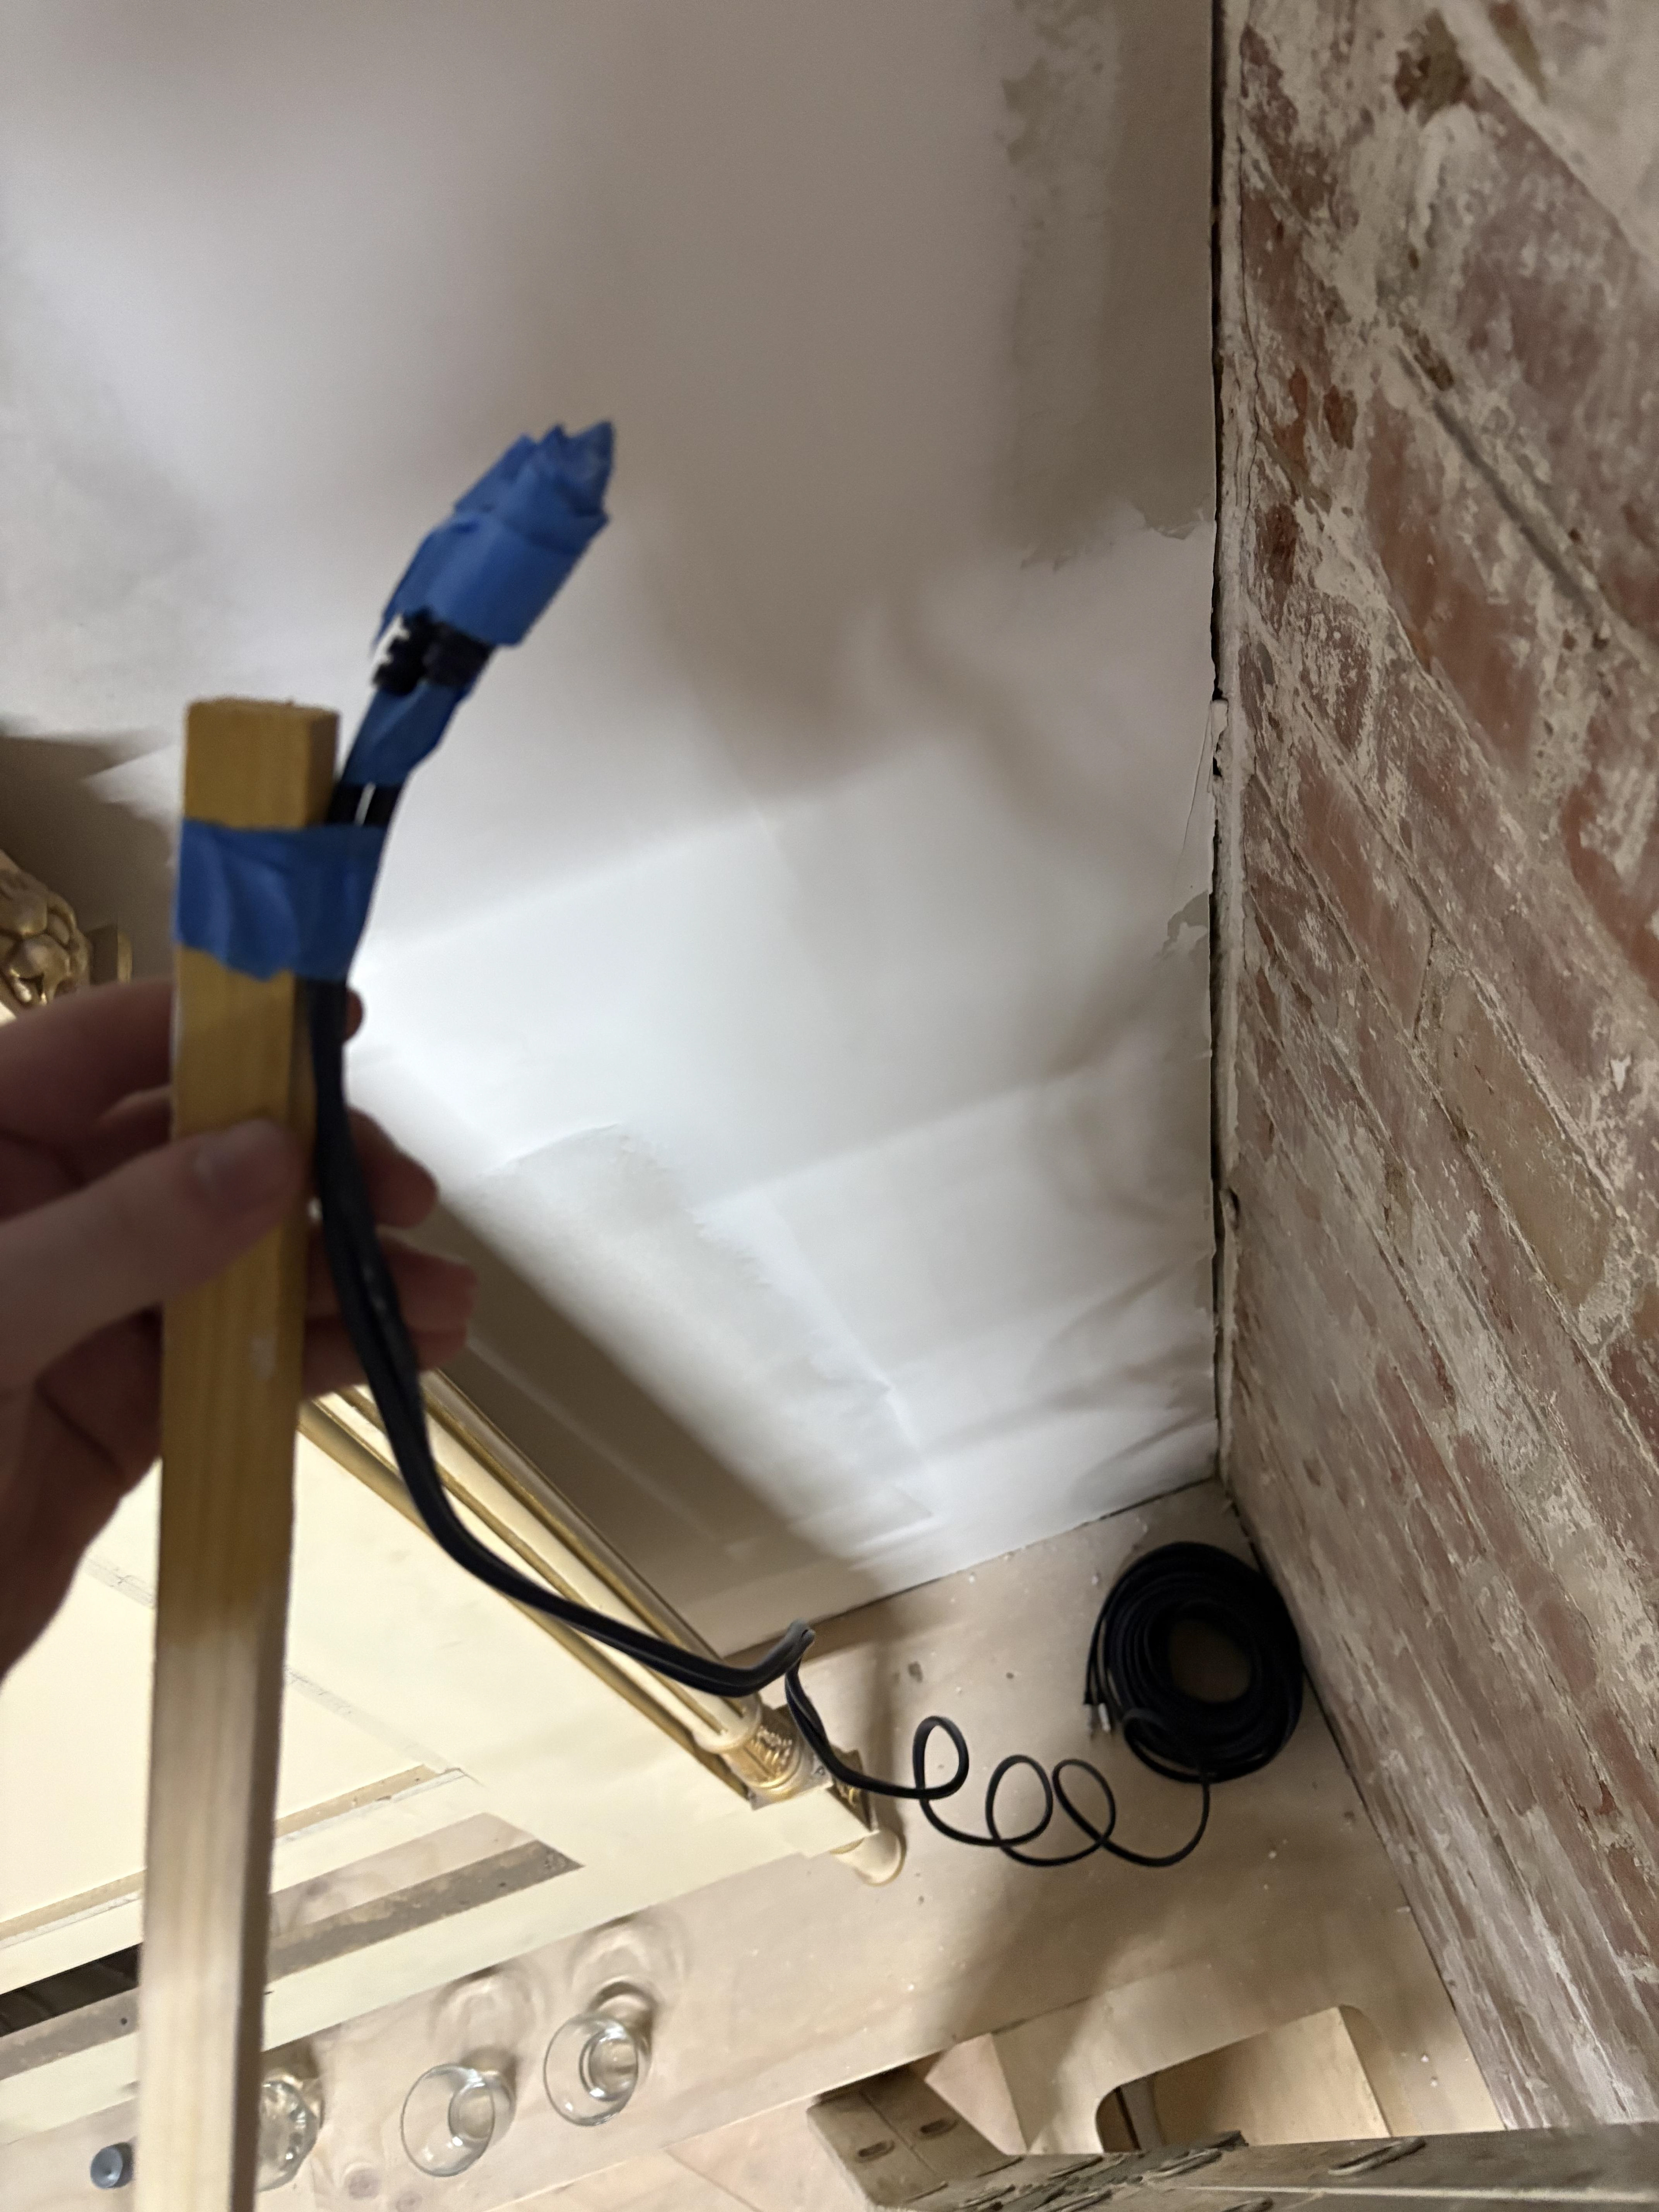
After all the mounting was complete we just cleaned up some of the cables by drilling small holes in the sides of the DJ booth for the subs and PA. I also drilled a small hole in the roof to run the RCA cable into the bar next door so the audio could be synced between the two rooms. I made sure to use an electricity tester (pictured above left) to ensure I was not drilling into live wires or the audio cables would not be running the risk of being ungrounded due to tangling with power cables. The inputs and outputs of the digital signal processessor were properly mapped to the power amps and the PAs and subs, everything worked as intended and it was sounding great already with a basic crossover and EQ on the rackmount unit.